We’re going to look at creating a website banner that has a video as the background behind the text.
This is what it should look like when it’s done:
Create a video background for the header of a website.
We’re going to look at creating a website banner that has a video as the background behind the text.
This is what it should look like when it’s done:
Remember the purpose of this lesson is to type the code out yourself—build up that muscle memory in your fingers!
Start the lesson by forking and cloning the video-background repository.
Fork & clone the “video-background” repo.
The repository will have some starter files to get you on your way.
This includes some starter code that you can get by forking and cloning the repository.
The forked & cloned starter repo has the images you need in the images folder and the content inside index.html that we’ll just wrap some tags around.
The CSS inside main.css is done for us—it just contains a few colours, and fonts—nothing too complex.
Let’s write out the HTML we need to display the video and get it to play properly.
Here’s the HTML tags we’ll wrap around the content to create the design we’re looking for.
⋮
</head>
<body>
<div>
<div>
<video muted loop autoplay poster="images/sol.jpg" src="https://assets.learntheweb.courses/web-dev-5/magnetic-connections.mp4"></video>
</div>
<div>
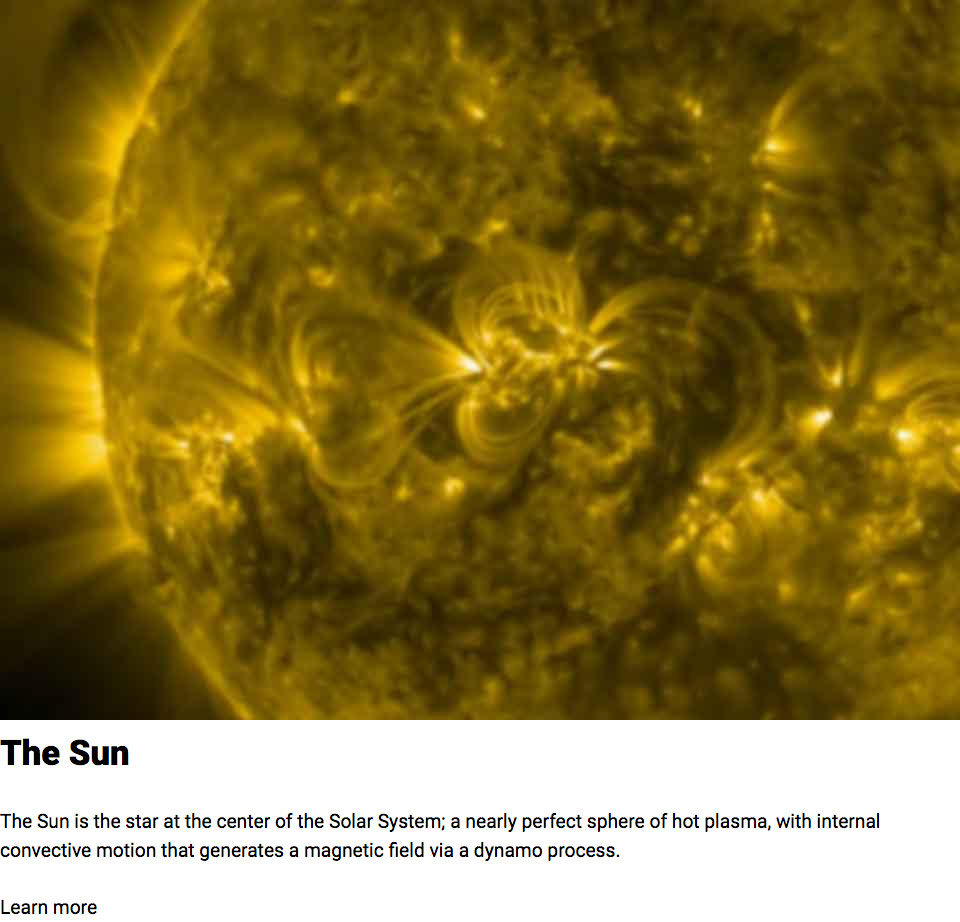
<h1>The Sun</h1>
<p>The Sun is the star at the center of the Solar System; a nearly perfect sphere of hot plasma, with internal convective motion that generates a magnetic field via a dynamo process.</p>
<a href="#">Learn more</a>
</div>
</div>
</body>
</html>
We should see this in the browser:
The <video> tag has a bunch of attributes on it to look at:
muted — will prevent the video from playing any soundloop — restart the video when it gets to the endautoplay — start playing as soon as its ready—doesn’t work on all devices, especially mobilesposter="" — a path to an image that will display while the video is bufferingMany modern browsers will not auto-play videos unless they’re set to muted—because auto-playing videos with sound are the absolute worst.
Next up we’ll use a bunch of classes from Typografier & Modulifier to make the video background work properly.
Remember that main.css has a little bit of stuff for us already—specfically a few colours and the font-family.
⋮
</head>
<body>

  <div class="banner relative chop pad-t-2">
    <div class="embed embed-4by3 absolute w-1 pin-cl">
      <video class="embed-item" muted loop autoplay poster="images/sol.jpg" src="https://assets.learntheweb.courses/web-dev-5/magnetic-connections.mp4"></video>
    </div>
    <div class="max-length text-center relative zindex-1 pad-t-2 pad-b gutter-1-2">
      <h1 class="yotta push-1-2">The Sun</h1>
      <p class="mega">The Sun is the star at the center of the Solar System; a nearly perfect sphere of hot plasma, with internal convective motion that generates a magnetic field via a dynamo process.</p>
      <a class="btn btn-ghost mega" href="#">Learn more</a>
    </div>
  </div>

</body>
</html>
That’s it! We should have an autoplaying, looping video banner.
The surrounding <div> tag will get these classes:
.banner — defined in main.css to add colours.relative — makes it position: relative.chop — adds overflow: hidden.pad-t-2 — for a little spacingWe want the <video> to be responsive so it needs to become an embed container. Plus we’ll add a few classes to get it into the centre behind the text.
.embed, .embed-4by3 — the video’s aspect ratio.absolute — make this element position: absolute so we can move it around.w-1 — make its width 100%.pin-cl — position the video so it’s in the vertical centre of our bannerDon’t forget to add .embed-item onto the <video> tag itself
This is where much of the positioning is going to happen.
.max-length — will prevent the line-length from getting too long.text-center — align the text and button to the centre.relative — make this element position: relative so we can bring it to the front.zindex-1 — bring the element in front of the video.pad-t-2, .pad-b, .gutter-1-2 — some nice spacing