We’re going to explore Jekyll’s collection system. Collections allow us to write out content, and not have to write code. Each of the content files will be inserted into a layout where the layout will be in charge of rendering the content in the HTML.
Goal
-
Type it, type it real good
Remember the purpose of this lesson is to type the code out yourself—build up that muscle memory in your fingers!
Set up product collection
Continue on with your ecommerce-pattern-library repository.
We’re going to make some adjustments to our _config.yml file where we can add a collection.
Add this to the bottom of your _config.yml file—after everything else in the file.
⋮
collections:
  products:
    output: true
Start & stop Jekyll to make this change. Remember that the _config.yml file is the only file that Jekyll doesn’t automatically reload.
-
Line B
Tell Jekyll we want to add collections to our website.
-
Line C
The name of the collection—will also be the name of our folder.
-
Line D
We want each product in the collection to have it’s own page, we’ll tell Jekyll to output the files as HTML files.
Create the first product
Now that we’ve got our collection made we can start by creating our first product.
But before we do that, we need to make a folder for our collection of products.
-
ecommerce-pattern-library
-
_products Matches the name of our collection + underscore
-
24-carat-diamond.md
- ⋮
Inside Atom, go ahead and make a new file. It’s representing one single product on your ecommerce website, so name it appropriately.
It should have the .md file extension, to denote that it’s only Markdown content.
---
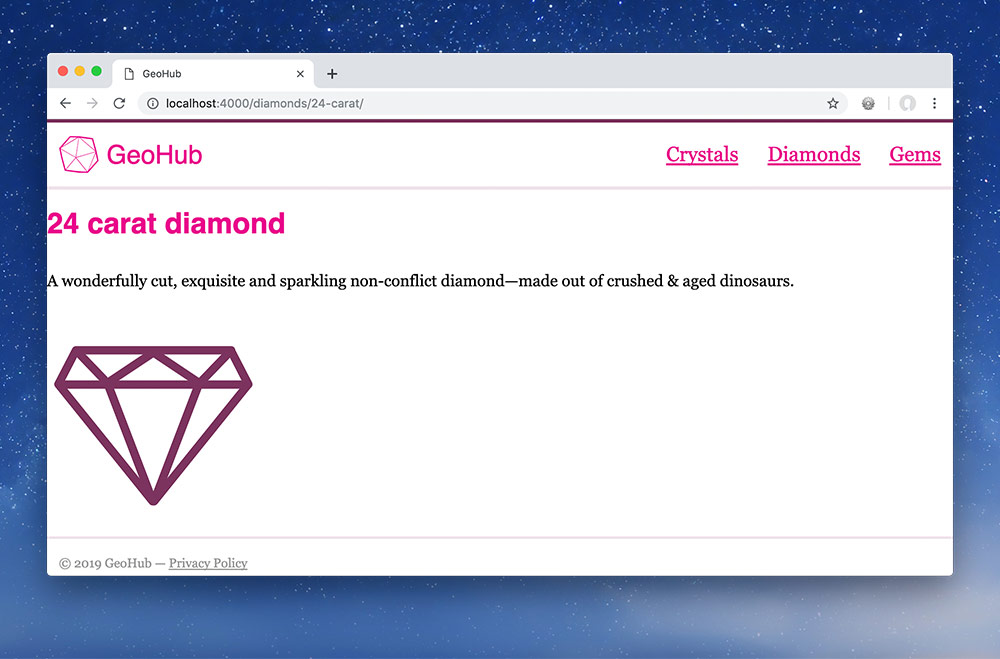
name: "24 carat diamond"
description: |
A wonderfully cut, exquisite and sparkling non-conflict diamond—made out of crushed & aged dinosaurs.
image: "/images/diamonds/24-carat.jpg"
price: 576
colors:
- "Green"
- "Olive"
shape: "Round"
clarity: "VVS1"
---
Similar to how we did with the “Fried data” exercise, determine every attribute you’ll need to describe each product.
Add all the product attributes—for a single product—to this Markdown file.
Set up the product details layout
At this point, if we were to view the product in the browser it would be a blank page. The Markdown file only has metadata: stuff in the --- which doesn’t render naturally.
To make something render for our product, we need to create and define a layout.
-
ecommerce-pattern-library
-
_layouts
-
default.html
-
product.html
-
_products
-
24-carat-diamond.md
- ⋮
Make a brand new layout, called product.html.
We are going to explore the idea of nested layouts. Layouts, that use other layouts.
- We created a new layout specifically for products because we want those pages to all look the same—but different from other pages on the website.
- But, we still want to share the header & footer from within default.
---
layout: default
---

<h1>{{page.name}}</h1>
<p>{{page.description}}</p>
<img src="{{page.image}}" alt="">
We’re not going to finalize the product details page yet—that will happen later in the term.
Still can’t quite see anything in the browser…
-
Line B
Tell Jekyll that our
productlayout should still inherit thedefaultlayout, getting our header & footer. -
Line E
I’m putting just a simple
<h1>on this page for now, it’s outputting the name from our Markdown file. -
Line F
We’ll do the same thing again to output the description for our product.
-
Line G
The image isn’t too terribly different, just the placeholder variable is being inserted into the images’
srcattribute.
Define layout for all products
We need to tell the product itself which layout to use—we’ve seen how to do this previously on our home & products list pages. We can go into the Markdown file and add the layout there—but that’s not an optimal solution.
We’re eventually going to have lots of products—and I don’t like repeating myself—so let’s set the layout in one place: _config.yml
Pop open your _config.yml and add this hunk of code to the bottom:
⋮
collections:
  products:
    output: true

defaults:
  - scope:
      path: _products
    values:
      layout: product
Stop & start Jekyll and go to your browser to view the page.
Since you haven’t linked the product anywhere yet, you’ll have to type the URL into the URL bar.
Everything should be merged together now. Here’s a little illustration to help you understand what Jekyll is doing to generate this page.

- Start to render the Markdown file
- Notices it requires the
productlayout - Grabs the appropriate fields from the Markdown file & inserts them into placeholder variables
- Notices the
productlayout uses thedefaultlayout - Grabs all the product information it just rendered & inserts it into the
defaultlayout between the header & footer
-
Line F
Configure Jekyll’s default front matter.
-
Lines G–H
Define that we’re configuring every single file within the
_productsfolder. -
Lines I–J
Define the front-matter we’re interested in changing: specifically setting
layout: product
Create second product
Let’s continue adding to the products on our website by making another Markdown file.
-
ecommerce-pattern-library
-
_layouts
-
default.html
-
product.html
-
_products
-
24-carat-diamond.md
-
fancy-bright-ruby.md
- ⋮
Make a new Markdown file within your _products collection and fill in the details for second product on your website.
---
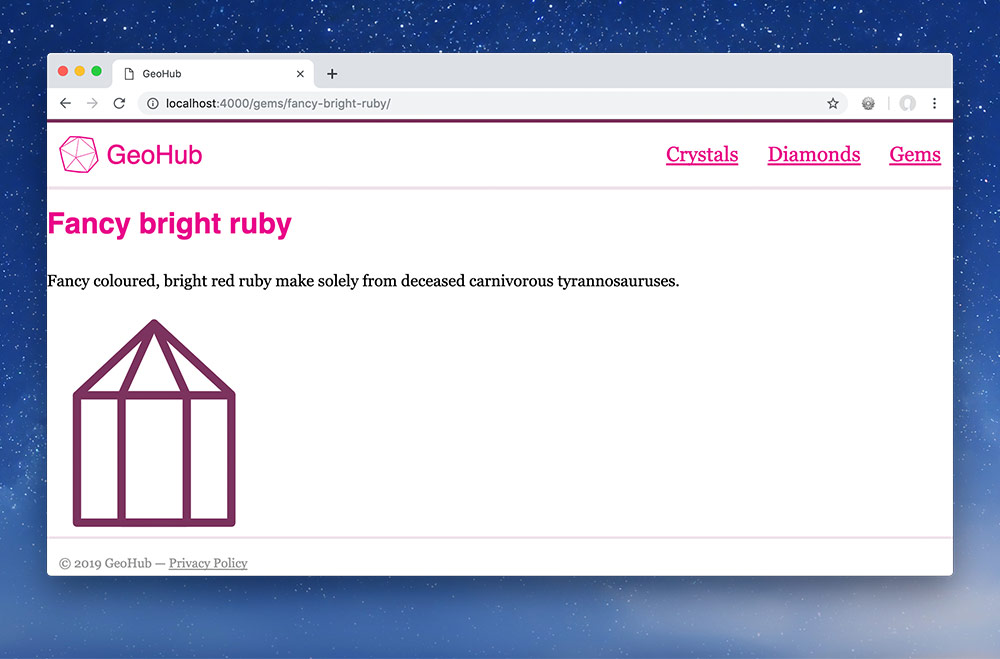
name: "Fancy bright ruby"
description: |
Fancy coloured, bright red ruby make solely from deceased carnivorous tyrannosauruses.
image: "/images/ruby/fancy-bright.jpg"
price: 257
colors:
- "Red"
shape: "Diamond"
clarity: "VVS1"
---
Navigate to this product in your browser and see that you’ve made a full second page on your website without writing any code!
Finish off all products…
Now it’s completely up to you: add many more Markdown files for your website. Ideally 1 Markdown file for each product listed on your products page.