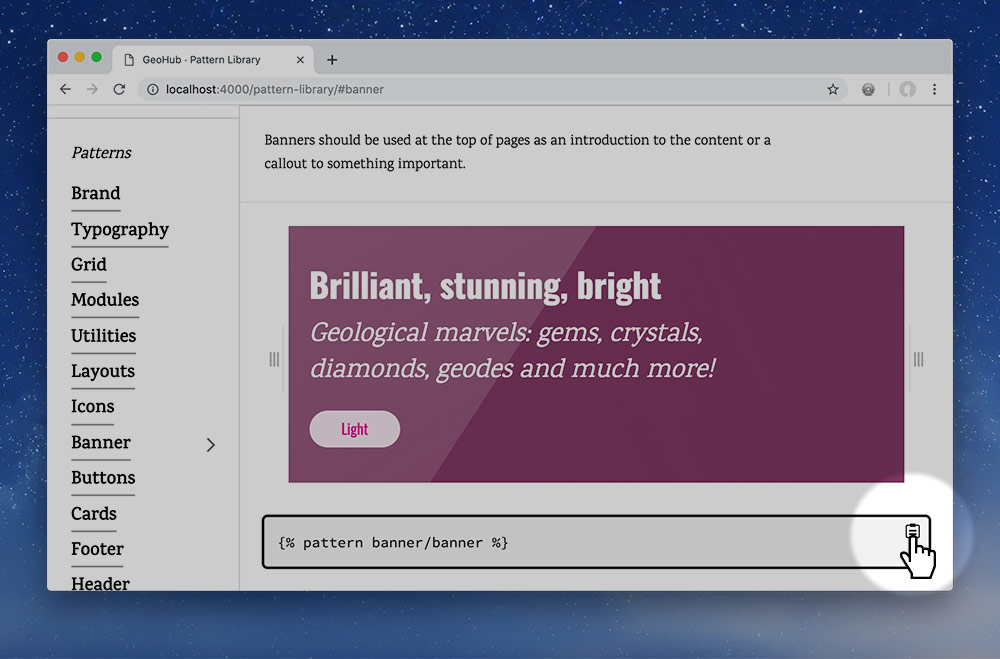
The final thing I want to show you is passing information from the page itself into an include without changing the include code snippet.
In Jekyll each HTML file is a “page” which means that we always have access to a page variable.
We can store information at the top of each page, like we’re doing with the layout and retrieve it later to do something with.
So, let’s open up our products page, and add a new page variable to the top, like this:
---
layout: default
highlight_nav: crystals
---
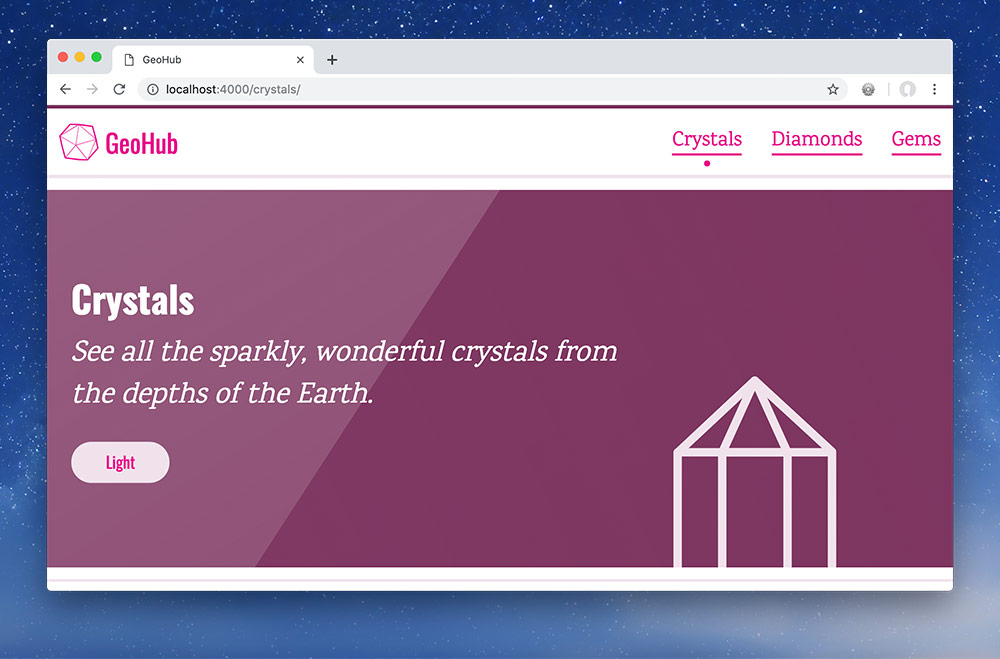
{% pattern banner/banner heading="Crystals" text="See all the sparkly, wonderful crystals from the depths of the Earth." icon="crystal" %}
Now if I pop into my header pattern I can use more Jekyll if-statements to highlight the correct navigation item.
⋮
  <nav class="nav pad-t-1-2 pad-b-1-2 giga" role="navigation" id="nav">
    <ul class="list-group-inline push-0">
      <li class="gutter-1-2 {% if page.highlight_nav == 'crystals' %}current{% endif %}"><a href="/crystals/">Crystals</a></li>
      <li class="gutter-1-2 {% if page.highlight_nav == 'diamonds' %}current{% endif %}"><a href="#">Diamonds</a></li>
      <li class="gutter-1-2 {% if page.highlight_nav == 'gems' %}current{% endif %}"><a href="#">Gems</a></li>
    </ul>
  </nav>
⋮
Now if I refresh in the browser I see this:

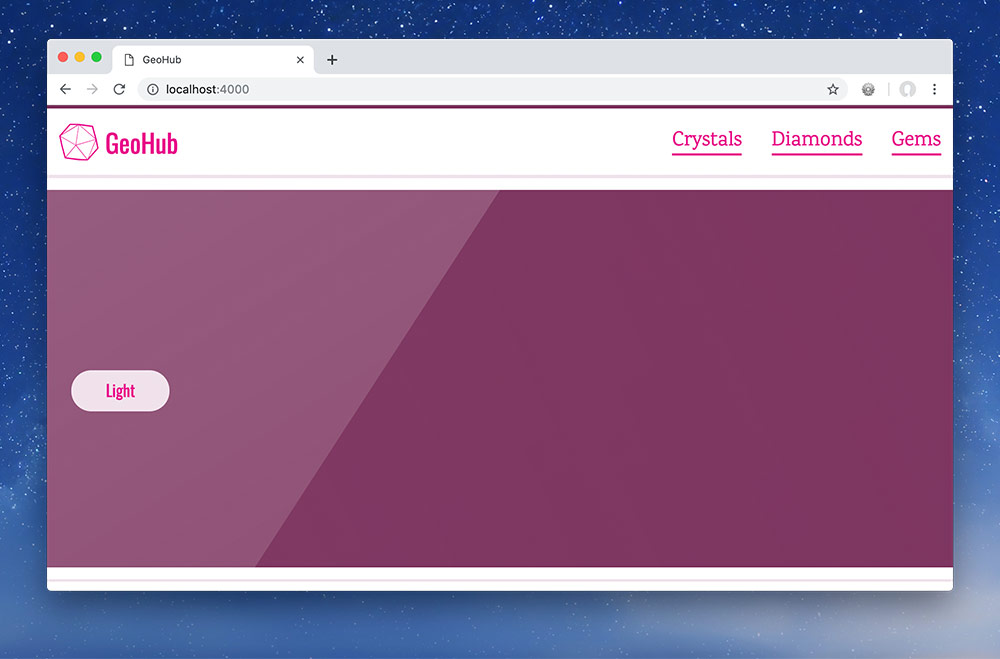
My homepage doesn’t have any navigation highlighted.

But the crystals page is highlighted!