We’ll be using GitHub as our code version control system—and our web host.
We’ll put all of our coding exercises on GitHub where they will be live websites visible to anybody.
Create a repository on GitHub, set it up to host a website, and launch a single page site.
You can watch the video(s) or follow along with the written tutorial—or both—they convey exactly the same information.
We’ll be using GitHub as our code version control system—and our web host.
We’ll put all of our coding exercises on GitHub where they will be live websites visible to anybody.
For most coding exercises you won’t need to perform these steps, you’ll be using Markbot to hand in all your work.
Before starting this project we need to create a repository on GitHub. The repository will hold all of our website code, all the history of our project, and be our host.
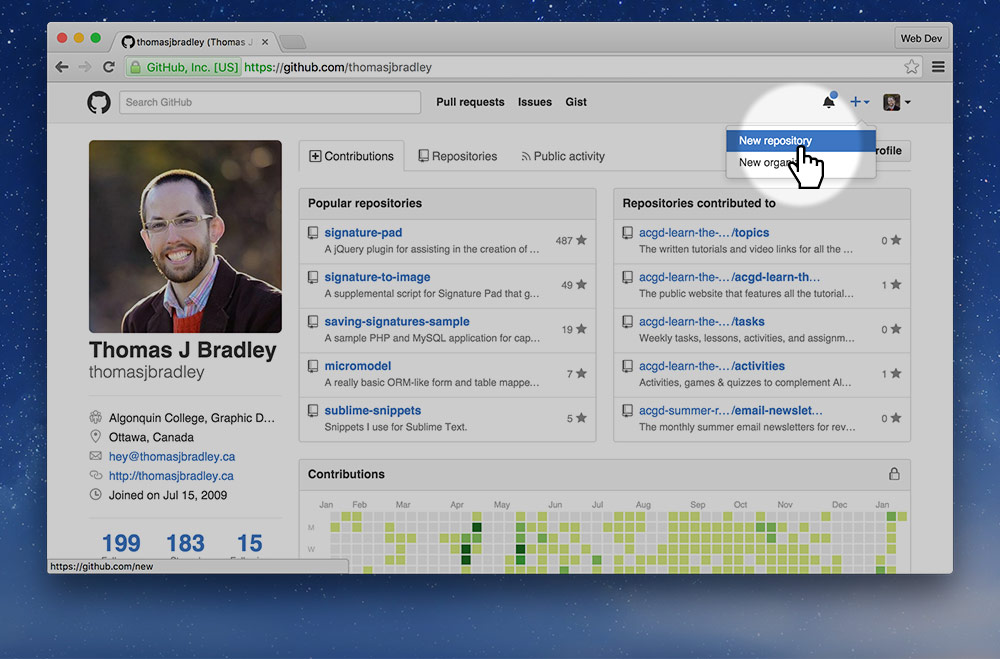
When we get to the new repository page there’s a few fields to complete.
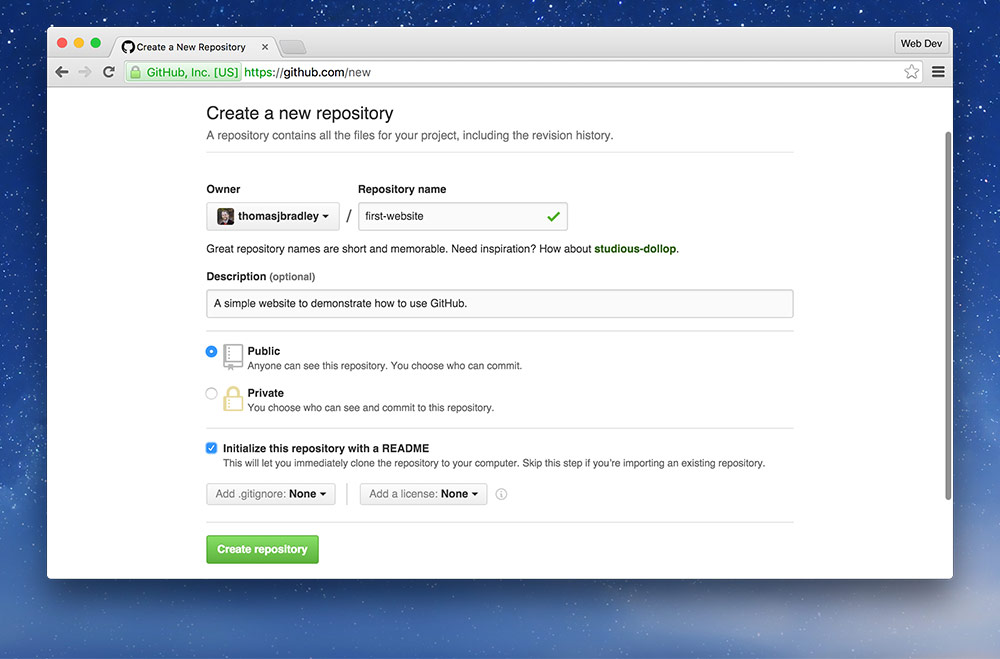
Don’t forget to follow the naming conventions.
Before we write any code we’re going to set up the code repository so it’s a live, hosted website.
By default the code stored on GitHub isn’t assumed to be a website—any code can be store on the service. We need to opt-into the free website hosting that GitHub provides, named GitHub Pages.
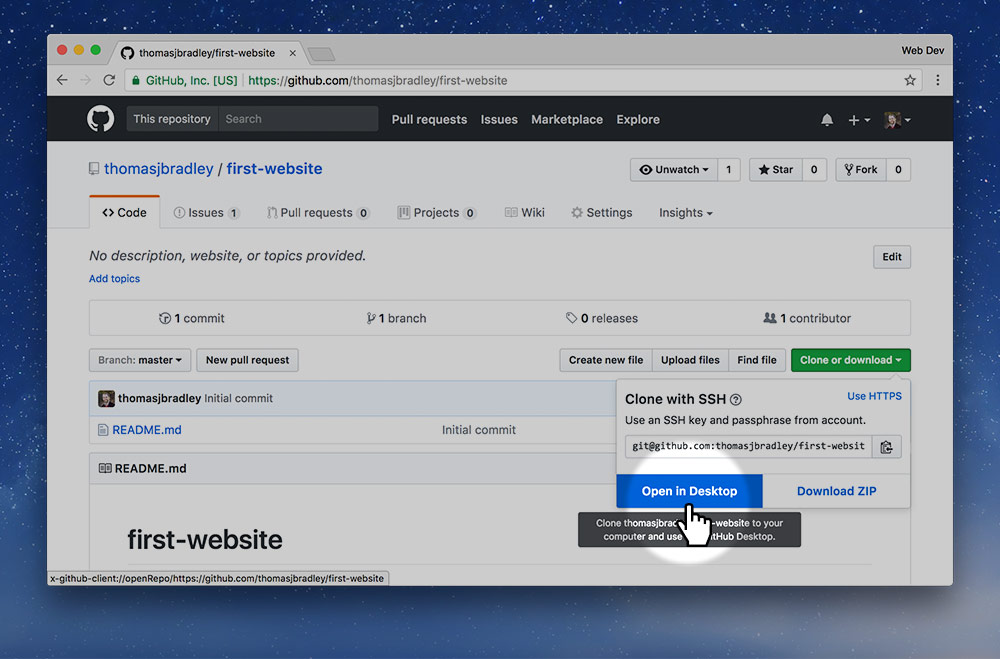
After our repository is created and set up we need to clone (copy) it to our computer by pressing the “Clone to desktop” button.
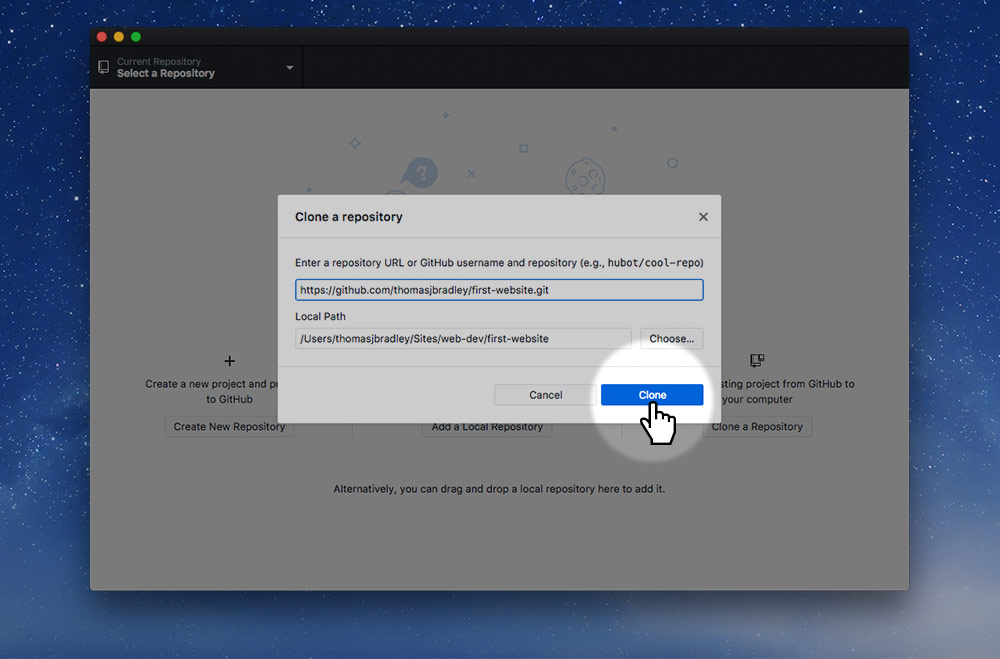
The GitHub Desktop application will pop up and ask you where to save the repository. Put it into your web-design folder—you don’t have to make a folder specifically for this repo, the app will make it for you.

Then click the “Clone” button:
We can now open up the project in our code editor.
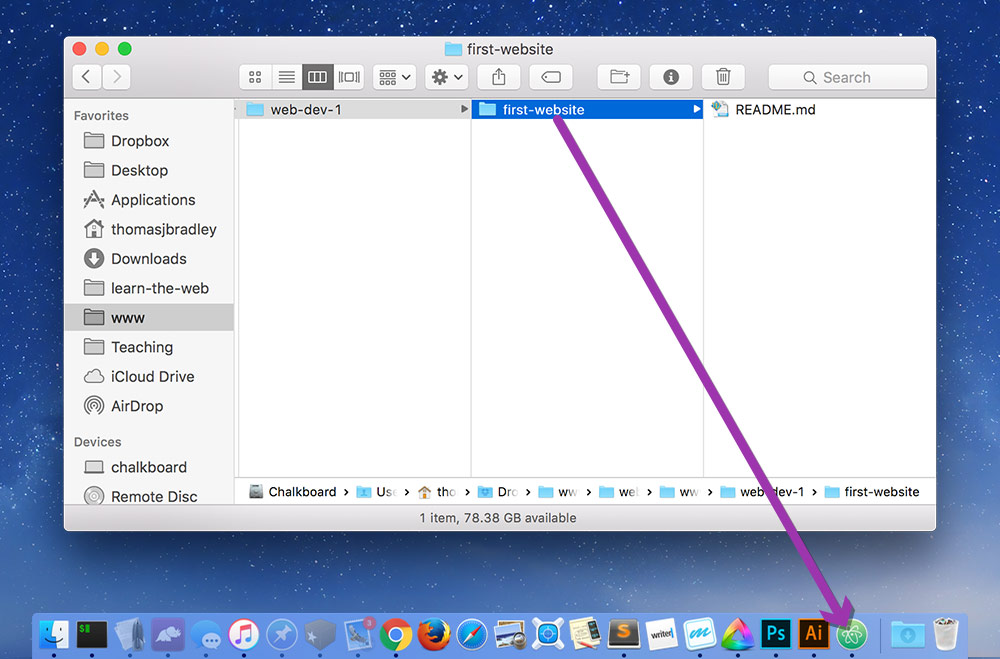
Drag the folder that was created to your code editor in the Dock.
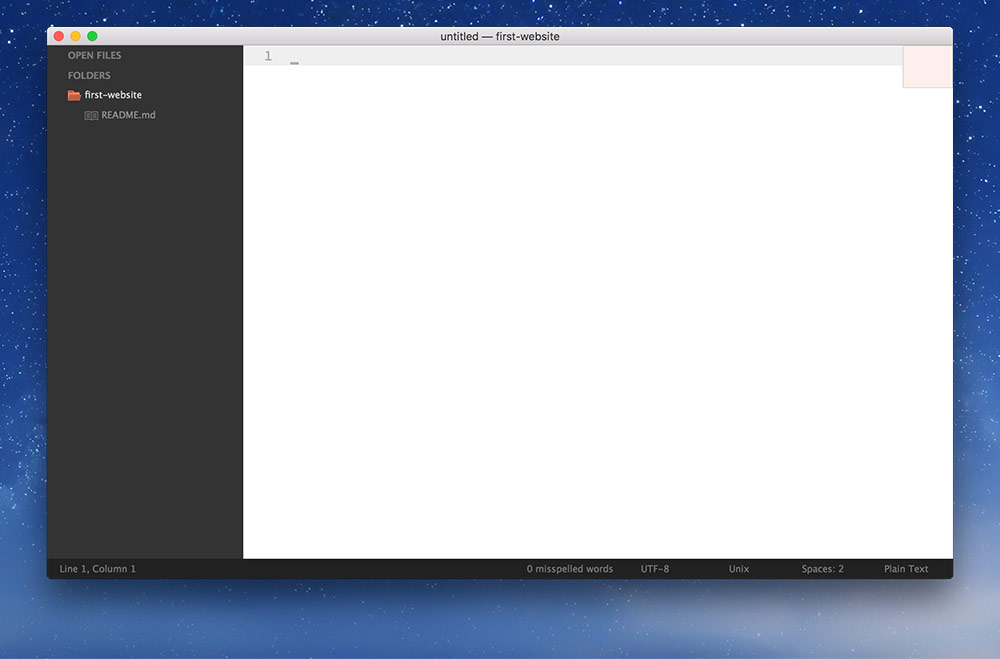
We’re ready to make a new HTML file.
Go to File > New or press ⌘N to make a new file.
Immediately save the file. Call it exactly index.html. Put it into the first-website folder.
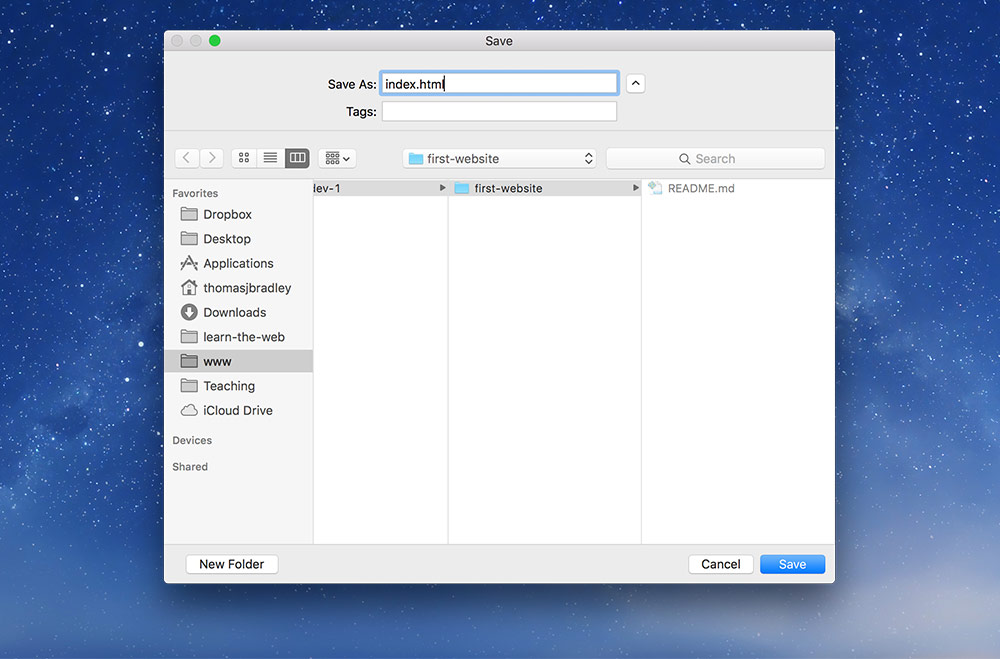
Don’t forget to follow the naming conventions.
Use ⌘S to save.
Use ⌘⌥N to make, name, and save a new file in one step. Only works when a folder is open in your code editor.
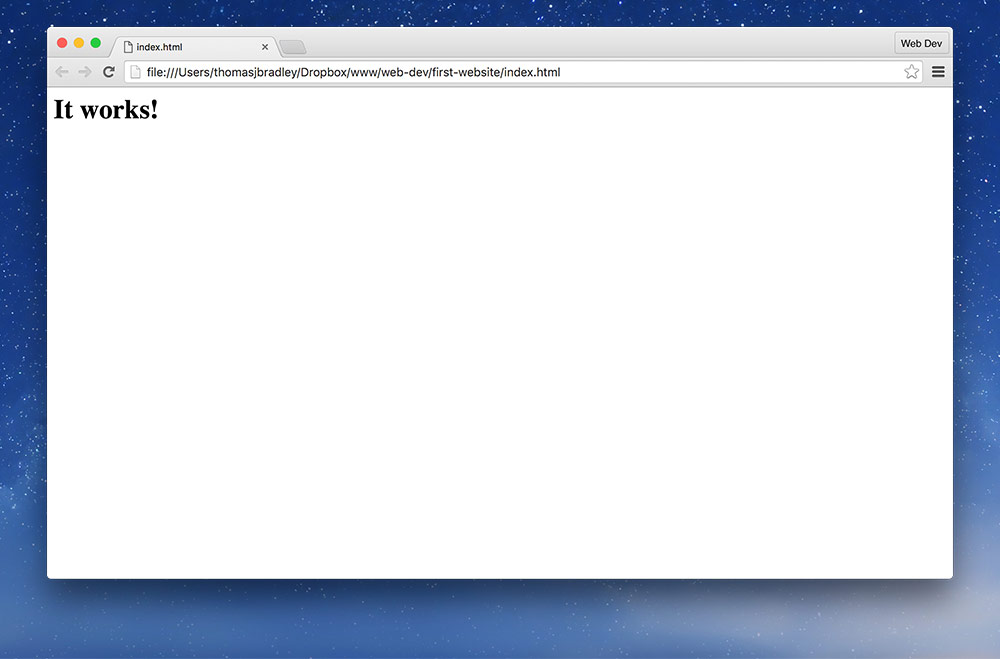
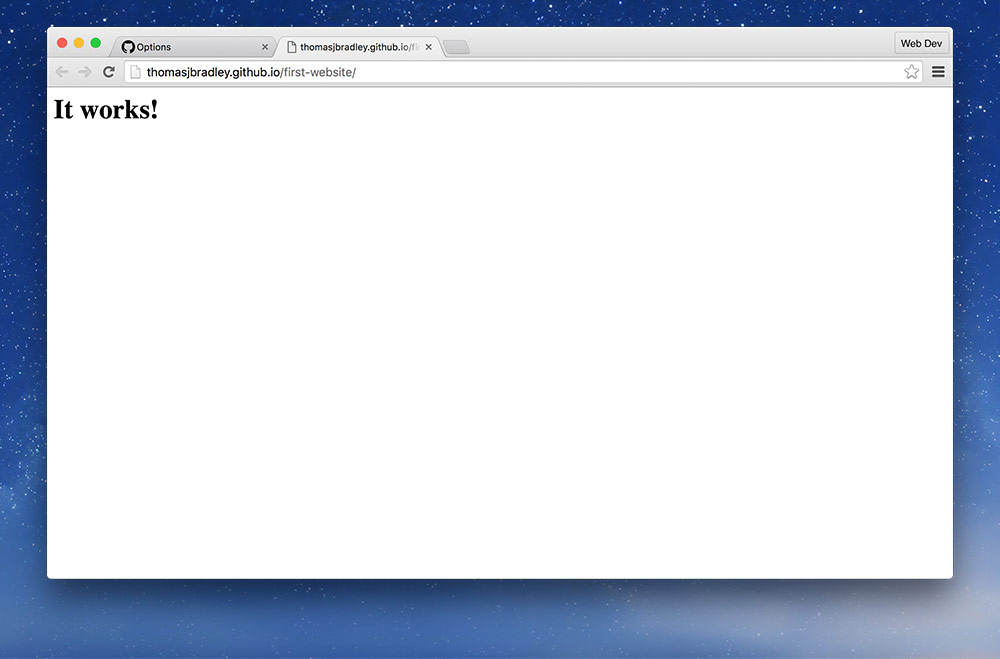
In the index.html file write a little bit of HTML:
<h1>It works!</h1>

Then save!
After saving our HTML we need to test it in a web browser to confirm it works.
Use Chrome or Firefox to test websites while developing—Safari isn’t good enough.
Double click on the icon in Finder to open it in the browser.
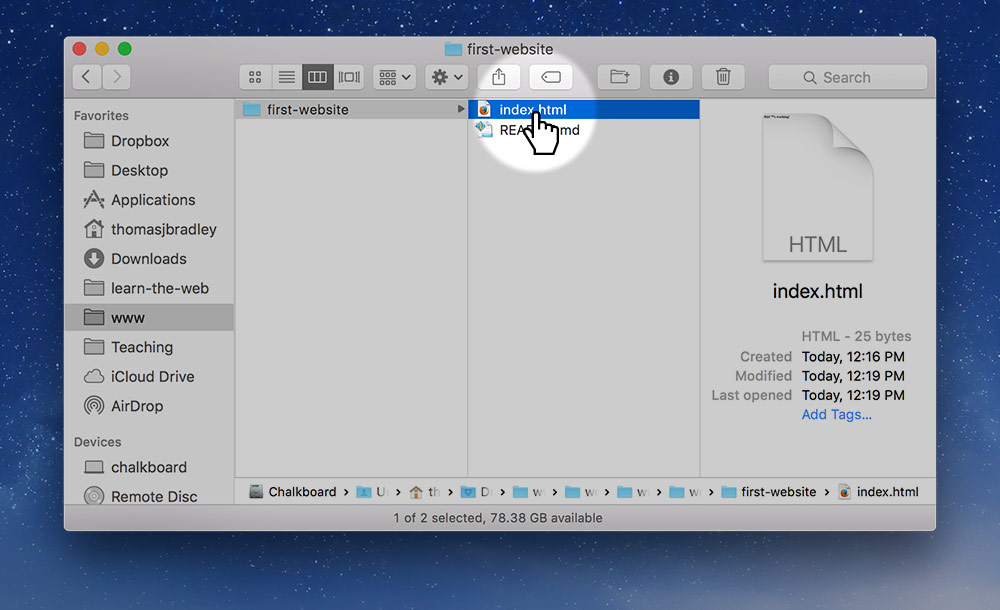
Make sure it looks all good in the browser.
Leave this tab open all the time while working to easily jump back and forth.
Leave this tab open while working and jump back to the window with ⌘Tab when you want to test—press ⌘R to refresh the browser.
⌘S, ⌘Tab, ⌘R, ⌘Tab, repeat.
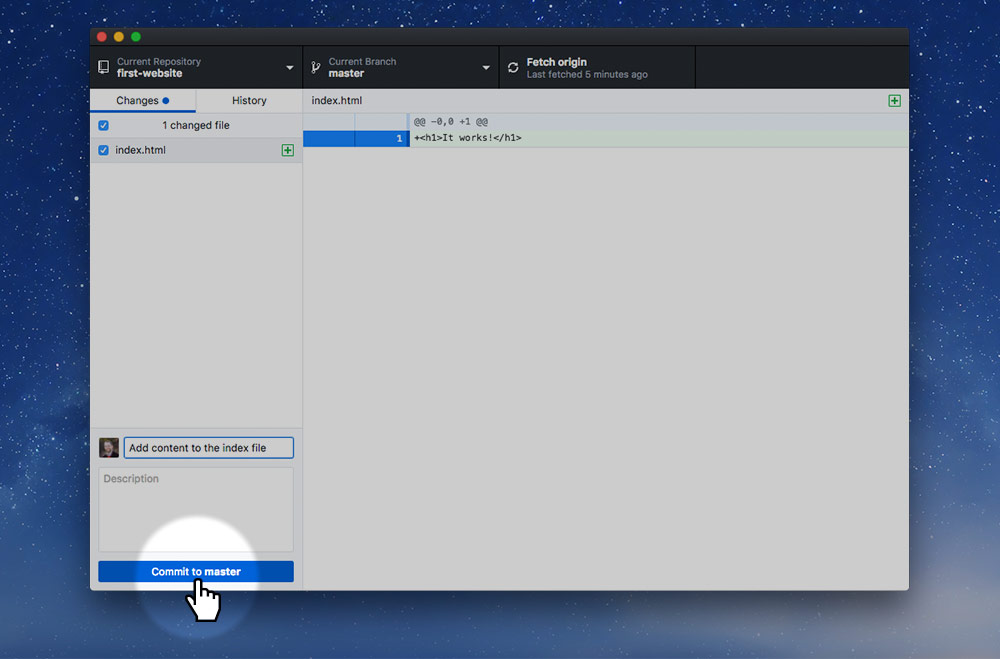
When happy with how it looks in the browser it’s time to make a commit to save the state of our code.
Make sure to write a descriptive message!
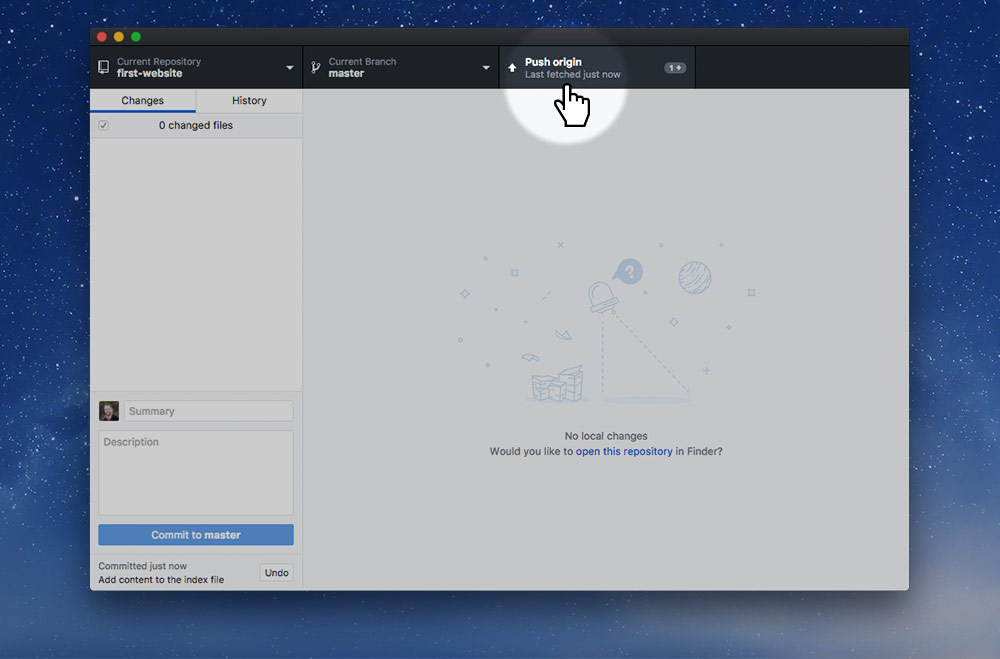
Then send it to the GitHub website with the “Push” button.
⌘Return to save the commit.
⌘P to push your changes.
Refer to the commit messages cheat sheet for the commit best practices.
After syncing our website will be live, online, at a specific URL.
The URLs always look like this:
https://username.github.io/repo-name/
Find the URL on the GitHub website under the repository’s “Settings” tab.
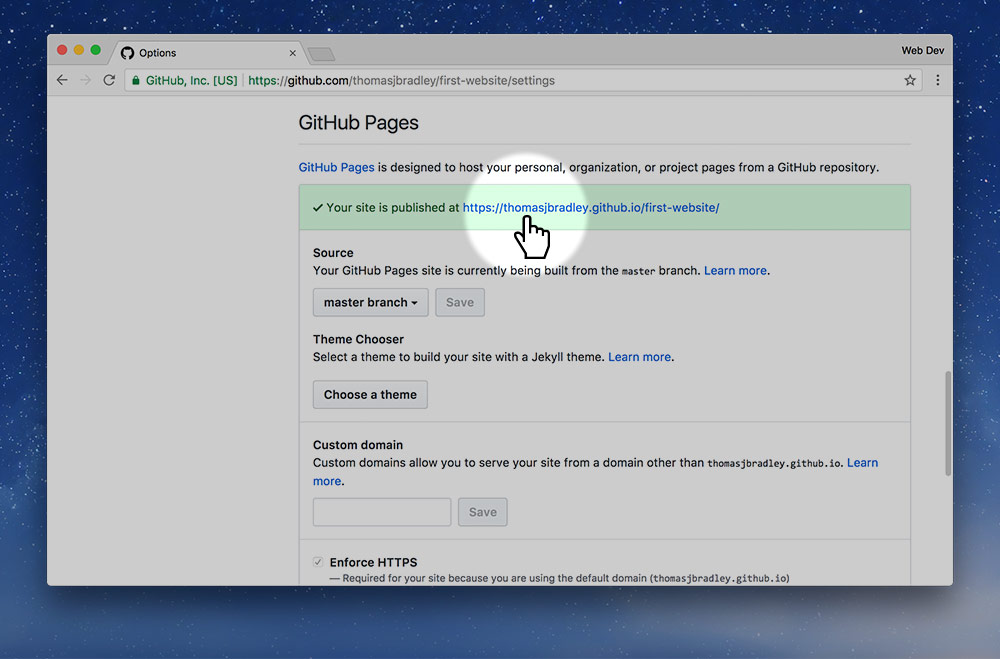
And you should see your website! The URL is completely open to anyone in the world.
For all the code exercises in class we don’t have to go through the process of setting up for hosting—the assignments are all ready.
We’ll be using the fork & pass tests method with Markbot to hand in all work. That lesson comes next ➔