Version control is something all developers & designers should become intimately familiar with. It allows us to track changes in our code, over time, and rollback to older versions if we mess up.
Version control solutions
There are a whack load of different version control solutions. In this program there are three major ones you’ll be working with:
- GitHub — for code, text files, small images
- Dropbox — for big files, Creative Suite
- InVision — for UX files, wireframes, prototypes
Common terms
There’s a whole lot of jargon when it comes to version control here’s a few of the common terms:
- Repository: the system and database that stores the history of your files
- Initialize: turn your folder into a repository
- Clone: get a copy of the code and all its history; usually from another computer or server
- Revision: the version of a file (or files) in the history
- Commit: save the state of your files
- Local: your own copy of the repository
- Remote: a copy of the repository on another computer
- Pull: get commits from a remote repository
- Push: send your commits to a remote repository
- Branch: A copy of your code with a different series of changes
- Merge: combine your changes with another developers’ changes
Basic workflow
The common workflow for working with version control software goes something like this:
- Clone or initialize a repository
- Make a significant change
- Check the status and compare the changes
- Stage and commit your change to the history
- Repeat steps 2–4 as needed
- If you’re working with other people, pull and merge their remote commits
- Push your commits to the remote repository
That’s it—but, there is so much more you can do.
GitHub
GitHub is one of the most common places to hold open-source (and closed-source) code. It offers a place to put the code for free and has fully integrated version control.
GitHub is based entirely on top of Git, the version control system, and integrated around its features while adding more hosting and project management tools.
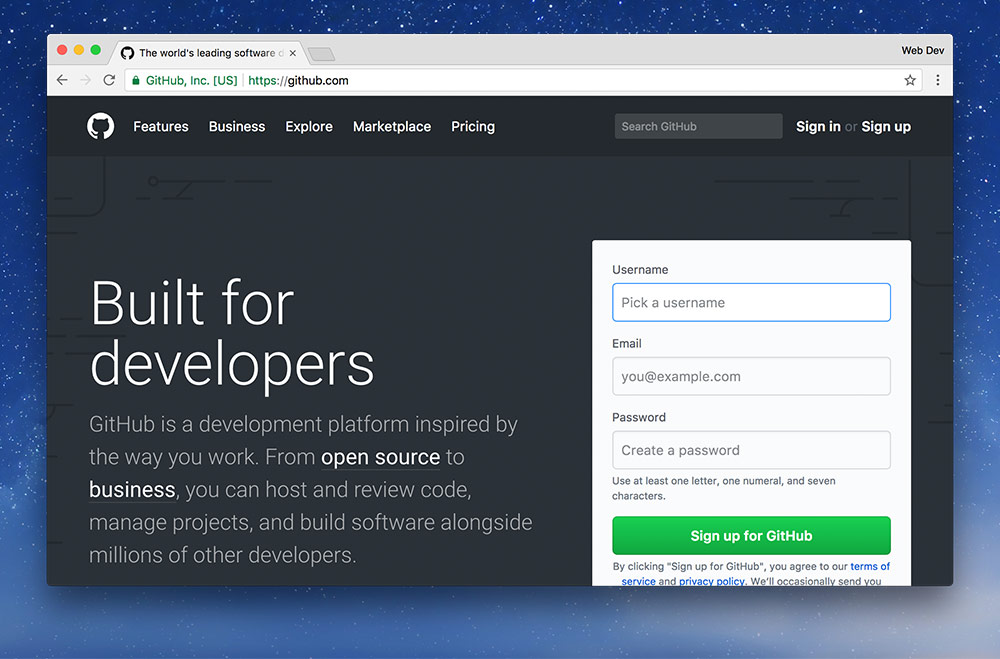
You’ll need to get a GitHub account before we go any further.
Installing the GitHub Desktop application
We’ll need to install the GitHub Desktop application so we can interact with GitHub and Git form our computer.
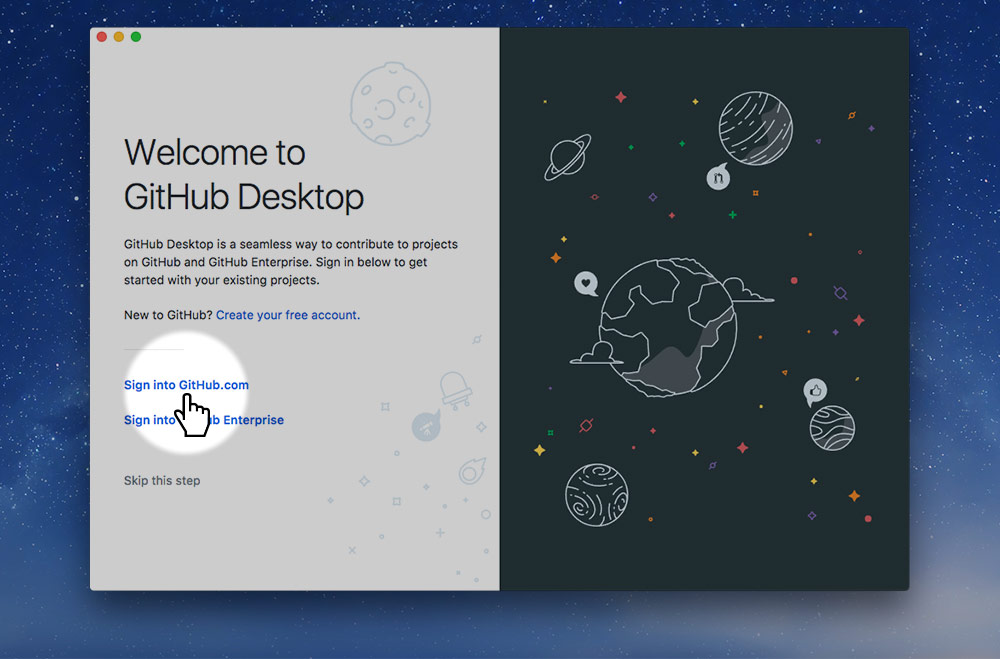
- Download the app from the GitHub Desktop website.
- When it asks you to move it to the applications folder—press “Move to Applications Folder”.
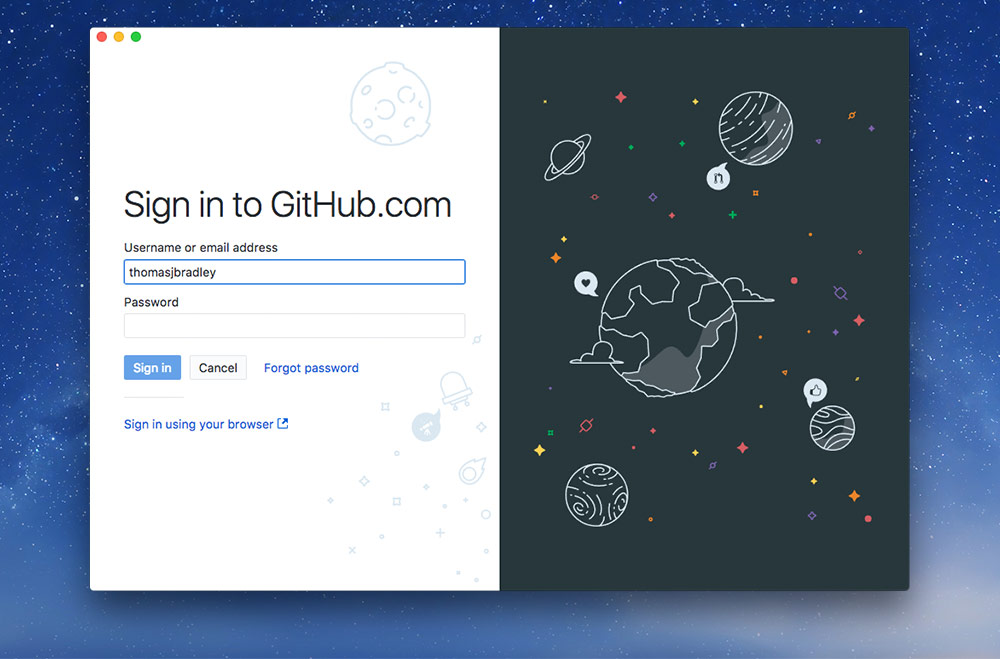
- Sign in with your GitHub username, email address, and password.
Creating a new project
The first thing to do after creating your GitHub account is signing in. Then we can start creating new projects.
Before starting this project we need to create a repository on GitHub. The repository will hold all of our website code, all the history of our project, and be our host.
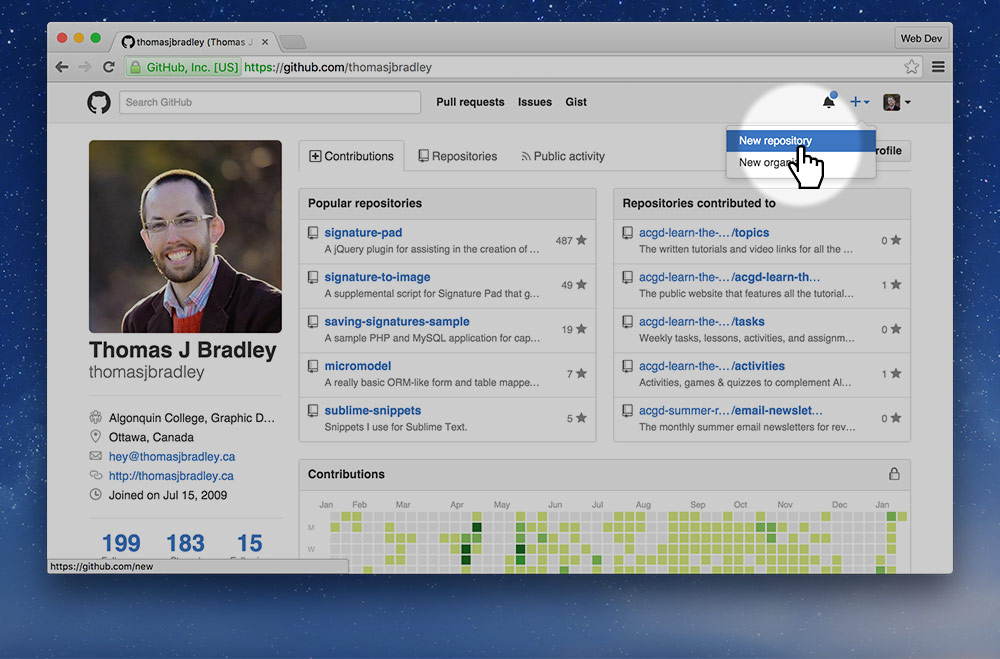
When we get to the new repository page there’s a few fields to complete.
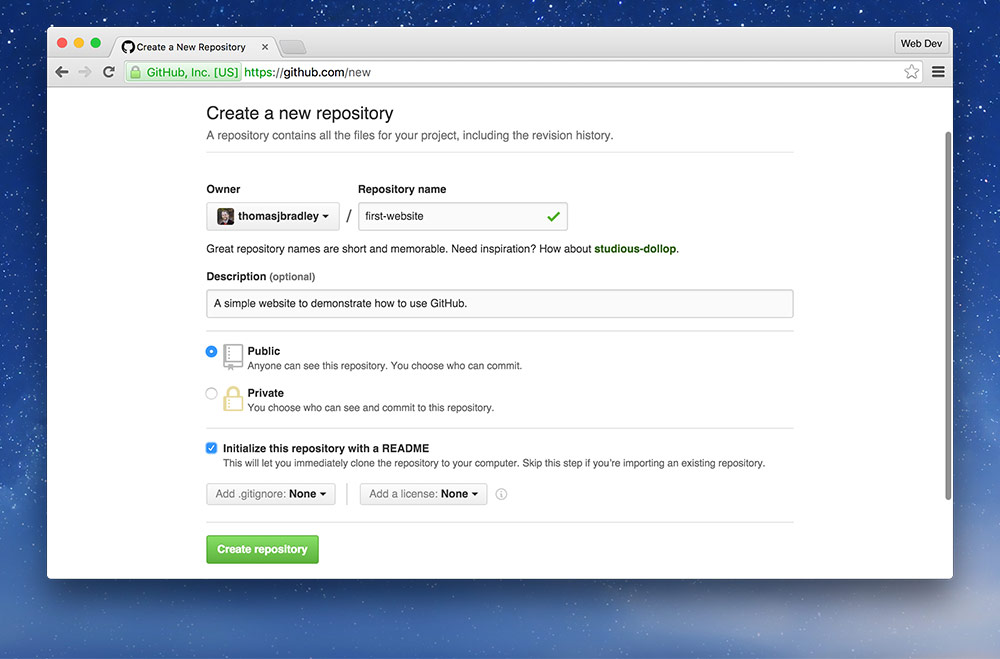
- Repository name — create a unique name for the repo, make sure it follows the naming conventions.
- Description — come up with a short description describing the purpose of the project.
- Public/Private — choose “Public” because we don’t have a paid accounts.
- Initialize this repository with a README — always make sure this is enabled.
Setting up hosting with GitHub Pages
There are different ways to set up hosting on GitHub Pages, the most common way is using a branch called gh-pages.
☛ See a whole GitHub hosting setup tutorial from Web Dev 1
Using GitHub Desktop
The GitHub Desktop application will detect any changes we make to our code and allow us to save the state, like a permanent undo—this process is called committing.
Commits & commit messages
Commits are one of the most important things you do with your version control system. Every time you commit, you are saving the current state of your code. You are making a breadcrumb that you can go back in time to.
Committing some code
Whenever you’ve changed something significant in your code and you want to save its state, go to the GitHub Desktop application.
It will detect whatever file in your code you’ve changed and show you a screen to commit the changes.
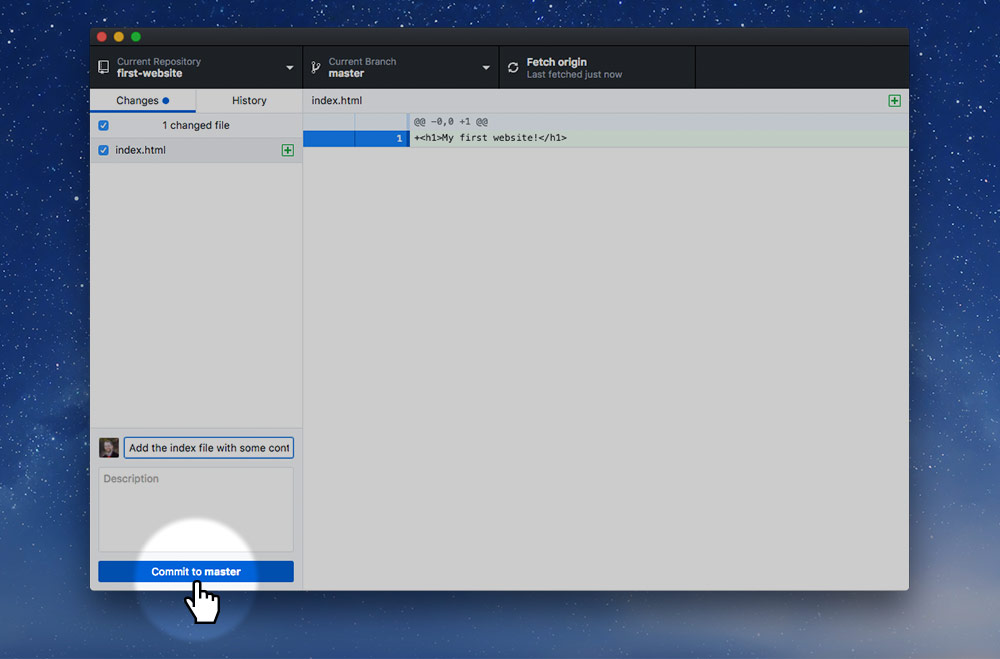
Make sure to write a descriptive message!
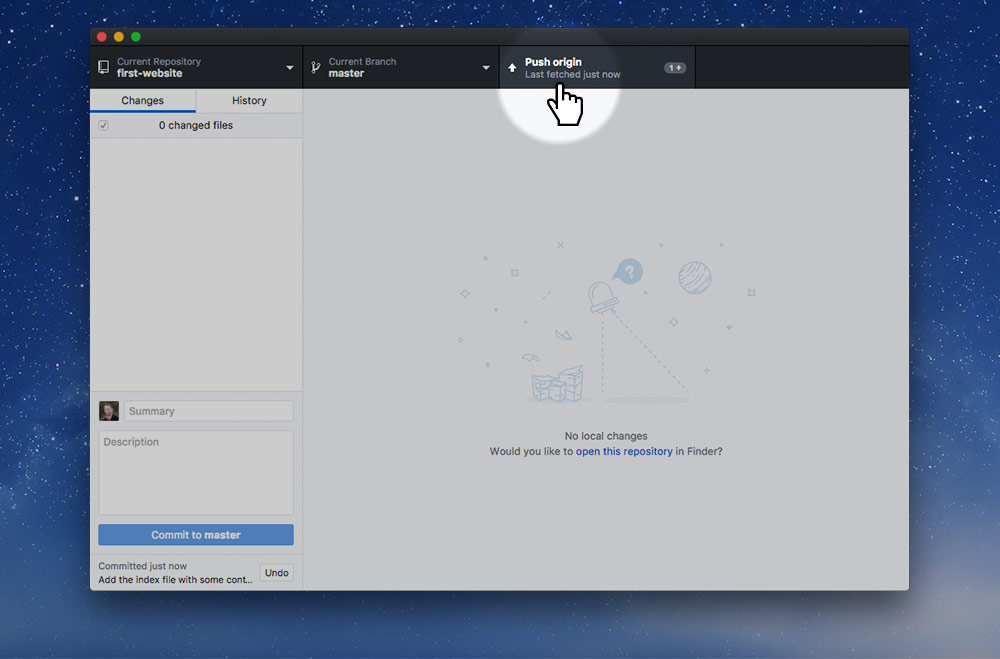
Then push it to the GitHub website—allowing anybody to see your website live on the Web.
Commit early, commit often
The idea is to commit frequently. As soon as you’ve added a small function or significant piece of code.
- You don’t need to commit for every line of code
- You should commit when you add a new function
- You shouldn’t commit—only once—when everything is done
- Your code doesn’t need to be “done” to commit
- Think of your project in small blocks, and then in smaller blocks—those smallest blocks are your commits
Commit messages
Every time you commit you must write a commit message describing what you changed. Some examples:
- “Fix the dinosaur name function that was always returning Tyranosaurus Rex”
- “Add the ability to track the length of a dinosaur”
Your commit messages must be descriptive and specific. If you ever need to go back in time on your project, they describe the state of the project for that commit. Commit messages are for you and other developers.
Commit message best practices
There are a few important best practices to follow when writing commit messages:
- Minimum 3 words & 10 characters long
You want to be able to understand the purpose of the commit when looking in the history - Proper spelling & grammar
Including a capital letter at the start
Not including a period at the end - Must start with an imperative verb
Start with words like “Fix”, “Add”, “Change”, etc.
It’s best to imagine that all your commit messages start with the phrase: “This commit will…”
☛ See the Commit message cheat sheet for examples
Ignoring files
To ignore files that you don’t want committed to your repository—like passwords—use a .gitignore file.
Create a file in your repository named .gitignore and put the names of the files you want to ignore inside it.
Ignore my database connection file
db-conn.php
A default .gitignore
._*
.DS_Store
Thumbs.db
☛ Git ignore templates on GitHub
Branching
Think about how you generally work on a project: you do one thing then decide you want to try something else, so you make a copy, maybe you name it version-2. Then you decide you want to try something else, you copy and name it version-3.
Now you have a litter of different files for different features you’ve tried out.
Git branching solves this problem by providing a clean way to make copies of your code to work on a specific feature.
Video list
- GitHub: Setting up & creating projects
- GitHub: Setting up hosting with GitHub Pages
- GitHub: Committing syncing
- GitHub: Syncing remote edits
- GitHub: Ignoring files from your project
- GitHub: Branching and merging
- GitHub: Handling conflicts with team members
- GitHub: Using Issues
- GitHub: Enabling the Issues tab
- GitHub: Task, labels & milestones