There are many styles for small screen navigation depending on the amount of items in the navigation.
Basic navigation
The pattern for just about all navigations on the web follows this: a ul inside of a nav.
<nav>
  <ul class="nav">
    <li><a href="#">Home</a></li>
    <li><a href="#">Dinosaurs</a></li>
    <li><a href="#">Pterosaurs</a></li>
    <li><a href="#">Plesiosaurs</a></li>
    <li><a href="#">Mammals</a></li>
  </ul>
</nav>
If the navigation is in the masthead of your website it should also be inside a <header>. If it’s in the footer of your website, putting it in the <footer> probably makes sense.
Linking multiple pages
When we’re linking to multiple pages we just need to specify the location of the other HTML file. ☛ Following the paths syntax.
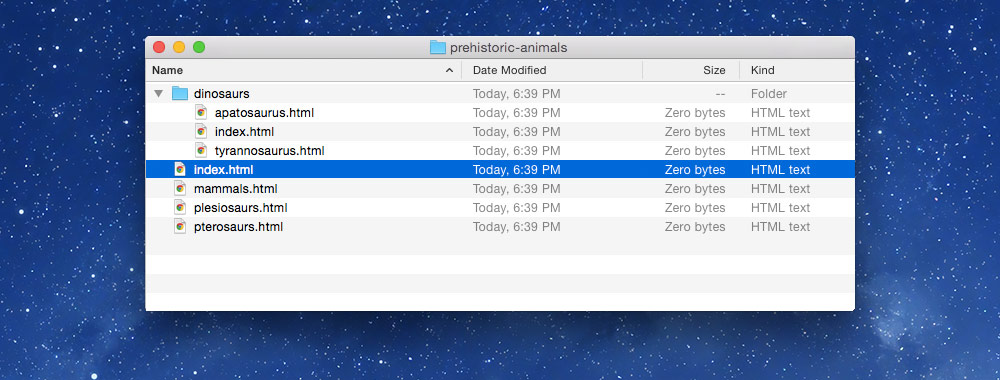
Here’s what our links would look like with the above folder structure.
For index.html:
<nav>
  <ul class="nav">
    <li><a href="index.html">Home</a></li>
    <li><a href="dinosaurs/">Dinosaurs</a></li>
    <li><a href="pterosaurs.html">Pterosaurs</a></li>
    <li><a href="plesiosaurs.html">Plesiosaurs</a></li>
    <li><a href="mammals.html">Mammals</a></li>
  </ul>
</nav>
The index.html file is always the default within a folder: for your website, index.html is the homepage because it’s the default within the website folder; inside folders we can also have index.html which will be the default file inside that folder.
From the dinosaurs/ folder, we would have to write the below navigation, using ../ to navigate out of the dinosaurs/ folder.
For dinosaurs/index.html:
<nav>
  <ul class="nav">
    <li><a href="../index.html">Home</a></li>
    <!-- This doesn't need the `../` because the `dinosaurs/` index is inside the folder our file is already in -->
    <li><a href="index.html">Dinosaurs</a></li>
    <li><a href="../pterosaurs.html">Pterosaurs</a></li>
    <li><a href="../plesiosaurs.html">Plesiosaurs</a></li>
    <li><a href="../mammals.html">Mammals</a></li>
  </ul>
</nav>
☛ Refer to the tutorial on paths
Highlighting the current page
It’s important to highlight the current page in your navigation—lots of us humans have memory issues and need to be reminded what page we’re on.
Highlighting the navigation is as simple as applying a class to the navigation item you want to highlight:
On the plesiosaurs.html page:
<nav>
  <ul class="nav">
    ⋮
    <li><a class="current" href="plesiosaurs.html">Plesiosaurs</a></li>
    ⋮
  </ul>
</nav>
Notice the class of .current on the link. It’s only on the <a> tag that matches the HTML file we’re currently on.
All we need now is a little CSS:
.current {
  background-color: red;
}
On each page we’d just move the class to a different <a> tag to highlight that specific navigation item in the menu.
Inline-list pattern
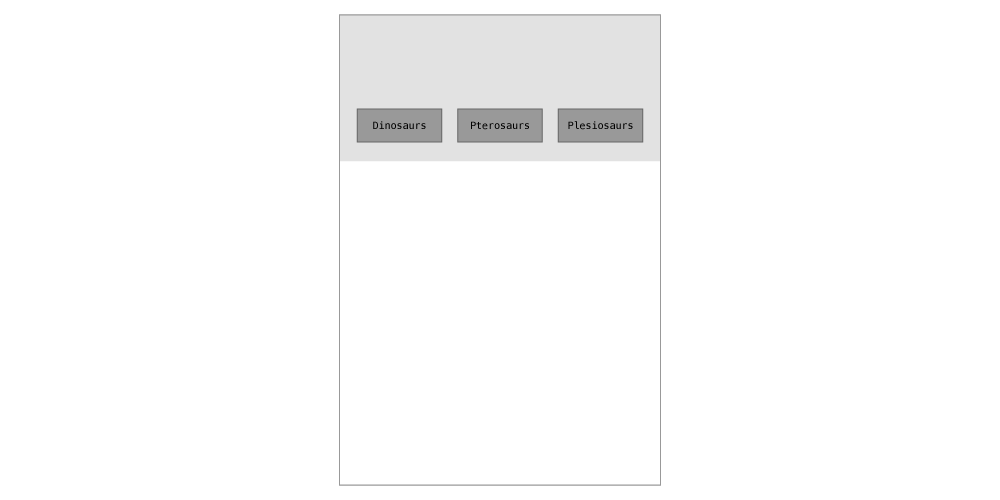
The inline-list pattern is good when you only have a few navigation items and they can easily fit across one line.
The inline-list pattern uses display: inline-block on the list items to put the navigation items next to each other.
.nav li {
  display: inline-block;
}
Footer-anchor pattern
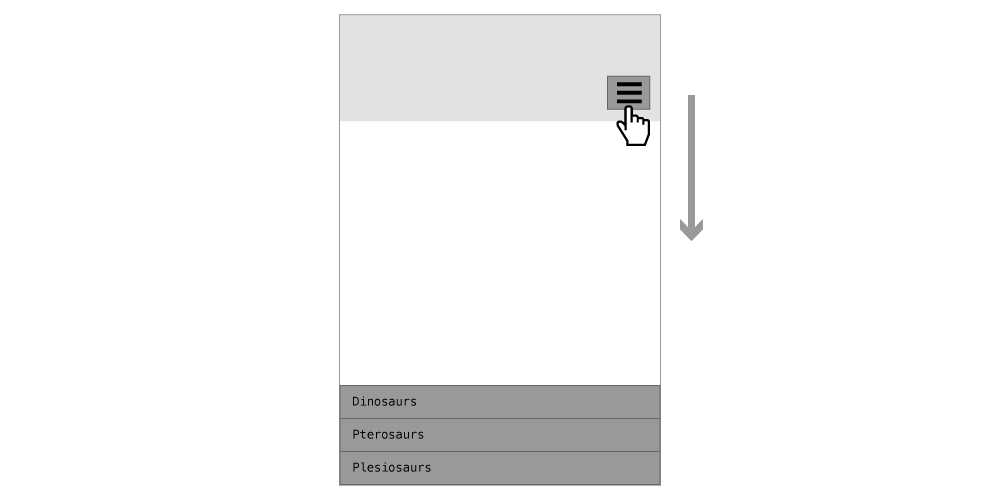
The footer-anchor pattern for navigation puts the navigation at the bottom, then just uses an internal link to jump the user down the page.
<header>
  ⋮
  <a href="#nav">Navigate</a>
</header>

⋮

<nav id="nav">
  ⋮
</nav>
Grid pattern
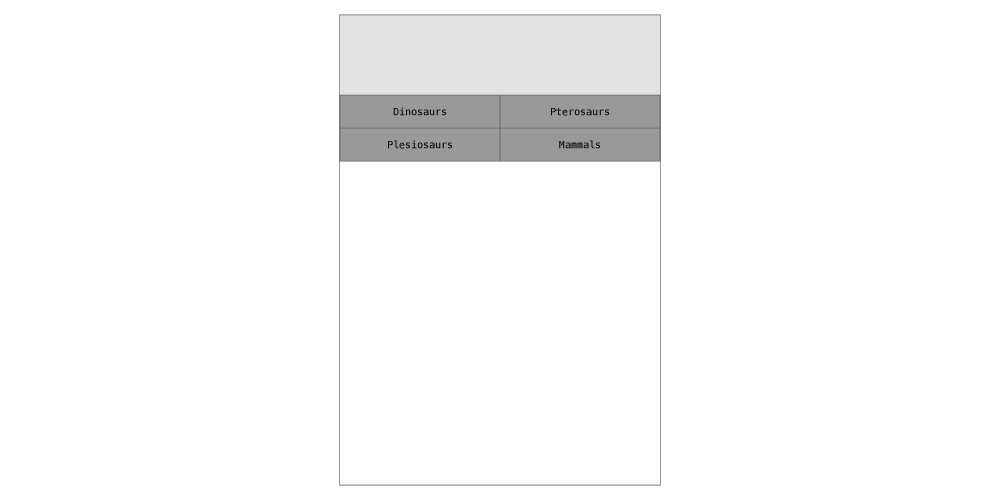
The grid pattern is a way to use up less space at the top of the page for your navigation. All we do is use flexbox to get the list items beside each other to form a grid.
.nav {
  display: flex;
  flex-wrap: wrap; /* Allow the items to be on many lines */
}

.nav li {
  width: 50%;
}
Toggle navigation
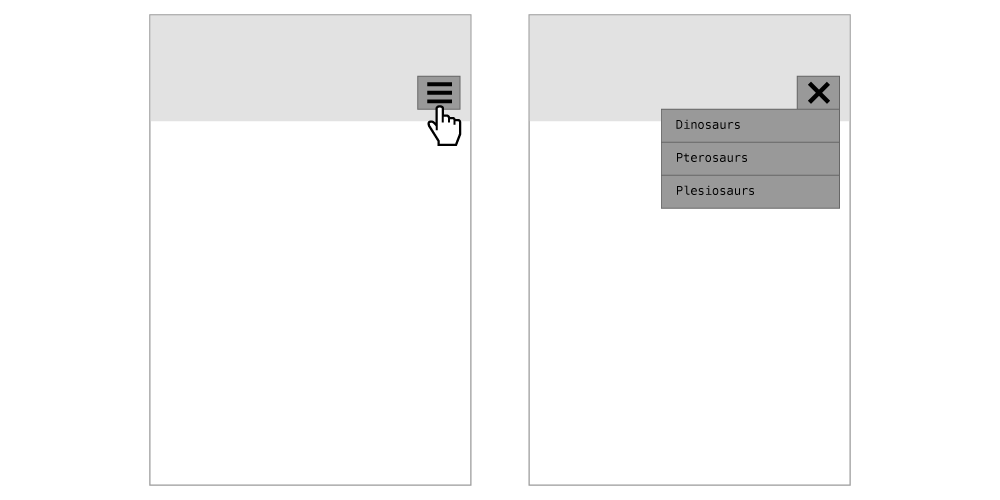
The toggle navigation hides the complete navigation behind a button. Pressing the navigation button opens up a panel to display the navigation.
There are lots of different ways to make a toggle navigation. The simplest way to do it is using CSS only. The technique hinges on a few things: checkboxes and siblings.
When the checkbox has been checked the navigation is displayed, otherwise the navigation is hidden.
Here’s the HTML setup we’d use:
<header>
  <input type="checkbox" class="nav-check" id="nav-check">
  <!-- This is the button we’d click to open/close the navigation -->
  <label class="nav-label" for="nav-check">Navigate</label>
  <nav class="nav">
    ⋮
  </nav>
</header>
The only way this will work is if the <input> and the .nav are siblings, meaning they have the same parent element.
By default we want the navigation to be hidden, using display: none will work:
.nav {
  display: none;
}
Then we can style the navigation only when the checkbox has been checked.
/* This selected targets the `.nav` only when the checkbox is checked */
.nav-check:checked ~ .nav {
  display: block;
}
We probably don’t want the checkbox to be visible, so we can hide it using position: absolute to put it off the top of the screen:
.nav-check {
  /* Put the checkbox off the top of the screen */
  position: absolute;
  top: -3em;
}
The final thing we need to do is highlight the navigate button when the navigation is open:
.nav-check:checked ~ .nav-label {
  background-color: grey;
}
We probably want to style the navigate button a little more with images, etc. Check out the sample code and videos to see how I accomplish that.
Video list
- Navigation: Inline list
- Navigation: Linking multiple pages
- Navigation: Highlighting the current page
- Navigation: Footer anchor pattern
- Navigation: Grid pattern
- Navigation: Toggle pattern