Agile project planning

Start your first weekly sprint be following along to set up GitHub Issues, Milestones & Project boards properly.

Goal

Each week, at the beginning of class, you’re going to go through this process to define the work to be completed in the following week.

This follows an Agile-like software development approach where the requirements & tasks to be completed change over time.

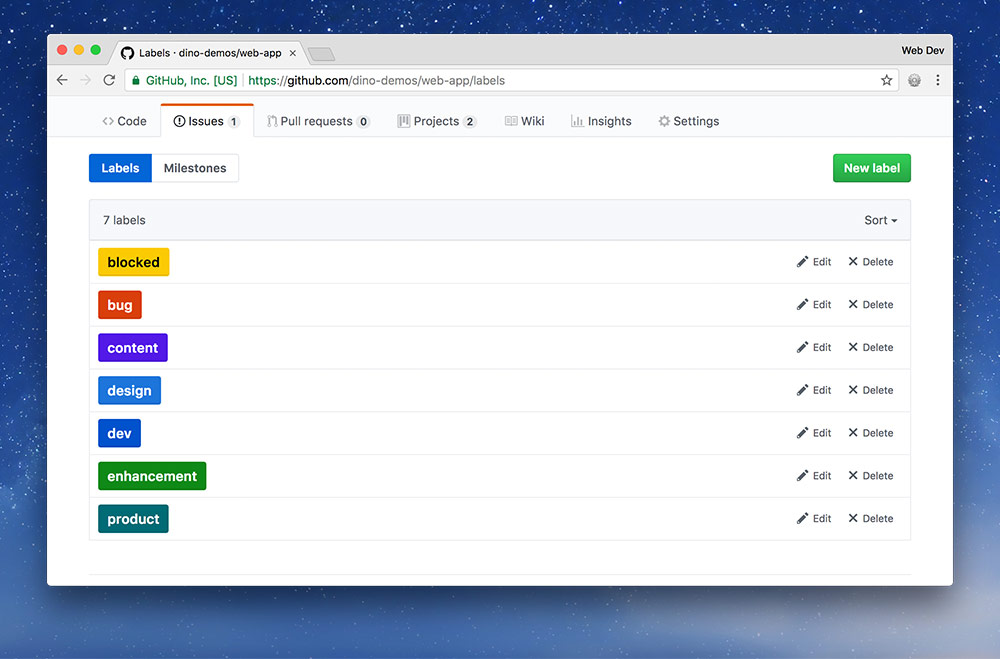
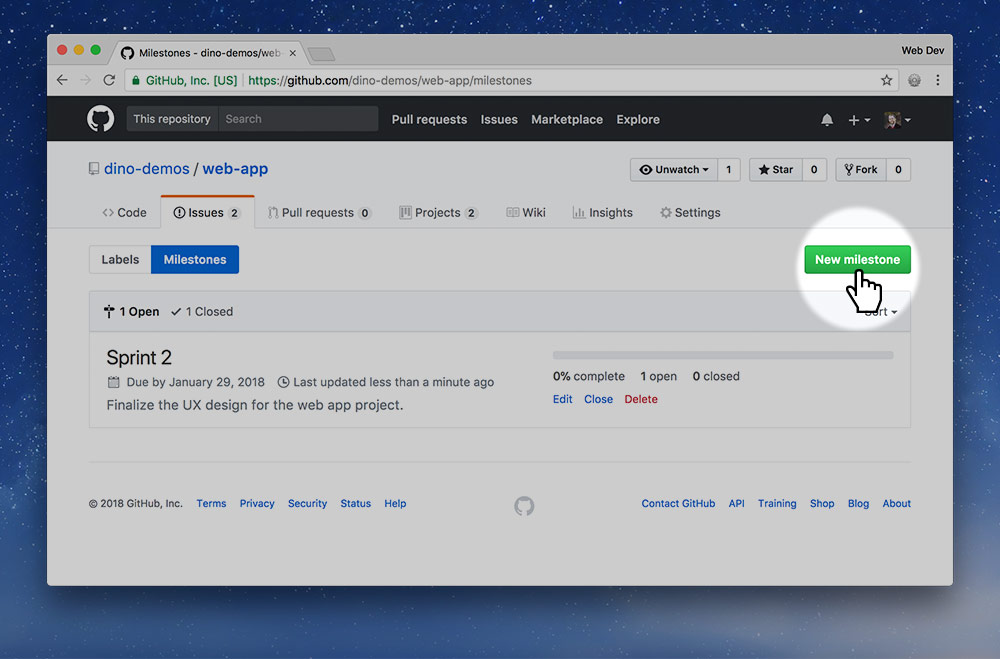
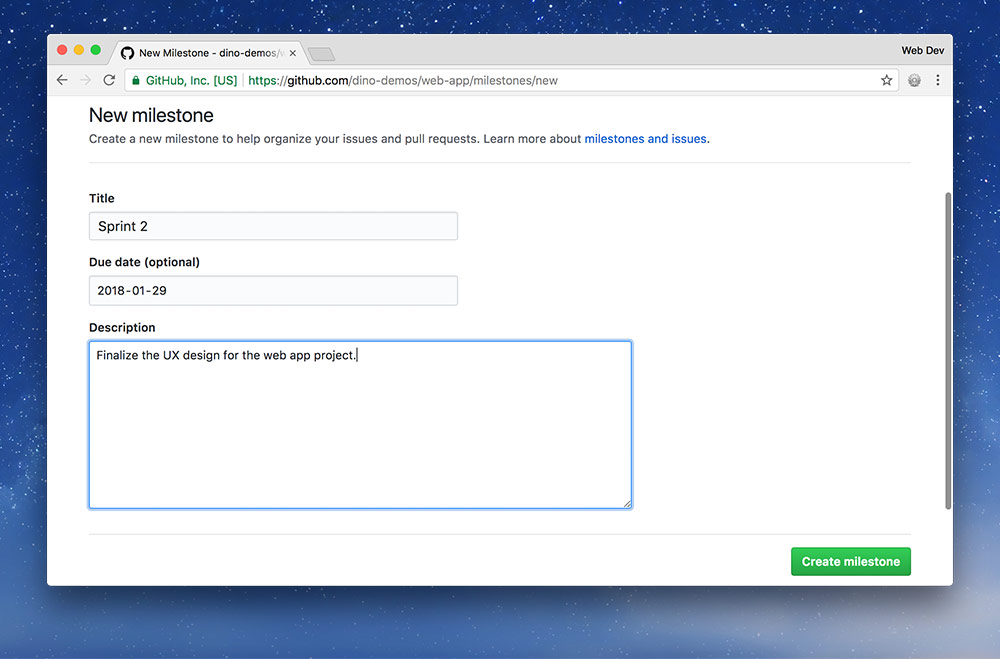
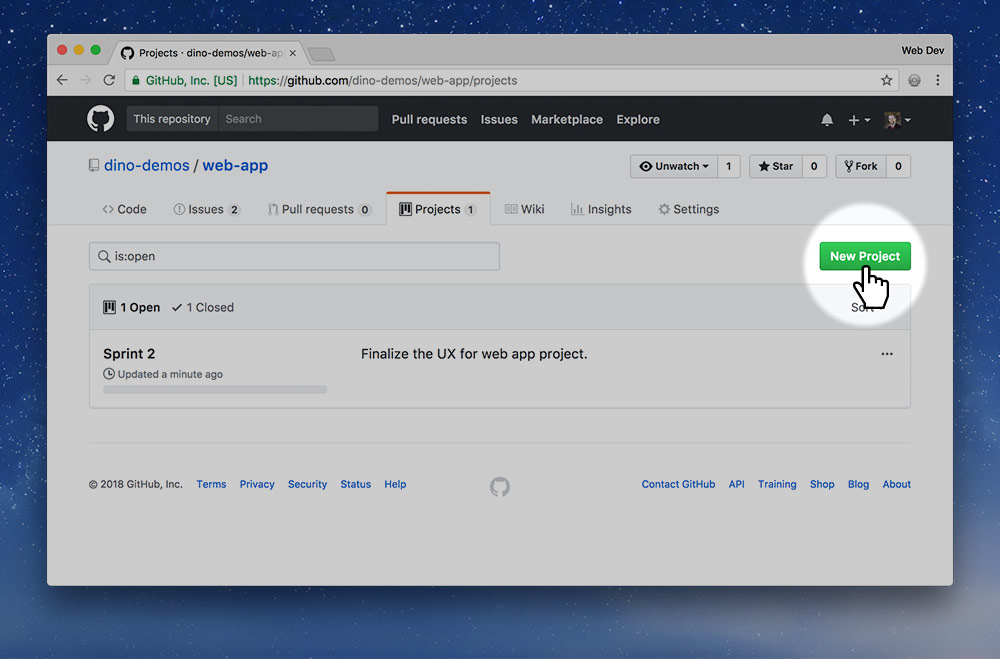
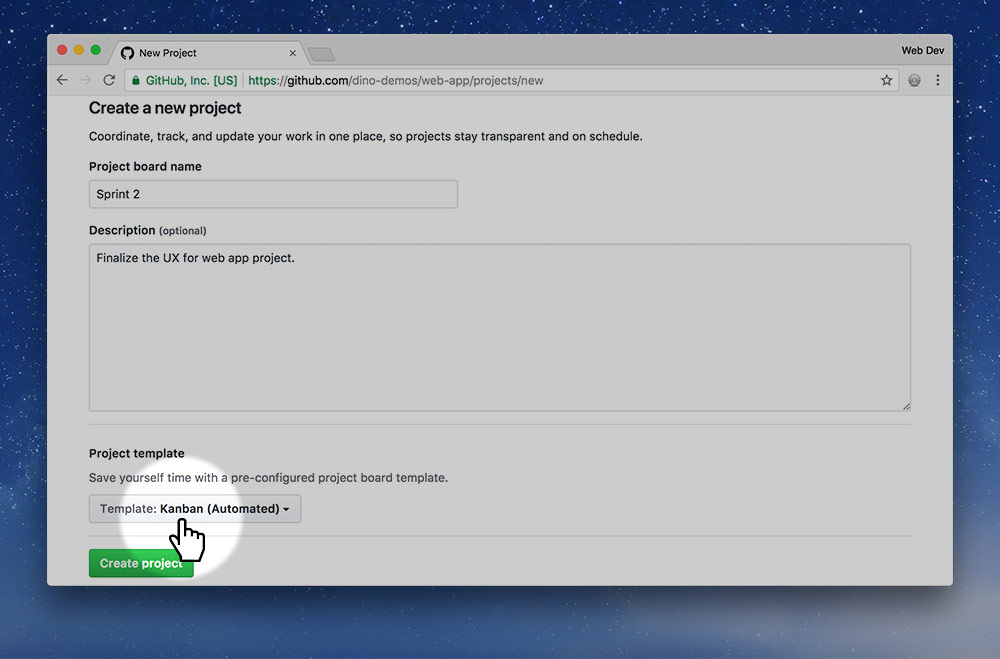
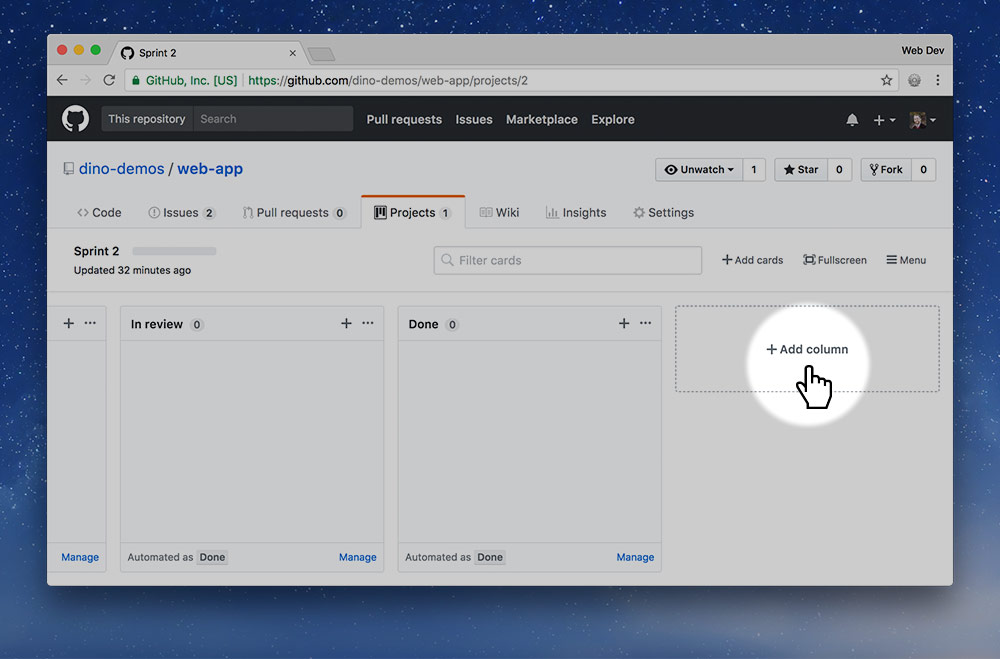
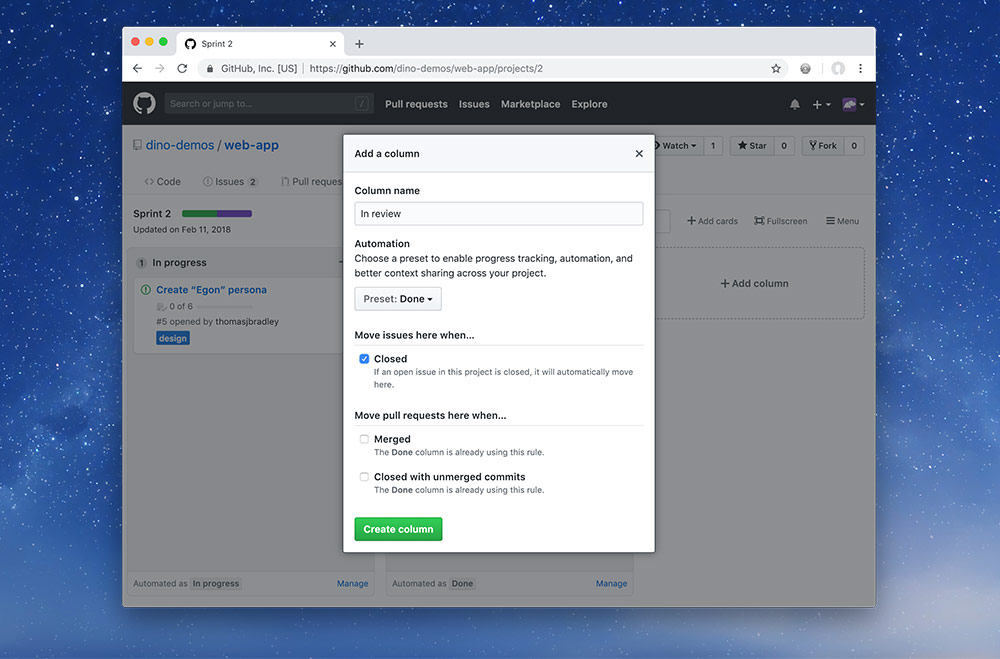
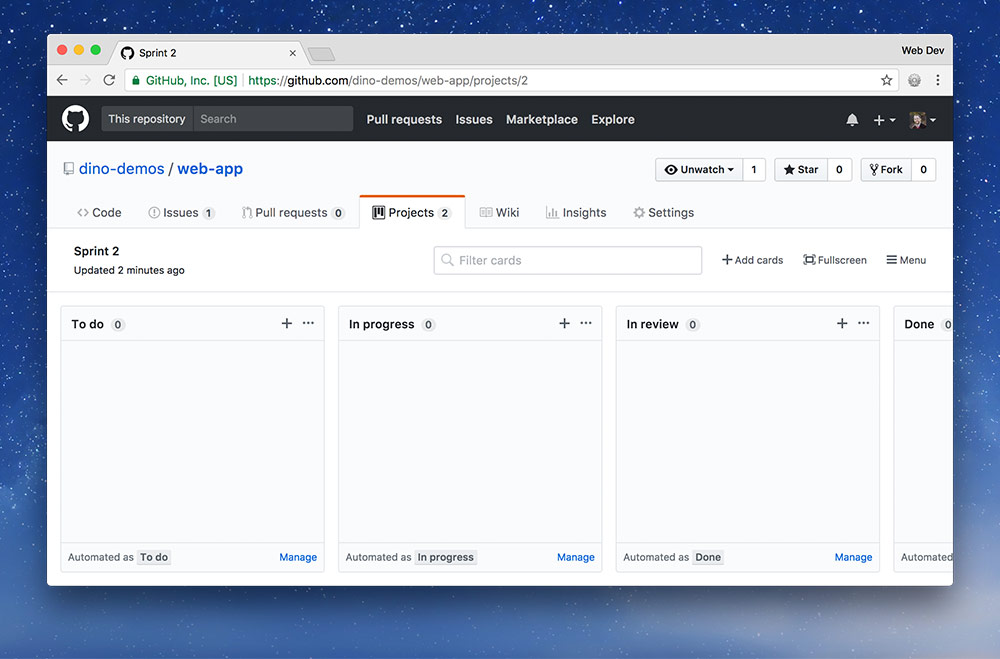
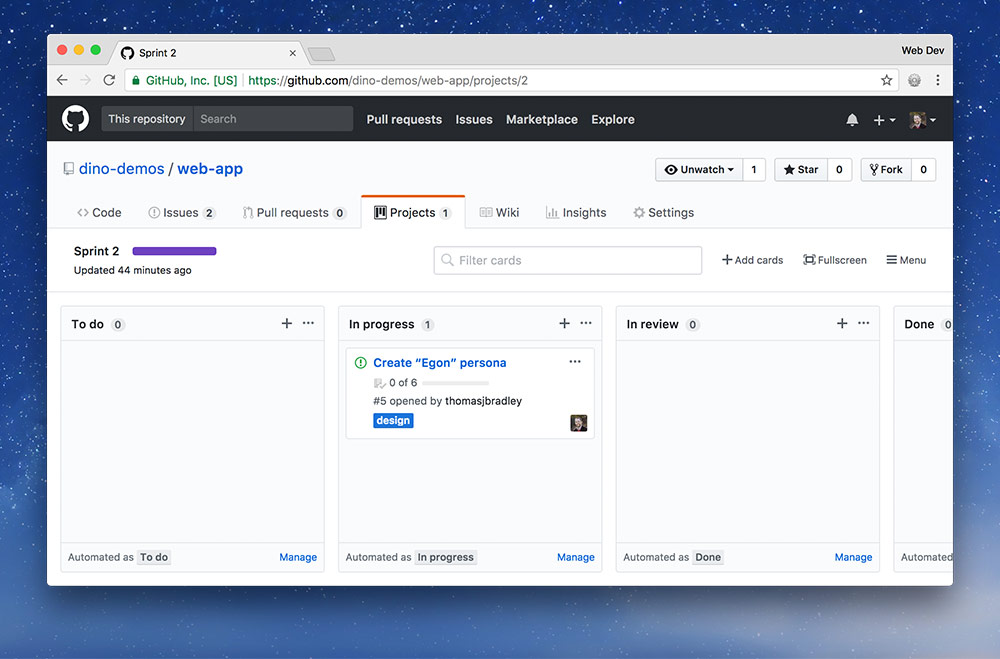
We’re going to use GitHub exclusively for project management because the tools (Issues, Milestones & Projects) fit well in the Scrum & Kanban Agile practices.

Refer to the Sprint checklist for a shortened version ➔

Most weeks will actually start with a post-sprint review—but we won’t be doing that this week.

1 Define the Issue labels

PM

We want to set up a consistent use of labels in our GitHub projects. Each Issue will need to be categorized using at least one of these labels.

The labels are slightly different than the GitHub defaults because the defaults are more targeted at open source projects that are expecting outside people to contribute.

  • blocked — (yellow) something held-up by another task, awaiting something else to be completed; technical debt: code that needs to be written better
  • bug — (red) critical, something broken, something needs fixing
  • content — (purple) creation, writing, acquiring, editing written text content
  • design — (blue) graphic design, UX, illustration, preparing assets
  • dev — (dark blue) writing code, debugging, maintaining code
  • enhancement — (green) something to be added, new, not fully specified yet
  • product — (dark green) overarching ideas, decisions & discussions

You’ll only have to define the labels once for the whole repository. Not for every weekly sprint.

2 Create the sprint Milestone

PM

Create a milestone that defines the due date for this sprint. It also makes it easy to see all the open & closed tasks defined as part of the sprint.

Milestones set the due date—while projects boards track progress.

Milestones are found under the “Issues” tab, next to the search field there’s a “Milestones” sub-tab.

Create a new milestone.

Fill in the following details for this sprint’s milestone:

  1. The name: this week it will be “Sprint 2” (because we’re in week 2)
  2. Set the due date to the day of our next class
  3. The description: define an overarching goal for this sprint

3 Create the sprint Project board

PM

The project board is an overview of the sprint’s progress, showing the stage of each task. This is really helpful for the project manager to make sure everybody is doing their assigned tasks on time.

Go to the “Projects” tab and press the “New project” button.

Fill in the following details for this sprint’s project board:

  1. The name—same as the Milestone
  2. The description—same as the Milestone
  3. Set project template to “Kanban (Automated)”—this will some of the board automated. Issues will move from column to column based on certain rules:
    • New Issues added to this sprint board will go into the “To do” column automatically
    • Issues that are re-opened because they need improvements will move into the “In progress” column
    • Closed issues will automatically go into the “In review” column
    • Closed pull requests will automatically go into the “Done” column

4 Add a new “In review” column

PM

The default “Kanban” template doesn’t have an “In review” column that we need for our work flow—so we have to add it.

Scroll all the way to the right of the columns and press the “Add column” button.

  • Name the column “In review”
  • Change its preset to be “Done” and select “Closed”—you’ll will be prompted to confirm: press “Yes”
  • Move the “In review” column so it’s between “In progress” and “Done”

Now our board is ready to fill with all of this sprint’s tasks.

5 Determine what tasks to complete

All

This is all up to you as a team: determine what you want to have done before next class.

Create a huge list of the tasks that need to be completed and who on the team should complete them. It’s the PM’s job to have final say on task delegation.

Some examples that might be necessary for this week:

  • “Create the ‘Egon’ persona” — @abby
  • “Finalize the home screen in XD” — @holtz
  • “Finalize the list screen in XD” — @erin
  • “Finalize the brand guide” — @holtz
  • “Create a sample button component” — @patty

Are there sub-tasks involved in each task? Define those too.

6 Create Issues for all tasks

All

Now that we know everything that needs to be completed in this weekly sprint we’ll create a Issue for each task.

Fill in all the Issue details:

  • Title: the basic task definition
  • Description: add more details about the task & use Markdown task lists to define all the sub tasks—they can then be checked off as you complete each sub-task
  • Assign each Issue to a single person
  • Assign each Issue an appropriate label (mostly this week we’ll be needing the “design” label)
  • Assign each Issue to the appropriate milestone
  • Assign each Issue to the appropriate project board

7 Adjust project board

All

Finally go back to your project board and move around any cards that are in the wrong place.

  • If you’ve added tasks that you’ve already started, move them into the “In progress” column.
  • If you’ve added tasks that you’ve already completed, move them into the “Done” column.

Make sure the project board & Issues are in a state that currently represents your work.

It’s your job—as a team—to keep the Project board and the Issues always up-to-date.