Buying a domain & hosting setup

Walk through the process of leasing a domain from Hover and making a GitHub website live on your own domain.

1 Search for domain

We’re going to be purchasing domains from Hover†, a small Canadian domain registrar with amazing customer service.

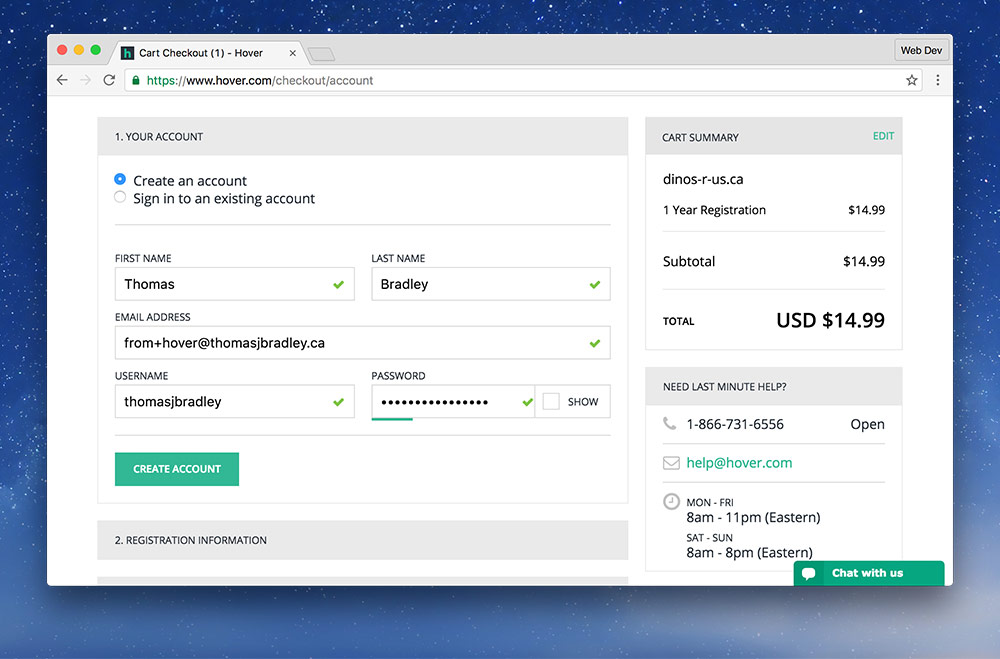
Go to Hover & make an account

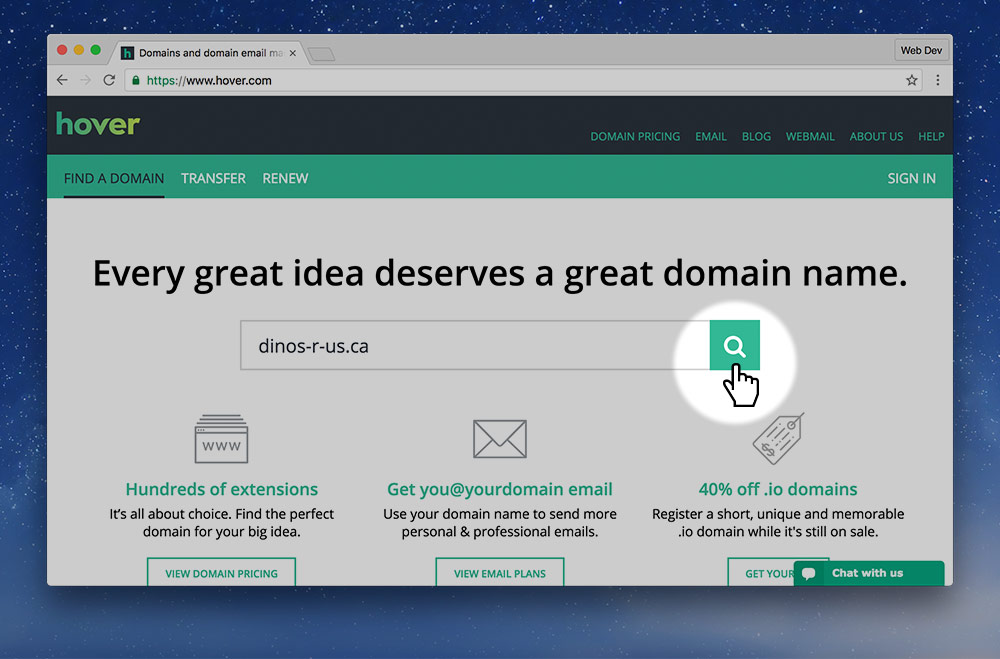
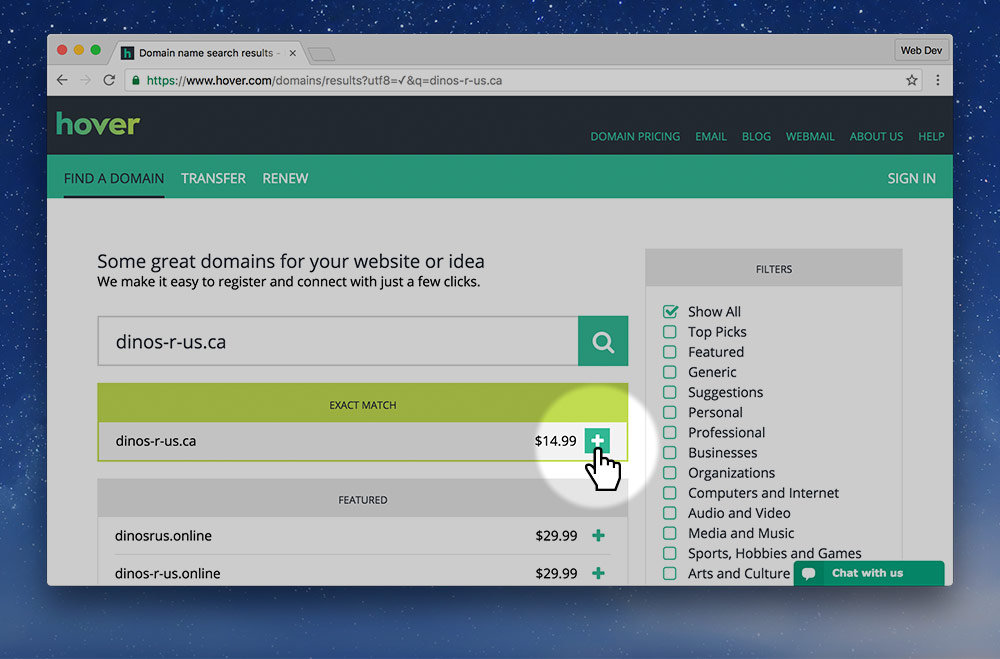
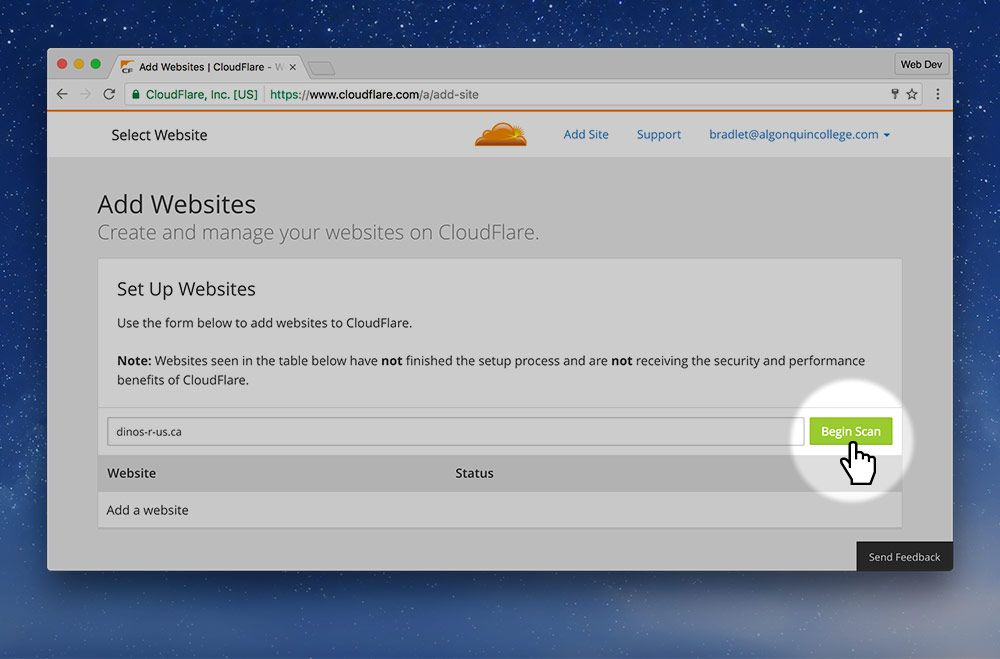
Go to the website and search for the domain you want.

If the domain you’re looking for doesn’t exist you can search again or find a different TLD.
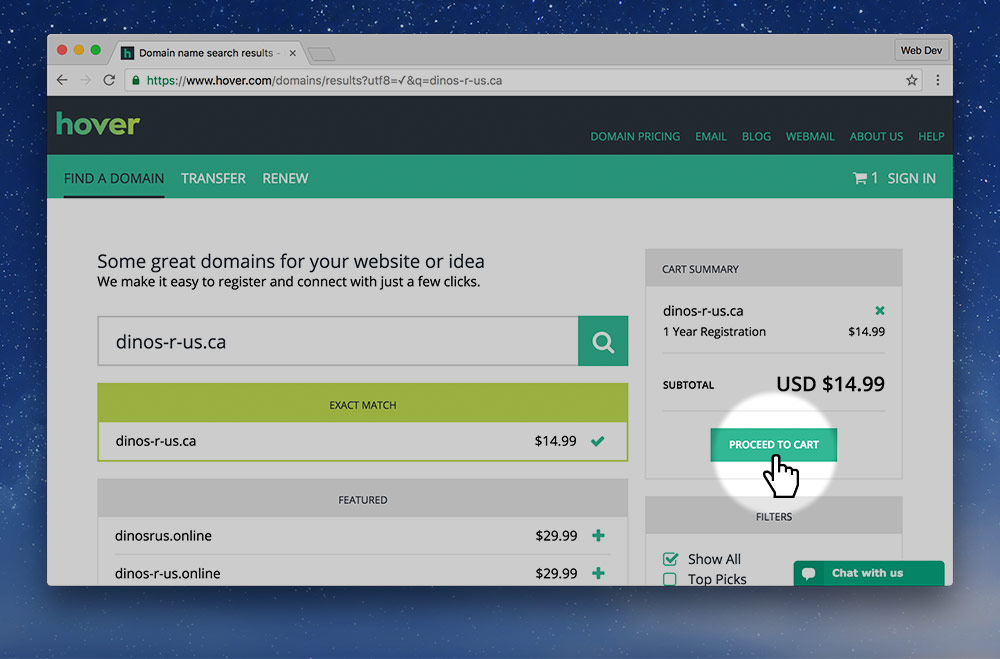
.ca? — Yes.

Ideally you want to choose .ca because it will give you better search results juice for Canadian searchers.

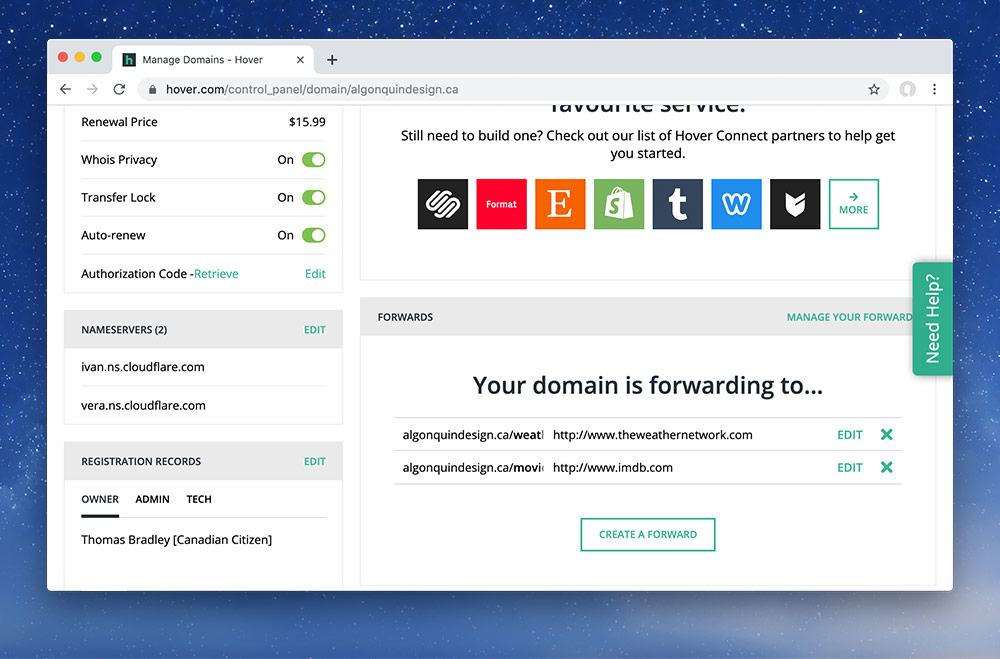
If you want, you could also get the .com and forward it to the .ca so they act as the same website.

† The Hover links are referral links, from me, that will get you $2 off your first domain.

2 Add to cart & start checkout

This is where the money comes in. Depending on what TLD you chose you’ll be charged a different amount—some of the new fancier ones are more expensive.

You can add as many domains as you’d like to the checkout and pay for all of them once.

When you’re ready, start the checkout process.

3 Fill in information

Create an account at Hover so you can manage your domains at a later time. Remember your password!

Then fill in all your personal details and pay Hover. Don’t worry these personal details are not going to be shown publicly unless you want.

Important details

  • The “Organization” must be exactly the same as your name.
  • If you have to choose a legal type, choose “Canadian Citizen”.

Finalize the checkout and proceed to the next step.

4 Important settings

Finally, let’s look at a few important settings in the Hover domain control panel.

You shouldn’t have to actually do anything—these settings should all be on by default.

  • Auto Renew — You probably want to keep this on, then when your domain lease is about to expire your registrar will automatically charge your credit card to register the domain again. You will receive notice e-mails before this happens.
  • Transfer Lock — This disables the ability for the domain to be transfered to another registrar. If you want to transfer your domain you’d have to turn this feature off.
  • Whois Privacy — This will hide your personal information from WHOIS lookups. So, if someone searched your domain in the WHOIS database they would not be able to see your address and phone number. If your registrar is charging you extra for this you’re getting ripped off.
  • Forward This Domain — Allows you to force your domain to be redirected to another location. I use this often if I purchase both the .ca and the .com. I forward the .com to the .ca so that if anyone types .com into their browser it will automatically take them to the primary .ca domain.

5 Create a CloudFlare account

CloudFlare is a free service to add an extra level of security and performance to your website. They’re a DNS routing system with the added benefit of stopping security threats to your website and performance enhancements—and SSL.

Go to CloudFlare & make an account

After creating your CloudFlare account, put in your domain name. CloudFlare will search your domain for DNS records.

If it asks if your DNS records are all visible, just say “yes” and continue. We’ll come back to the DNS stuff later.

Make sure you choose the “Free” plan.

6 Connect Hover to CloudFlare

Eventually CloudFlare will ask you to change your name servers—this is configuration we need to adjust in Hover.

In Hover, go down to the “Nameservers” section. Press the “Edit” button.

  1. Delete the 2 nameservers that are currently there.
  2. Copy the 2 cutely named servers that CloudFlare presented to you into Hover.

And save!

7 Set up your domain’s NS records

Pop into CloudFlare’s “DNS” page. We need to tell CloudFlare where our website is hosted.

  • Hover is our domain registrar: it keeps a record of who owns the domain.
  • CloudFlare is our DNS server, Hover tells requests to go to CloudFlare to find where our website is hosted, or where our email is hosted.
  • Then CloudFlare has to point to the other services: in this case CloudFlare will point to GitHub, the host of our website itself.

When you get to the DNS configuration page delete all the A records that may be visible.

Press the “Add record” button on CloudFlare’s interface.

  1. Add a new CNAME record:
    • Name: @
    • Target: your-github-username.github.io

Make sure to save!

8 Connect your domain to GitHub

Using GitHub as a static web host is simple, integrates with our processes—and it’s free.

Go find your coming-soon repository on GitHub—we’re going to make that website live on your domain.

Go to the “Settings” for your repository.

Scroll down to the “GitHub Pages” section and enter your “Custom Domain” into the field. Press “Save”.

That’s it! Your website should start working any time now but could take up to 24 hours.