Working within your pattern library—which is now almost complete—we’re going to start exploring the idea of making pages by sharing & reusing our patterns.
Goal
-
Type it, type it real good
Remember the purpose of this lesson is to type the code out yourself—build up that muscle memory in your fingers!
Set up project
Continue on with your ecommerce-pattern-library repository.
We’ll first create the primary layout for your website. The layout contains all the stuff that’s shared by every single page: mostly HTML boilerplate, your header & your footer.
Let’s create a few new folders & code files:
-
ecommerce-pattern-library
-
_layouts
-
default.html
- ⋮
- Create a new folder named exactly
_layouts - Inside the
_layoutsfolder make the following empty file:default.html
-
Naming conventions
Don’t forget to follow the naming conventions.
Though, since we’re using Jekyll underscores are okay and are going to show up lots.
Add the HTML boilerplate
The first thing we’re going to do in our shared layout is add all the HTML boilerplate. Up to this point we haven’t been using the boilerplate in our patterns because they are not full web pages themselves.
But our layout is going to generate full pages for us, so it needs the boilerplate code.
<!DOCTYPE html>
<html lang="en-ca">
<head>
  <meta charset="utf-8">
  <title>GeoHub</title>
  <meta name="viewport" content="width=device-width,initial-scale=1">
  <link href="/css/main.css" rel="stylesheet">
  <link href="https://fonts.googleapis.com/css?family=Karma:400,600|Oswald:400,700" rel="stylesheet">
</head>
<body>

</body>
</html>
-
Line F
Don’t forget the
viewporttag! -
Line G
We only need to connect our
main.cssfile because it’s the magic Jekyll generator file that combines all the CSS from all our patterns (& grids, type, etc.) into one large, single file.Don’t forget to start the
hrefwith a/as we’ve been doing for all paths this term. -
Line H
Don’t forget to attach your Google (or Typekit) font to the layout—like we normally do—or your website will display in web-safe fonts.
It’s as simple as using the
cssshortcode, then pasting the URL from within your_config.ymlfile—there’s not need to go back to the Google Fonts or Typekit websites.
Copy the header pattern
Now, since our default layout is shared by all pages we need to add the common stuff that’s visible on all pages.
The first thing we’re going to add is our header pattern.
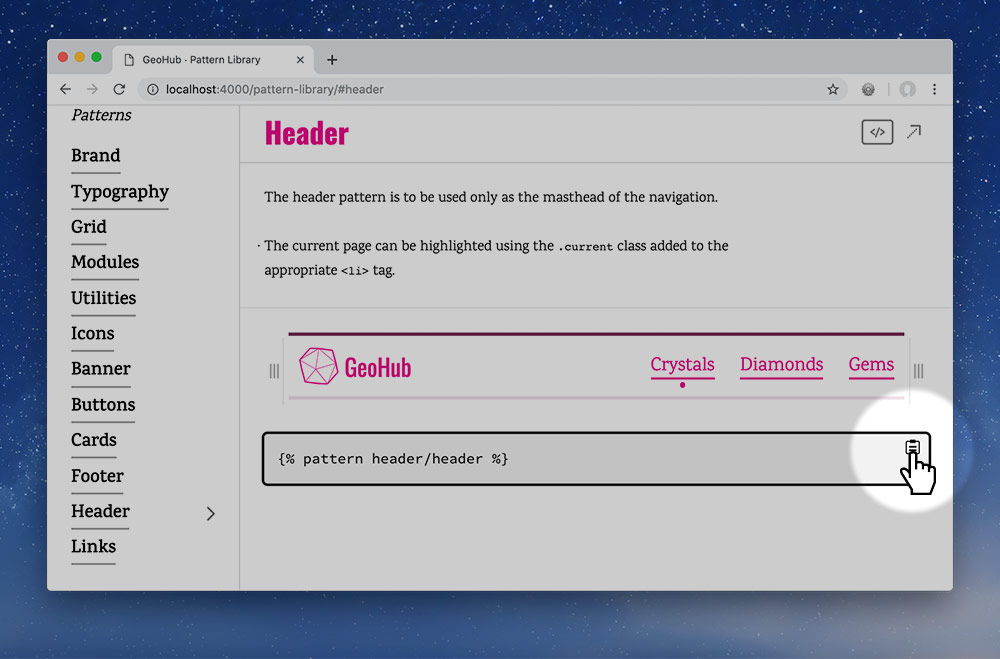
Pop open your pattern library and copy the header pattern’s include statement.
<!DOCTYPE html>
<html lang="en-ca">
<head>
  <meta charset="utf-8">
  <title>GeoHub</title>
  <meta name="viewport" content="width=device-width,initial-scale=1">
  <link href="/css/main.css" rel="stylesheet">
  <link href="https://fonts.googleapis.com/css?family=Karma:400,600|Oswald:400,700" rel="stylesheet">
</head>
<body>

  {% pattern header/header %}

</body>
</html>
-
Line L
Just paste that include statement right into your layout.
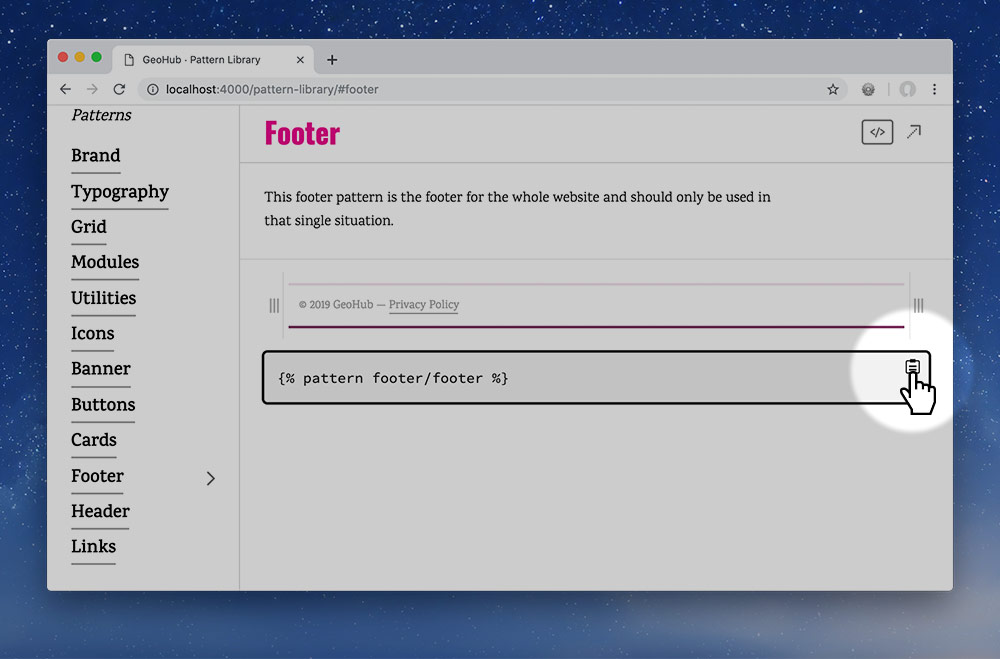
Copy the footer pattern
Do the same thing all over again for your footer pattern too.
<!DOCTYPE html>
<html lang="en-ca">
<head>
  <meta charset="utf-8">
  <title>GeoHub</title>
  <meta name="viewport" content="width=device-width,initial-scale=1">
  <link href="/css/main.css" rel="stylesheet">
  <link href="https://fonts.googleapis.com/css?family=Karma:400,600|Oswald:400,700" rel="stylesheet">
</head>
<body>

  {% pattern header/header %}

  {% pattern footer/footer %}

</body>
</html>
-
Line N
Just paste that footer include statement right into your layout.
Add the content placeholder
The final step to creating our layout is to add a placeholder for the content of each page. Since the layout is shared by all pages, like an InDesign master page, we need to define where the content can be inserted into the layout.
In Jekyll, there’s a special placeholder variable that defines where the page’s content & code will be inserted into the layout: {{content}}
In this layout, we want the content below the header & above the footer.
<!DOCTYPE html>
<html lang="en-ca">
<head>
  <meta charset="utf-8">
  <title>GeoHub</title>
  <meta name="viewport" content="width=device-width,initial-scale=1">
  <link href="/css/main.css" rel="stylesheet">
  <link href="https://fonts.googleapis.com/css?family=Karma:400,600|Oswald:400,700" rel="stylesheet">
</head>
<body>

  {% pattern header/header %}
  {{content}}
  {% pattern footer/footer %}

</body>
</html>
There’s still nothing for us to see in the browser because we haven’t made any pages that use our layout yet.
-
Line M
Type Jekyll’s page content placeholder variable in the layout exactly where you want the code from all your pages to show.
Create your starter homepage
We’ll be spending the next few weeks building out the full homepage, but today we’re going to start by adding just the basic layout so we can actually see it working.
Make a brand new file, in your ecommerce-pattern-library folder, named index.html—the name we always use for our homepages.
-
ecommerce-pattern-library
-
_layouts
-
default.html
-
index.html
- ⋮
Open up the index.html into your code editor and add the following lines of code.
---
layout: default
---

<h1>Home!</h1>
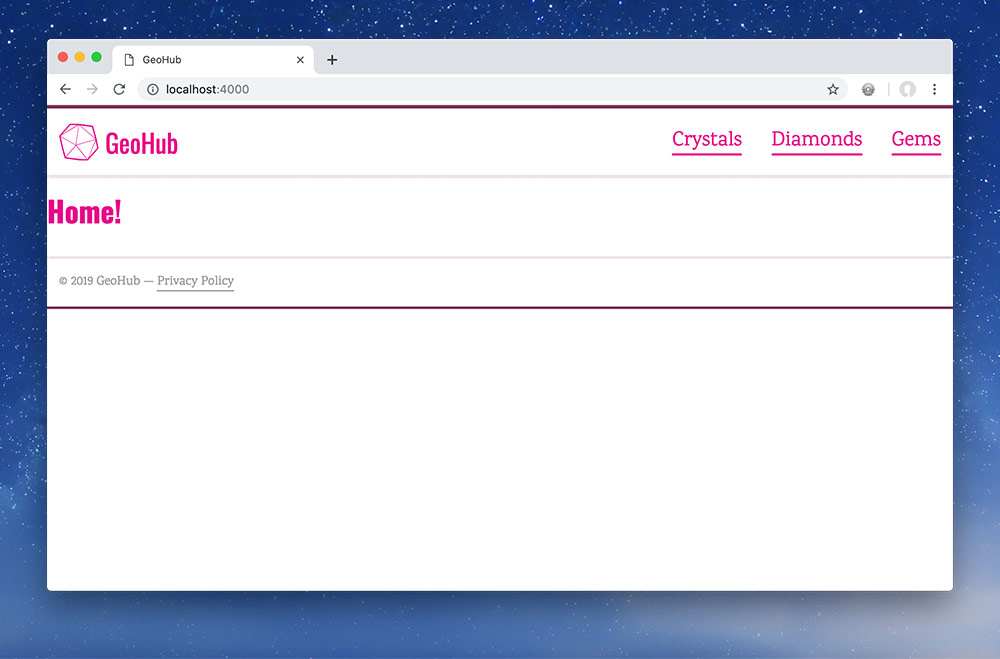
Pop this open in your browser, navigating to the root of localhost to see your homepage.
You can hopefully see that Jekyll has combined the layout (header & footer) with your <h1> to make a complete page.
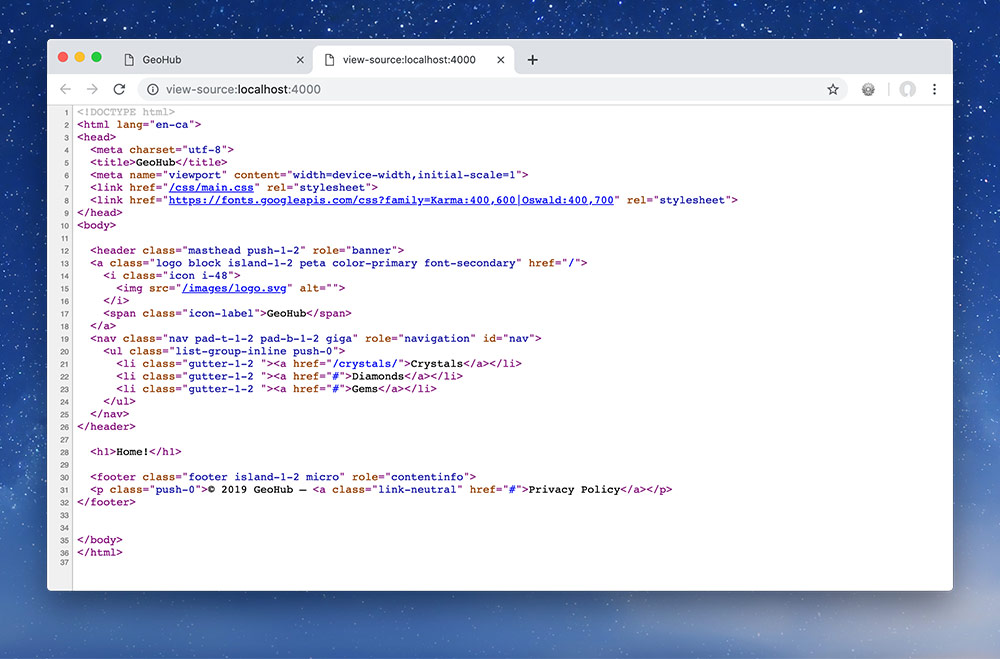
Try viewing the source to see all the code combined together!
-
Line A
The triple dashes tell Jekyll that it should process this file, we’ve seen that before in our
main.css. -
Line B
Next up, we tell Jekyll which layout it should use. Since our only layout is named
default.htmlwe typedefaultas the name of the layout.It’s similar to InDesign where you tell InDesign which master page should be used for the spread.
-
Line E
Now let’s just add a little bit of HTML to make sure this works!
Create your starter product list page
Follow the process for making your homepage all over again, this time making products.html. This will be the starter page for your products listing.
Link the navigation in the header pattern
Now that we have two pages created, it would be wonderful if we could click the navigation to move through the pages we created.
So, let’s open up our header pattern and modify the <a> tags to point to the correct locations.
This code is going to be very different from yours—extrapolate what I’m doing in this file to your own header.
<header class="masthead push-1-2" role="banner">
  <a href="/" class="logo block island-1-2 peta color-primary font-secondary">
    <i class="icon i-48">
      <img src="/images/logo.svg" alt="">
    </i>
    <span class="icon-label">GeoHub</span>
  </a>
  <nav class="nav pad-t-1-2 pad-b-1-2 giga" role="navigation" id="nav">
    <ul class="list-group-inline push-0">
      <li class="gutter-1-2 current"><a href="/products/">Crystals</a></li>
      <li class="gutter-1-2"><a href="#">Diamonds</a></li>
      <li class="gutter-1-2"><a href="#">Gems</a></li>
    </ul>
  </nav>
</header>
Click around your website on both thoses links and you’ll notice that they work.
Some more magic of Jekyll: we just updated our header code in only one place and it applied to all the pages we created automatically!
-
Line B
Link up the
hreffor the logo to the homepage, the URL for the homepage, when using Jekyll (and any web server), is always just a/by itself.Web browsers will automatically look for
index.htmlso we don’t have to specify that. -
Line J
Now link up your products page. Here I’ve chosen to link just my “Crystals” page to products as an example, but if this were my own website, I’d probably have called the file
crystals.htmlinstead ofproducts.htmlAlso notice we’re not specifying
.html, we’re starting thehrefwith a/, dropping the.html, and finishing thehrefwith a/
Documenting your layout
The final thing we need to do to finish off our layout is to document it. Remember that the purpose of our pattern library is team documentation, and therefore we need to describe when the default layout should be used.
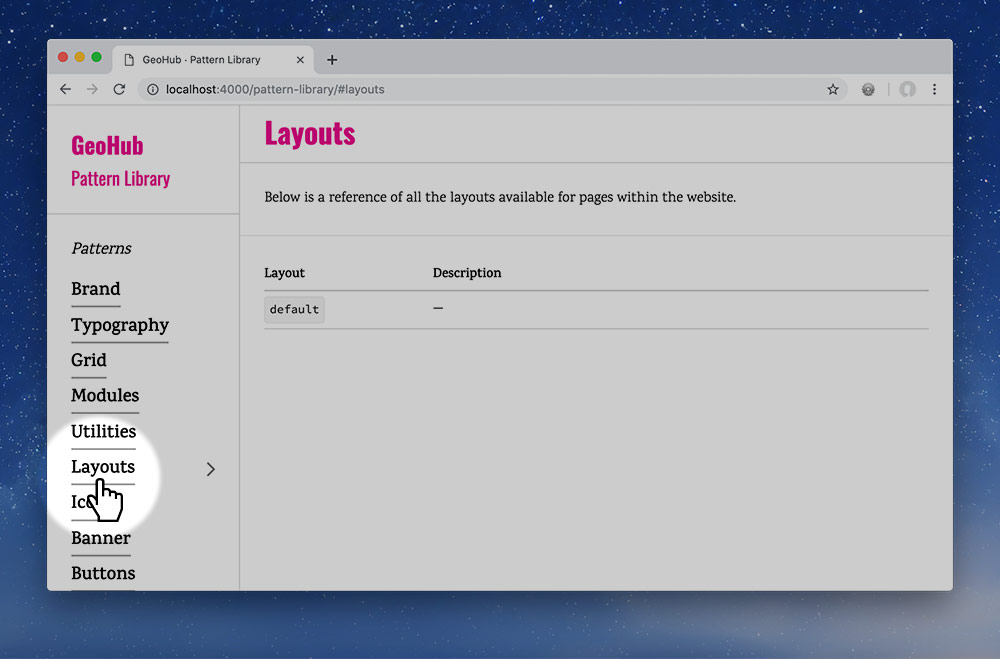
You may have seen that it’s already showing in your pattern library, but the description is blank.
Open up Jekyll’s primary _config.yml file and add some info in there. You already have a bunch of stuff in the file, so add the layouts entry underneath patternbot and make sure it’s indented properly.
permalink: pretty
theme: jekyll_patternbot

patternbot:
  ⋮
  layouts:
    default: |
      The default layout should be used for almost every page, it includes the website’s primary header & footer.
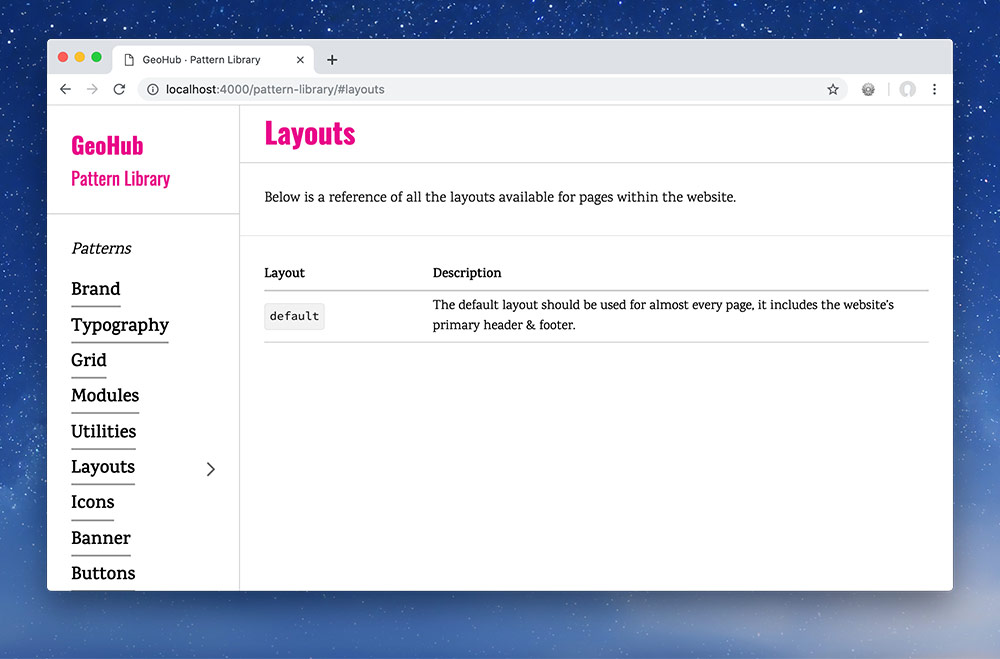
Refresh your browser to see your layout rationale.
-
Line E
The
layoutskey is used for describing all the layouts in the website. -
Line F
Write the filename of each layout and then rationalize it’s purpose and use.