Pattern library hosting

Set up hosting for our pattern library on Netlify because GitHub only supports a few Jekyll plugins.

Goal

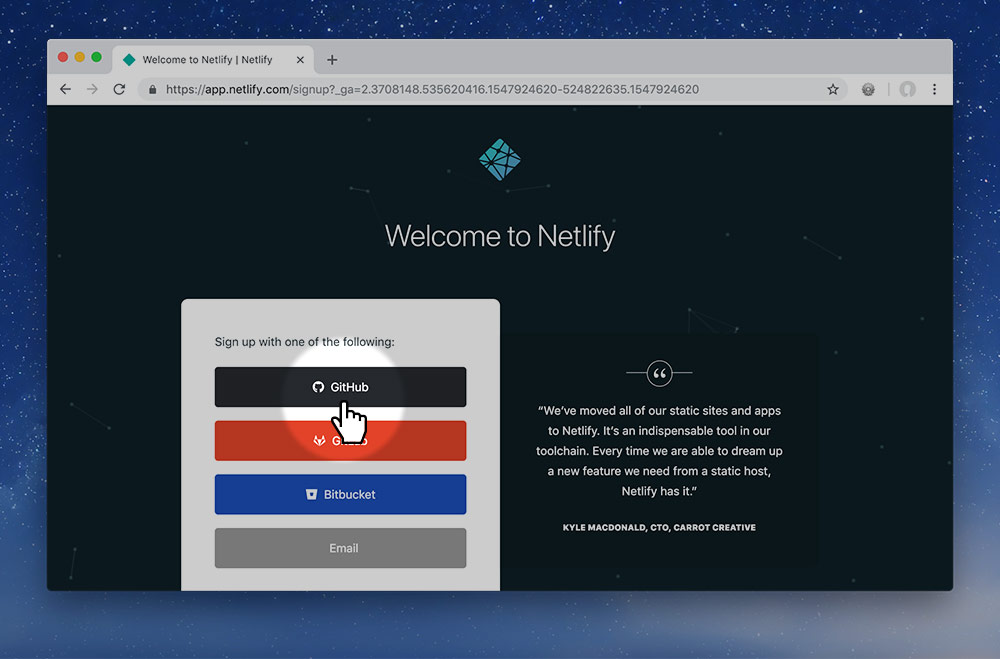
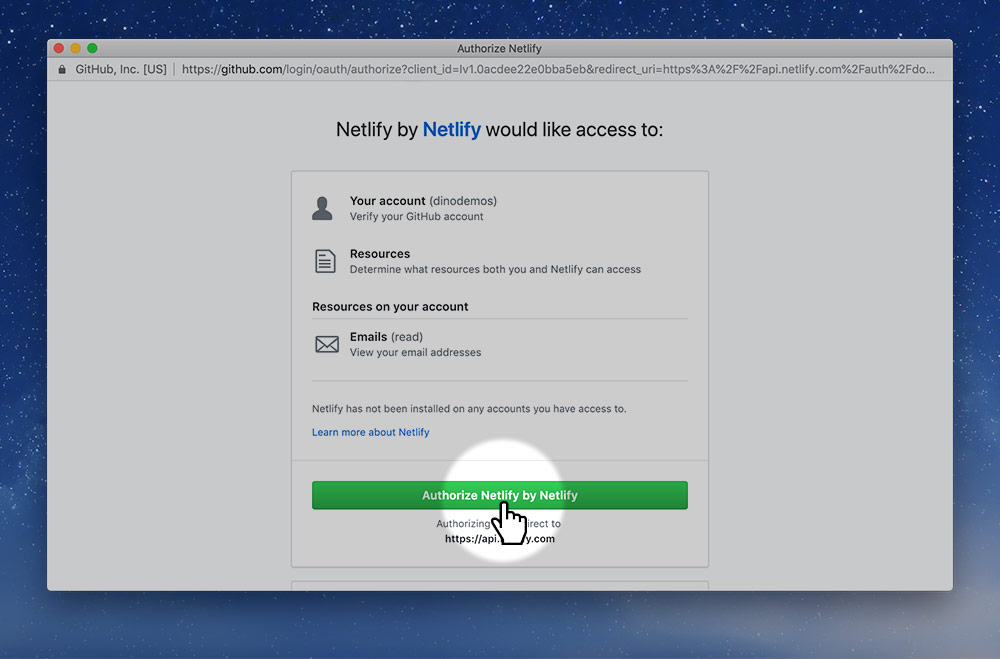
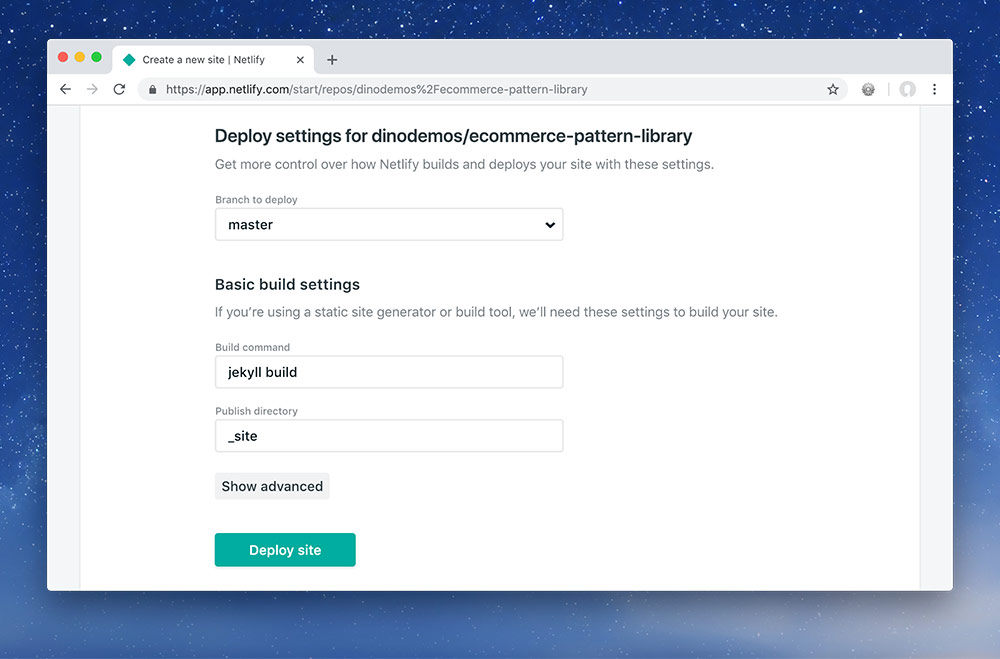
We’re going to set up hosting for our eCommerce pattern library on a new service: Netlify.

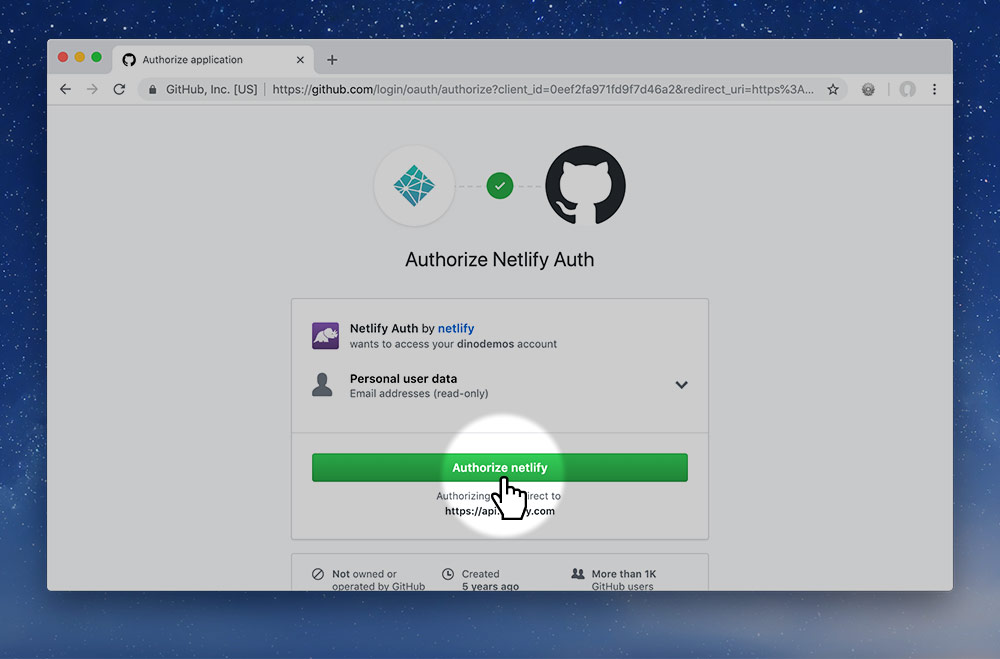
GitHub supports hosting Jekyll websites but only with a limited number of plugins. Since we’re using the Patternbot plugin, which isn’t approved by GitHub, we need to host our website’s elsewhere.

1 Make a Netlify account

Netlify has a free plan that we can use for hosting static websites like Jekyll-based websites. So the first step is to sign-up for Netlify—it actually used GitHub as your login credentials.

Head over to Netlify »

Choose the GitHub option.

Authorize Netlify access to your GitHub credentials.

Now we’re ready to connect our new website.

2 Make a new site

We can host any repository we have setup on GitHub, similar to how GitHub Pages works—which is what we’ve been doing with all our previous websites. But Netlify gives us much more control over everything.

Press the “New site from Git” button.

Choose a site from GitHub.

Authorize Netlify again.

Choose your username if it asks, “where you want to install Netlify”.

Pick “Only select repositories”. Then, in the dropdown, choose your eCommerce repo.

Press the big green button to move on.

3 Define build settings

Now that we’ve given all our authorizations on GitHub we’re moved back to Netlify, where we can configure how our website will be created and built.

Press on the repo link to move to the build settings.

These should already be set, but double check:

  • “Build command” set to jekyll build
  • “Publish directory” set to _site

Then press “Deploy site”.

4 Wait for deployment

Just like on GitHub, building our website takes a little bit of time. Netlify shows us in the dashboard when the site is being built so we can know when it’s done and we can check the live URL.

Just wait out the deployment…

Now we’re live! Click that link to view your page.

You’ll receive a 404 page initially because we don’t have an index.html file. We got a file listing on our local computer when we went to localhost—but file listings are suppressed on live web servers for security.

So, type /pattern-library into the URL to see yours!

5 Submit Netlify URL into GitHub

Because the hosting URL isn’t just your GitHub account any more, I need to know URL. Let’s submit the URL back to GitHub so I can find the pattern library for grading.

Press the “Edit” button on your repo’s page.

Paste in your Netlify URL.

Save the edits and our URL should now be clickable at the top of our repo’s page.