We’re going to look at creating an SVG sprite sheet with some icons inside. Then we’ll use the icons on a website in a simple layout.
This is what it should look like when it’s done:

Use Illustrator & Spritebot to generate some SVG icons and use them in a website.
We’re going to look at creating an SVG sprite sheet with some icons inside. Then we’ll use the icons on a website in a simple layout.
This is what it should look like when it’s done:
Remember the purpose of this lesson is to type the code out yourself—build up that muscle memory in your fingers!
Start the lesson by forking and cloning the using-svg-icons repository.
Fork & clone the “using-svg-icons” repo.
The repository will have some starter files to get you on your way and include requirements for Markbot so you can be sure you’ve completed the lesson.
This includes some starter code that you can get by forking and cloning the repository. You’ll use Markbot to double check everything is done properly.
We’ll need some extra files that are too large to be in a Git repository to complete this lesson.
Download the “using-svg-icons” files.
We’ll be walking through setting up this Illustrator document together so there’s no need to do anything with it right away.
The download will include things like images, PSDs, AIs, etc. that we need for the lesson that are too big for Git & GitHub.
After forking, cloning & downloading we should have a folder structure like this:
index.html & add the boilerplate code.main.css in your css folder—it can remain empty.modules.css in your css folder—get a new version from Modulifier. Make sure to press “Select All”.images folder.Don’t forget to follow the naming conventions.
Create the boilerplate with html5, viewport, css
The first step to using SVG icons is to organize the Illustrator document so it can be exported properly.
For icons, the way we export is no different from standard SVGs: resize & name the artboards.
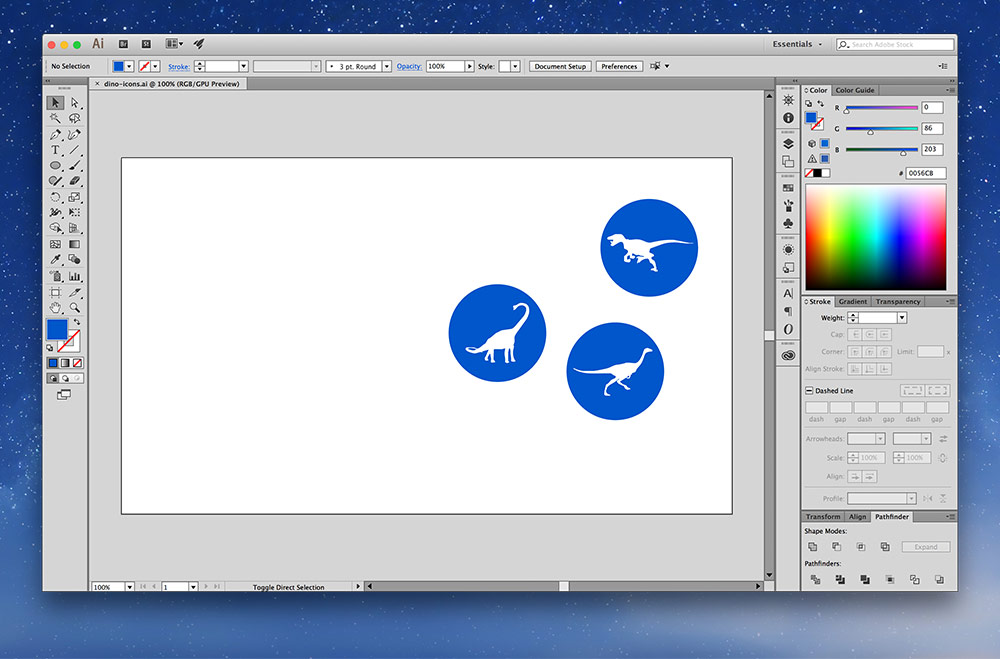
Open up the Illustrator file and you should see this:
Our first step is to create multiple artboards—each artboard should be 256px × 256px
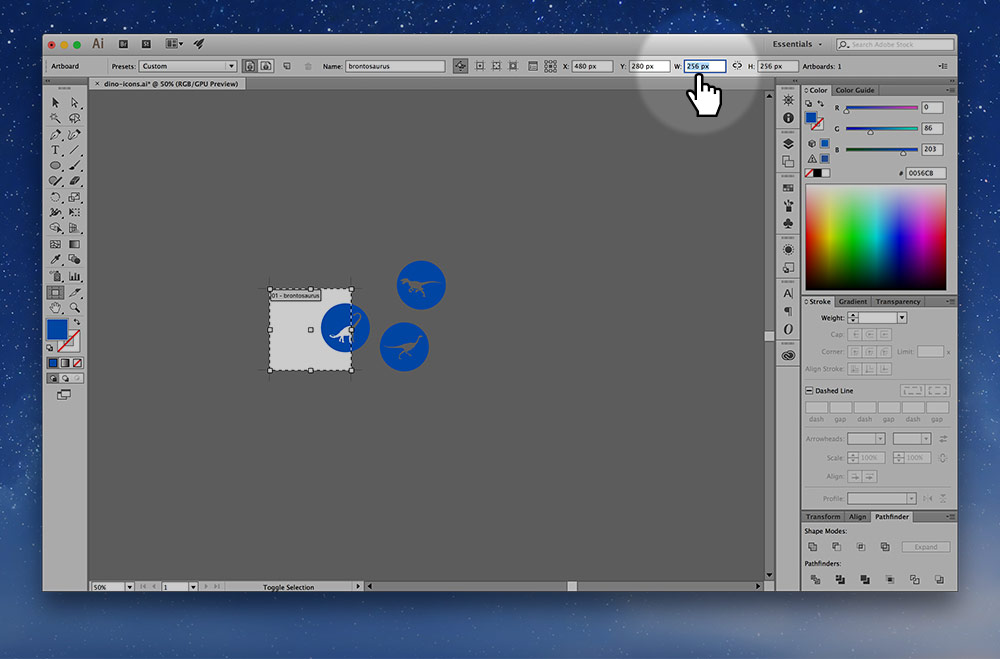
Move the dinosaur icons so that they are on individual artboards. I resized each icon to be 252px wide.
I named each artboard this:
brachiosaurusmicropachycephalosaurusvelociraptor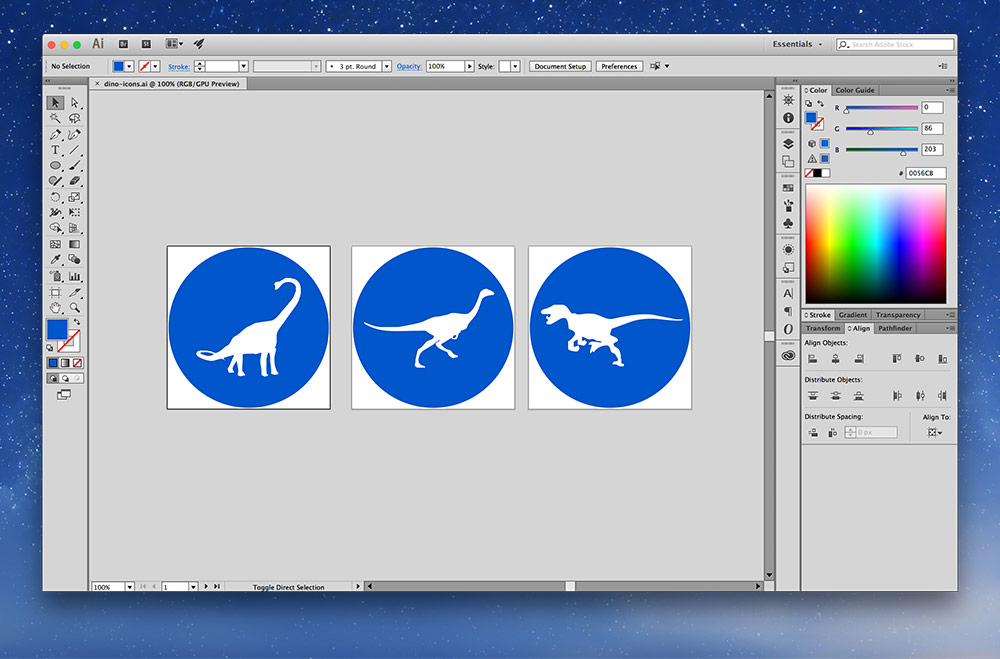
The final change we need to make is the fill. Since we’re interested in colouring the icons in our CSS and want to have different hover colours we need to remove the fill colours in Illustrator.
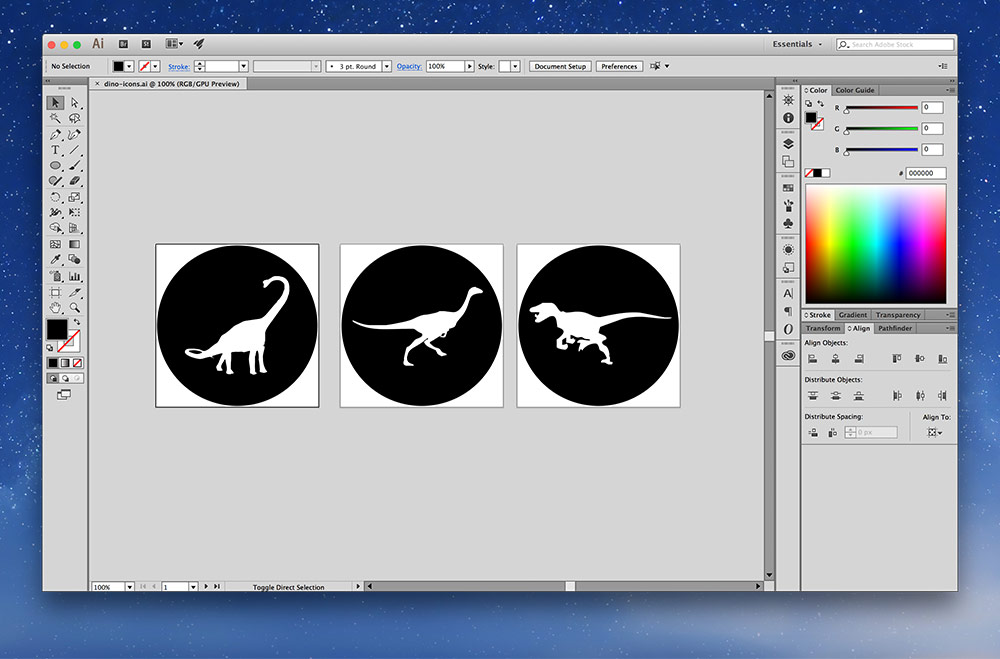
The simplest way to remove fill colours when exporting from Illustrator is to set all their colours to black—absolute black, #000000. The default fill in SVG is black, so the optimizer will leave the fill off.
Of course you could remove the fill colour in Illustrator but then you wouldn’t be able to see the graphic and that’s just annoying.
If you want differently coloured or multi-coloured icons then leave the fill.
We’re ready to export our SVGs from Illustrator now. Go to:
File > Export > Export for Screens…
Assuming you’ve exported using “Export for Screens” before there shouldn’t really be any settings we need to change.
If you haven’t used “Export for Screens” before, see this tutorial.
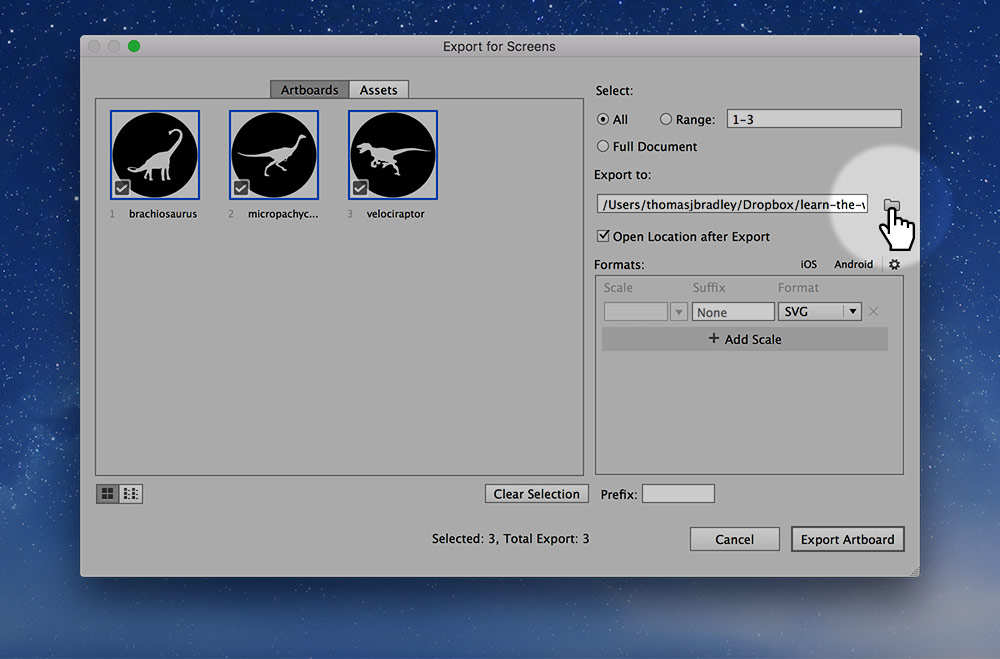
Be sure to set the correct output location: the images folder inside your using-svg-icons folder.
Export for screens: ⌥⌘E
We should now have 3 completely separate SVG files in our SVG folder, looking like this:
Drop all 3 of the images into Spritebot—which will compress and optimize the images for us.
![]()
When Spritebot is ready we want to merge all the SVGs into a single file. This is called a sprite sheet. The benefit is performance: less downloads & faster websites.

After we’ve created & saved the sprite sheet, the original SVG graphics are useless—delete them.
Now we’re ready to use the icons in our HTML!
Let’s write out the HTML we need to show the icons. For this quick example we’ll use a list and some links.
⋮
</head>
<body>

  <ul class="list-group-inline">
    <li class="center-text">
      <a class="block" href="#">
        <i class="icon i-96">
          <svg><use xlink:href="images/dino-icons.svg#brachiosaurus"></use></svg>
        </i>
        <span class="block icon-text">Brachiosaurus</span>
      </a>
    </li>

    <!-- Add all the other <li> tags here-->

  </ul>

</body>
</html>
Make sure you spell the ID properly in the xlink:href=""—Spritebot always makes the ID the same as the original filename you used to generate the sprite sheet.
Go ahead and put 2 more <li> tags into the code for each of the two other icons:
#micropachycephalosaurus#velociraptorWe’ll use the <i> tag and the .icon class to define the box surrounding our SVG icons.
Now the <svg> tag. Inside it we have a <use> tag that points to our image.
The xlink:href="" attribute on a <use> tag is comparable to the src="" attribute on an <img> tag.
There are a few important parts to look at:
images/dino-icons.svg — this is the path to the sprite sheet image file.#brachiosaurus is the ID that Spritebot assigned the icon within the sprite sheet. The icon’s ID always matches it’s filename.Now let’s load it up in our browser and see the icons.
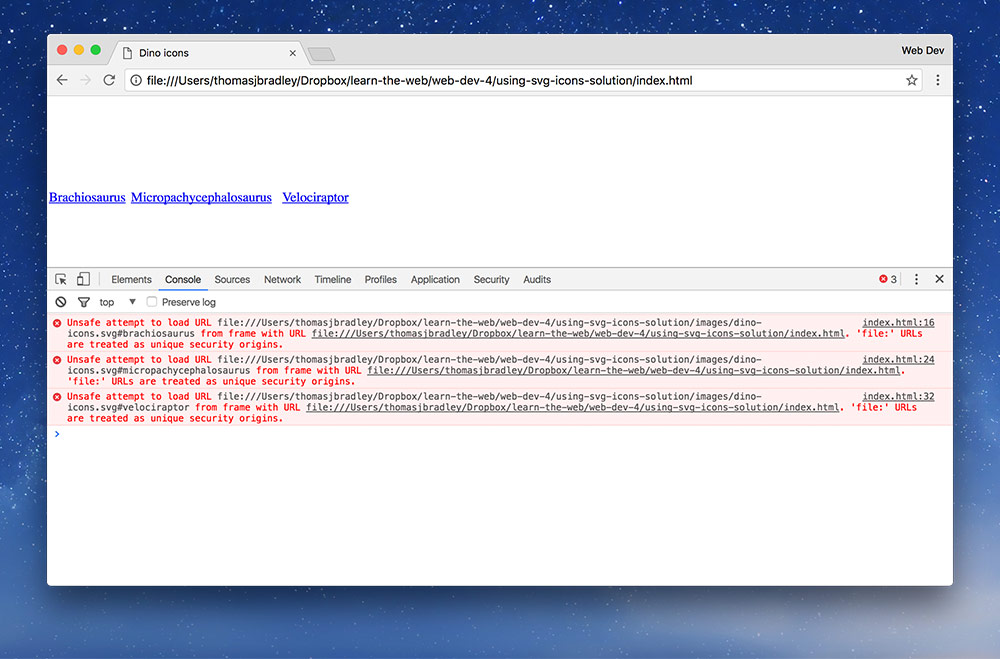
Or not…
If you’re using Firefox or Safari the icons should load right away. Chrome has tighter security restrictions and requires us to use a web server to see the icons.
Luckily, Markbot has a web server built into it for use during our web development.
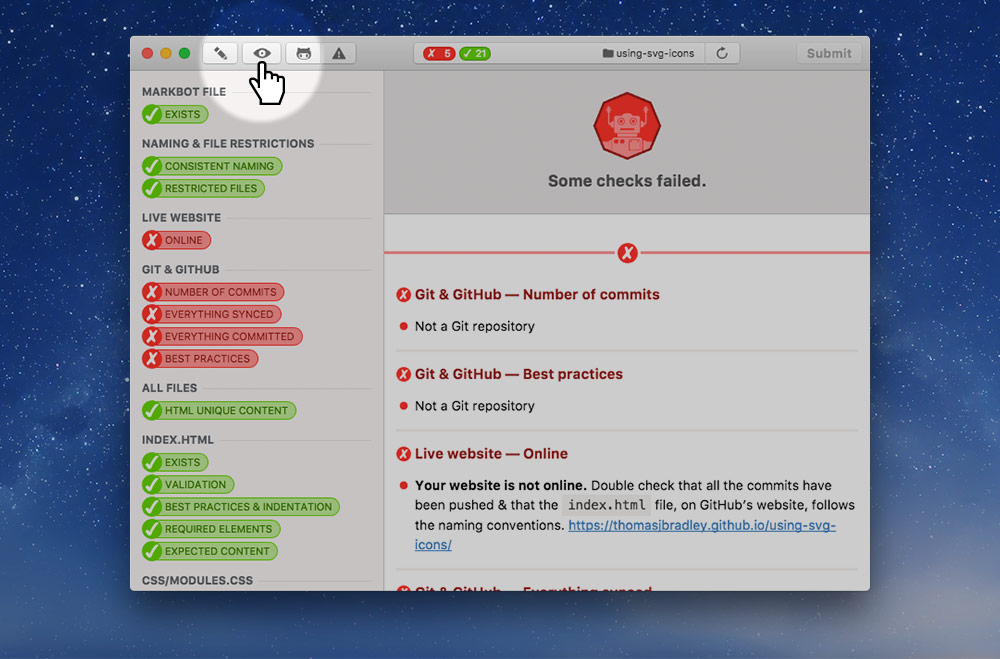
Press the “Browse Website” toolbar button or, in the File menu, go to Browse Local Website (⌘B)—this will pop open your default browser with the URL to your project running over with a web server.
The URL will most likely be: https://localhost:8000/.

Next up we’ll see a security error about the connection not being private. The browser doesn’t believe the HTTPS certificate Markbot uses is secure because it wasn’t signed by an authority.
You should never bypass this error message on websites. In this situation it’s okay because we’re loading our “localhost” testing server.
So, click “ADVANCED”.

Then click “Proceed to localhost (unsafe)”.
![]()
Now we should see our icons!
Our icons are currently using the default link colours: blue & purple. (If you click on them they should all go purple.)
So let’s add a little touch of CSS to colour the links better.
a {
  color: #76a500;
}

a:hover {
  color: #acc300;
}
A real basic green colour and a slightly different hover green.
Test it out—should work great.
Drop the final, coded exercise into Markbot and fix all the errors until Markbot gives you all green (and maybe a little yellow).
After you’ve fixed all the problems, go ahead and submit the assignment. You’ll immediately get your grade.