Not every human being needs the same font-size when viewing a website. That’s exactly why we use rem and other relative measurements. We need to confirm our website works with different font sizes.
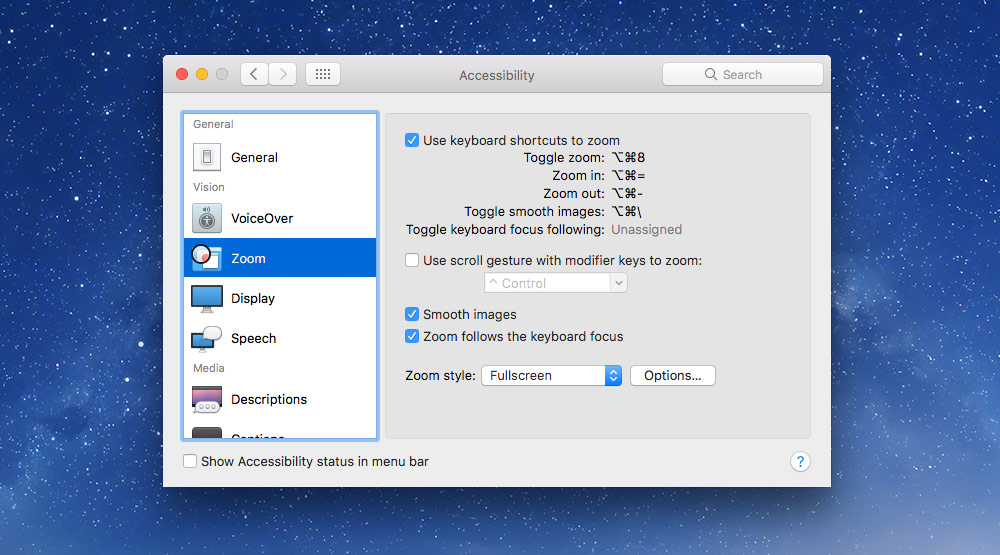
Use Firefox
Firefox still has the best text size adjustment capabilities. The other browsers use a “zooming” system—where Firefox will just bump the font-size up and down for us.
But we need to enable the functionality:
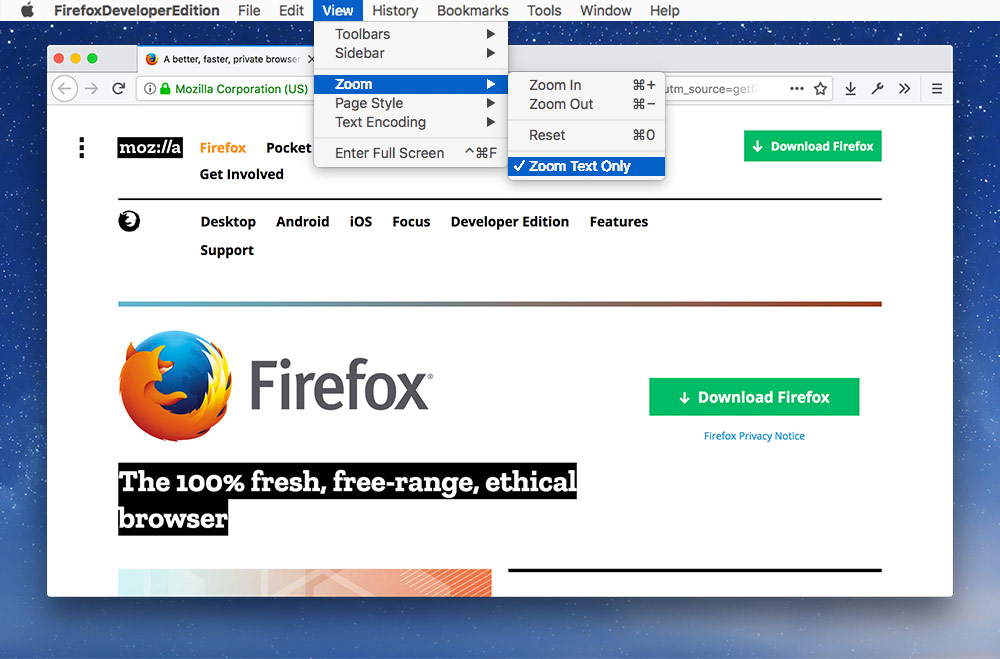
In the menu, go to View > Zoom and check Zoom Text Only
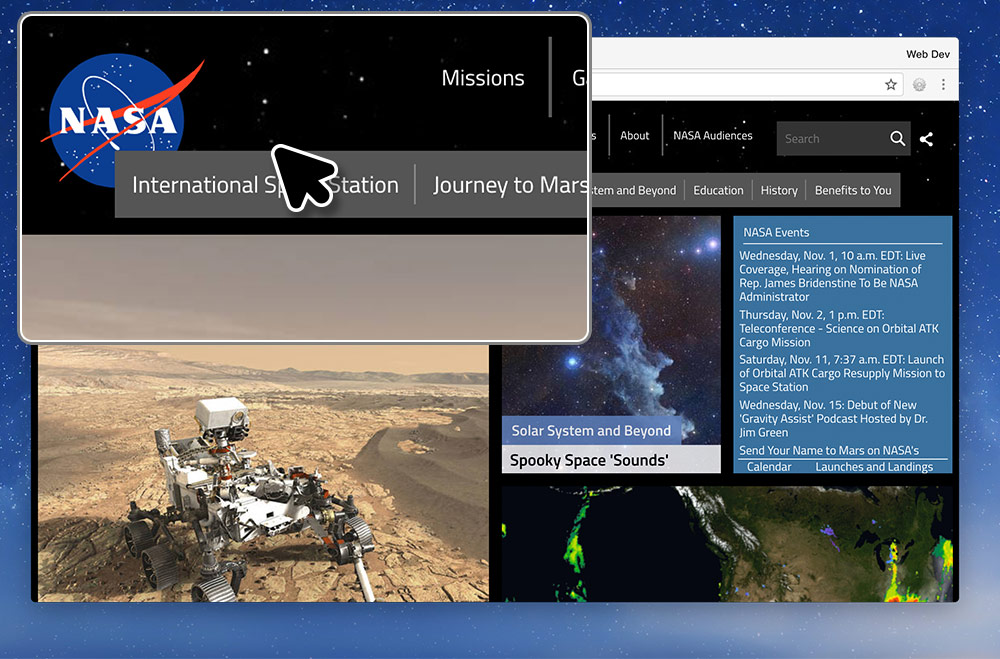
Increase by two increments
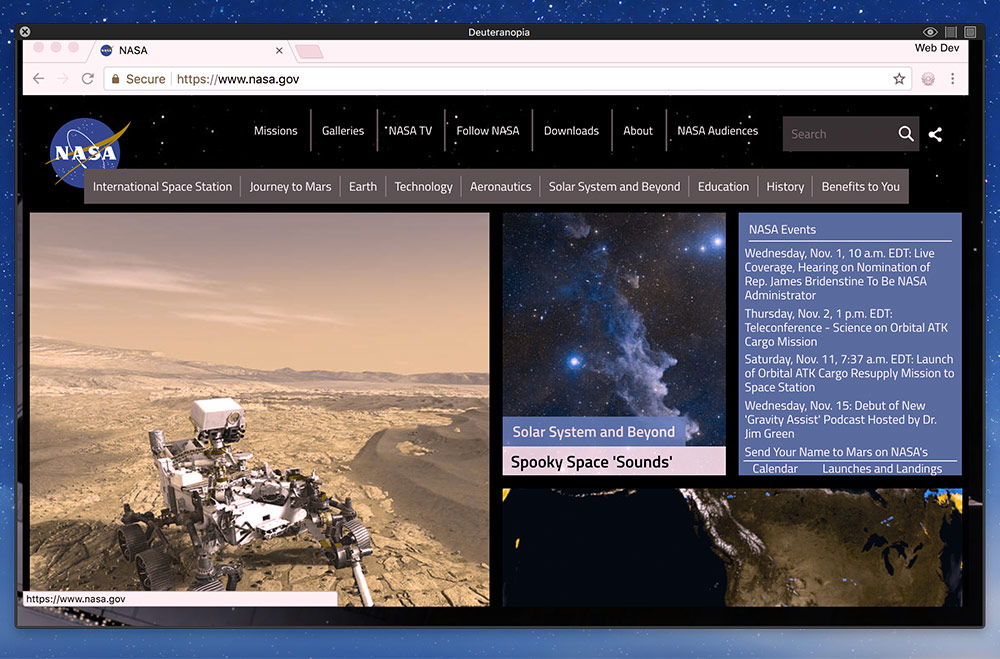
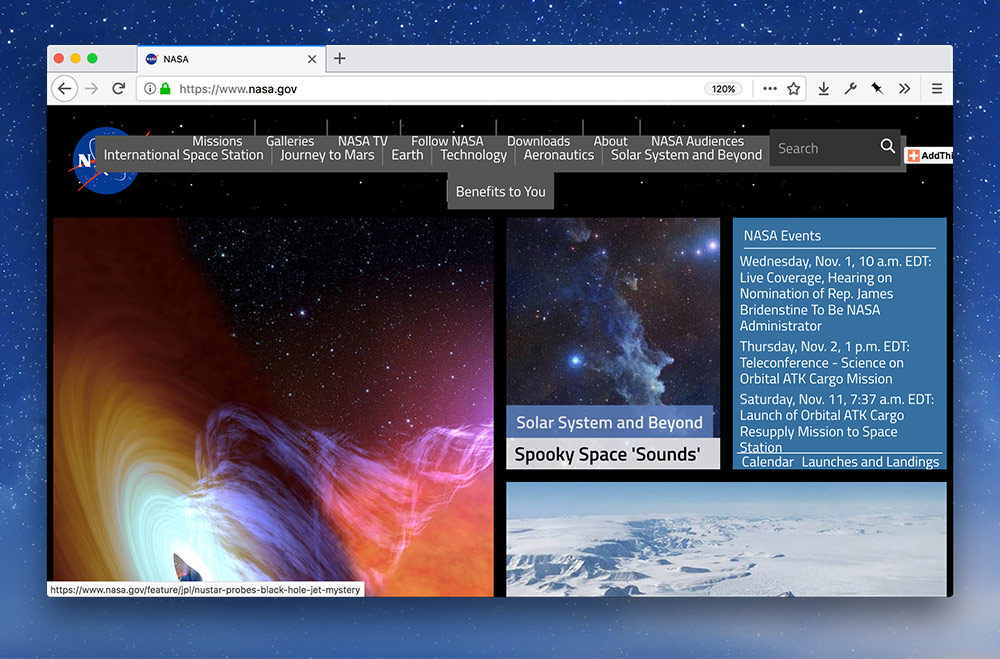
On NASA’s website press ⌘+ twice. This will enlarge the text two stops. This simulates a user setting the default font-size of their browser to a larger size than 16px
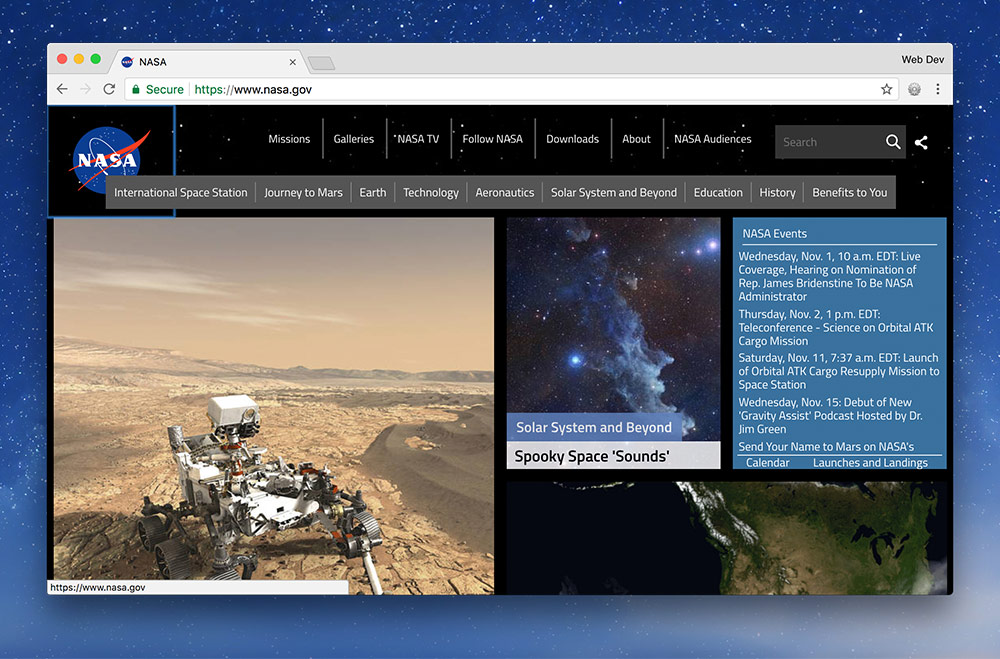
What problems might be found?
Scroll through the website and look for these possible problems:
You may find that different media queries trigger as the font-size gets larger—that’s exactly the reason why we use em-based media queries, so the layout adapts to the available content space.
Decrease by two increments
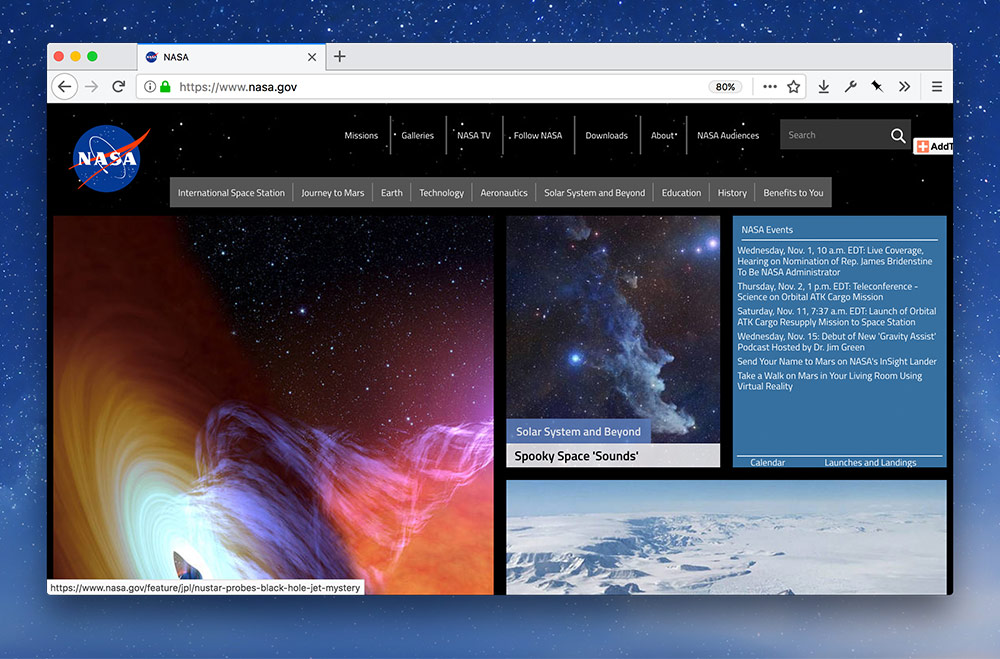
Now we want to test the opposite direction: making the text smaller.
- First, set the font-size back to default with
⌘0
- Decrease the font-size by pressing
⌘- twice.
What problems might be found?
Scroll through the website and look for these possible problems: