Micro interface branding

A lesson on making the minimal/necessary amount of favicons at different dimensions & getting them to load.

Goal

We’re going to make proper favicons for the most common sizes & hit most of the use cases. You can go really crazy with different favicons for different platforms and crazy amounts of sizes. But most often it’s unnecessary—doing just the most common minimum version is good enough.

This is what it should look like when it’s done:

  1. Type it, type it real good

    Remember the purpose of this lesson is to type the code out yourself—build up that muscle memory in your fingers!

Fork & clone

Start the lesson by forking and cloning the micro-interface-branding repository.

Fork & clone the “micro-interface-branding” repo.

The repository will have some starter files to get you on your way and include requirements for Markbot so you can be sure you’ve completed the lesson.

  1. Fork, clone & Markbot

    This includes some starter code that you can get by forking and cloning the repository. You’ll use Markbot to double check everything is done properly.

1 Download & set up files

After forking & cloning the repository, also download these PSD files for our favicons.

Download these files.

Following our standard folder layout we should have this:

  1. micro-interface-branding
  2. prod These are the files you downloaded
  3. favicon-16.psd
  4. favicon-32.psd
  5. favicon-48.psd
  6. favicon-196.psd
  7. micro-interface-branding The cloned GitHub repo
  8. index.html

Go ahead and make your index.html file with the standard html5 & viewport snippets—but we won’t need anything else.

  1. Naming conventions

    Don’t forget to follow the naming conventions.

2 Make all the sizes

Favicons are made up of a bunch of differently sized icons. We need all these different icons sizes for different situations, different browsers, and better rendering.

  • 16 × 16 px — the most basic, used on browser tabs on non-retina screens
  • 32 × 32 px — used in browser tabs on retina screens & bookmarks
  • 48 × 48 px — used lots on Windows & when larger icons are needed
  • 196 × 196 px — used on device homescreens, bookmarks, etc, wherever a large size is helpful

Why don’t we just use one icon and scale it to the different sizes automatically?

Because our logos & graphics can get really distorted at smaller pixel dimensions. It’s best to spend a few minutes to tweak and massage the icon for different sizes. Or even make a modified/simplified version for the smallest pixel sizes.

I’ve already made optimized icons at each screen size for you.

  1. micro-interface-branding
  2. prod
  3. favicon-16.psd A modified version of the icon best for 16 pixels
  4. favicon-32.psd Another modified version that looks good at 32 pixels
  5. favicon-48.psd The full version of the icon, but close to the sides
  6. favicon-196.psd The full, original version of the icon

When making your own favicons don’t be lazy and use the same icon for every size, spend time optimizing it for different pixel dimensions.

3 Save all sizes as PNGs

The second step, after making optimized graphics, is exporting them all as PNGs. Use Photoshop’s “Save for Web” and choose “PNG-24”.

We don’t need it for these icons, but be sure to select “Transparency” for your own icons if they have see through areas.

Save these icons somewhere temporary, like your desktop.

  1. Desktop
  2. favicon-16.png
  3. favicon-32.png
  4. favicon-48.png
  5. favicon-196.png

4 Smush ’em real good

Don’t forget to smush these PNGs! Drop them all into ImageOptim to get them as small as they can be.

5 Generate an ICO file

We need to generate a specialized favicon file: the ICO file. This is a container format that actually has multiple differently sized graphics inside. Specifically we want 16px, 32px & 48px size icons inside the ICO container. The browser will choose whichever suits its purpose.

On non-retina screens browsers will chose the 16px icon size—form within the single .ico file—to show in tabs. But on retina screens they’ll choose the 32px size icon—all from within the single file format.

The absolute best application to make favicons with is IconSlate—but it costs about $7. (It’s totally worth it.) No other application will allow us to use the 48px icon that we really need.

I would suggest you use IconSlate to generate the favicon, but if you don’t want to spend the money, skip to the next step and see how to do it for free.

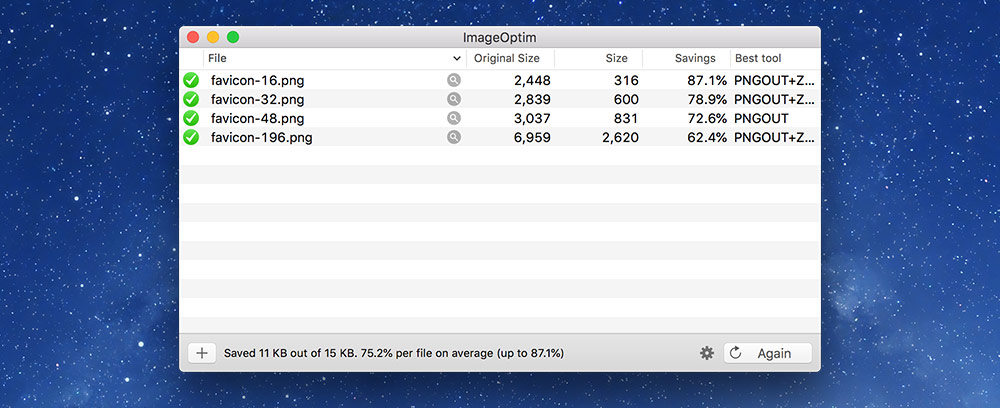
If you check out your Desktop now, you’ll have the 4 PNG files and your new ICO file.

  1. Desktop
  2. favicon-16.png
  3. favicon-32.png
  4. favicon-48.png
  5. favicon-196.png
  6. favicon.ico You’ll probably have to rename the icon

Make sure you rename you brand new favicon to exactly favicon.ico for it to work properly.

6 Generate an inferior ICO file for free

You can generate a multi-size favicon for free using the X-Icon Editor web application. Unfortunately it does not support the 48px size icon so it’ll make favicons that are missing a big chunk of use cases.

7 Move files to the right location

First we need to move the files we’re keeping to the correct location.

  1. Move the favicon.ico into your website repository
  2. Move the favicon-196.png into your website repository

It’s best practice to keep the favicons in the root of the whole website folder.

  1. micro-interface-branding
  2. prod
  3. micro-interface-branding
  4. index.html
  5. favicon.ico
  6. favicon-196.png

You should go ahead and do some clean up. We don’t need the smaller favicon PNGs any more, so delete the following images:

  • Delete: favicon-16.png
  • Delete: favicon-32.png
  • Delete: favicon-48.png

8 Insert into HTML

Finally we can insert the favicons into our HTML. We only need two new tags to make this work—both in the <head> of our HTML document.

<!DOCTYPE html>
<html lang="en-ca">
<head>
  <meta charset="utf-8">
  <title>Fully Fern</title>
  <meta name="viewport" content="width=device-width,initial-scale=1">
  <link rel="shortcut icon" href="favicon.ico">
  <link rel="icon" type="image/png" href="favicon-196.png">
</head>
<body>
⋮

That’s it! Check out your new favicon in the browser.

Notice how the browser will switch between the 16px & 32px icon when you switch between retina and non-retina screens.

  1. Line G

    Include the default favicon.ico file—this will be used in tabs and many different situations. The browser will extract whichever size from within the file that it needs.

  2. Line H

    Browsers will look for the larger icon when they need it, for homescreens, etc.

Drop it into Markbot & submit

Drop the final, coded exercise into Markbot and fix all the errors until Markbot gives you all green (and maybe a little yellow).

After you’ve fixed all the problems, go ahead and submit the assignment. You’ll immediately get your grade.

  1. Submit

    Whenever you’ve passed all Markbot’s specific tests go ahead and submit this lesson for marks.