To get started on this project we need to download a few raster graphics that we can manipulate & export.
Download these files.
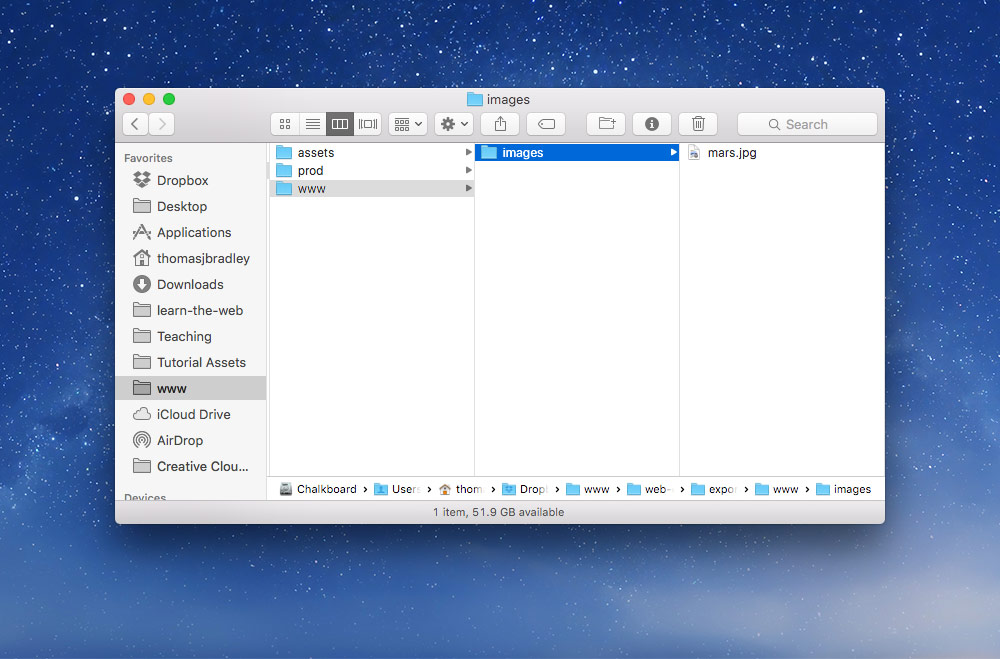
Now create the following folder structure on your computer:
A quick look at properly exporting raster graphics from Photoshop.
To get started on this project we need to download a few raster graphics that we can manipulate & export.
Now create the following folder structure on your computer:
The folders are used for the following purposes:
assets — for files that are sourced or downloaded from another location that aren’t ready to be exported. These files usually need to be credited to the author because you didn’t create them.prod — (short for production) to keep perfect assets ready for exporting, in case they need to be changedwww — this is your GitHub repository, where all your HTML & CSS files are (we’re not using GitHub right now)www/images — this is where the exported, smushed files goPhotoshop documents SHOULD NEVER be committed into your GitHub repository.
Don’t forget to follow the naming conventions.
Photoshop has some newer ways of exporting graphics—that may work really well for mobile apps but are inferior for The Open Web.
Generator is okay for lots of tiny assets, but isn’t ideal for good compression. It also messes with layer names.Export As… is a newer version of generator but removes file size controls that are so essential so saving for the web.So we’re going to stick to the Save for Web… option because it is still the best tool—even though Adobe wants us to think otherwise by labeling it as “Legacy”.
JPG is a lossy format, meaning the exported file cannot be opened again because it has lost much of the information—always save the PSD for JPGs you export!
We want to maintain as much of the original document as possible and PSD can do that. JPGs are throw away graphics—they should never be edited after they’ve been compressed for the web.
Make sure to put this PSD in your prod folder:
Change the width of the graphic to 2000 pixels for this example. The “Resolution” should be 72 because browsers literally don’t understand resolution.
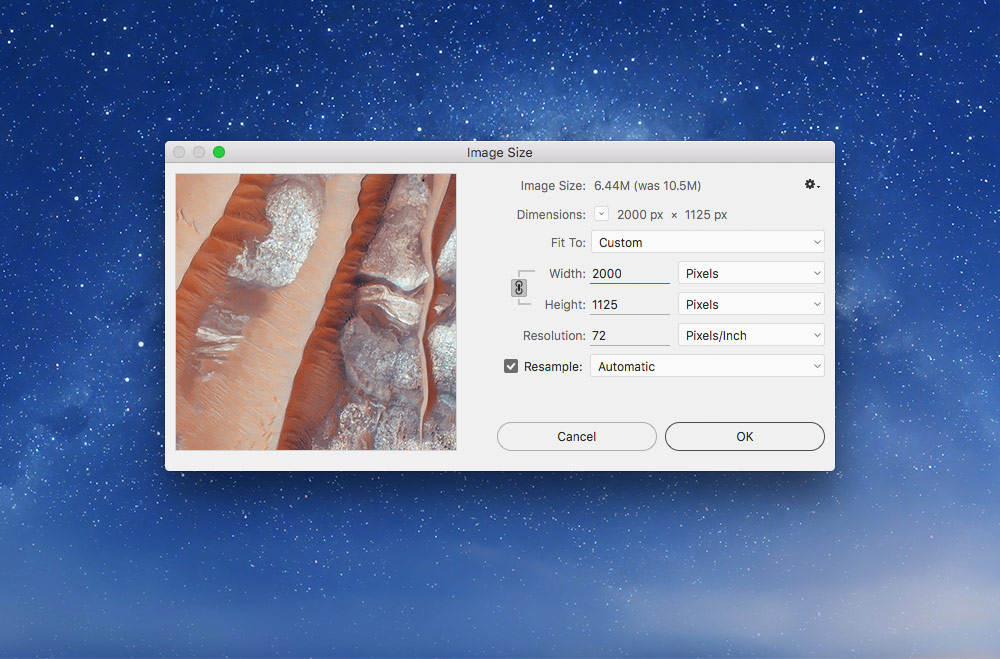
We’ll talk a little more about retina graphics next week.
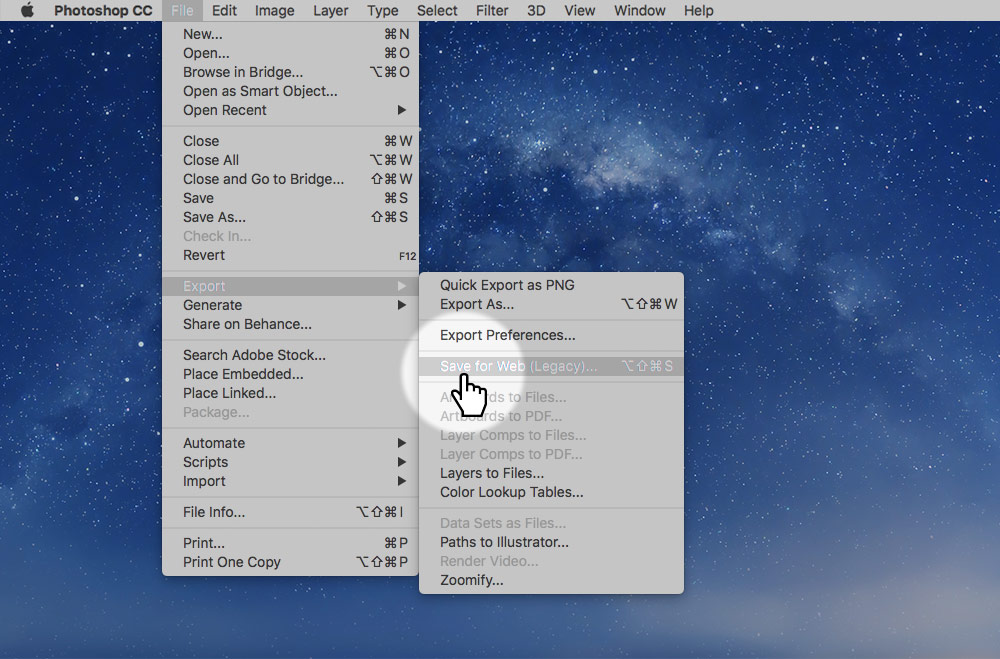
Next up we’ll use the best exporting tool: File > Export > Save for Web (Legacy)…
The “Save for Web” dialog presents a bunch of great settings to help use reduce the file size as much as possible.
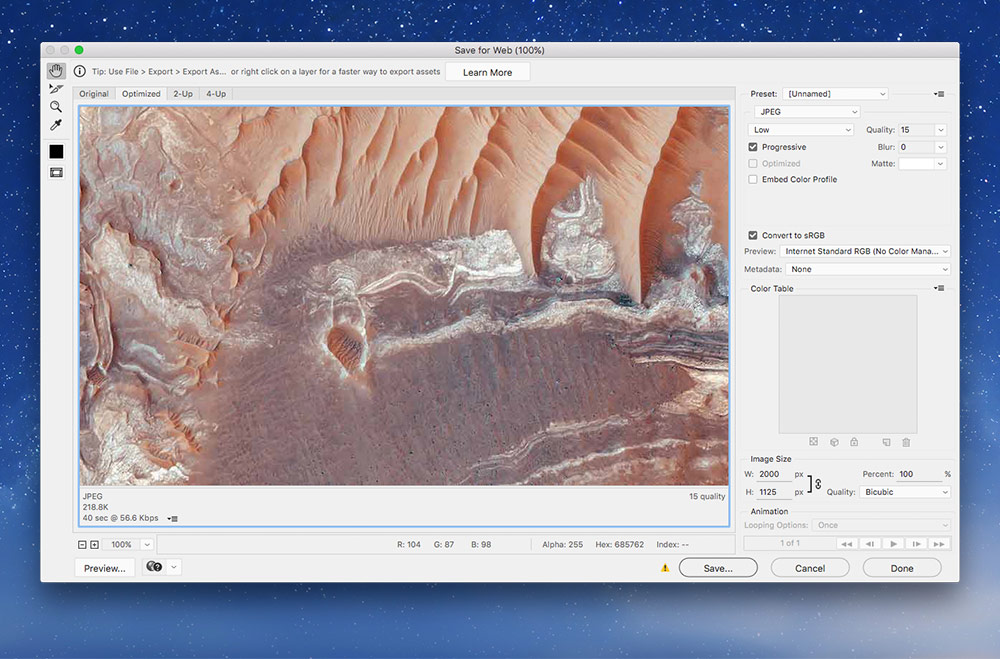
Our goal is to make the file size as small as possible without compromising the quality of the graphic too much.

Watch this file size here while adjusting the quality—anything above 250 KB should make you feel sick to your stomach.
Because the image is extremely detailed and complex we can reduce the quality quite a lot without noticing too much degradation. If this were a human or animal pay special attention to the face and eyes.
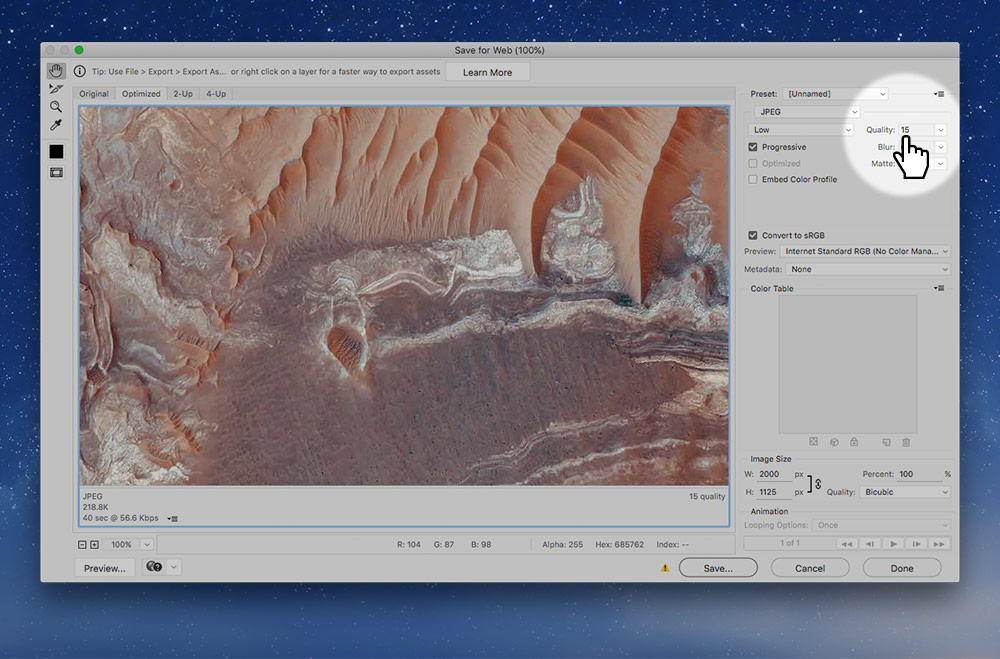
Also note these settings:
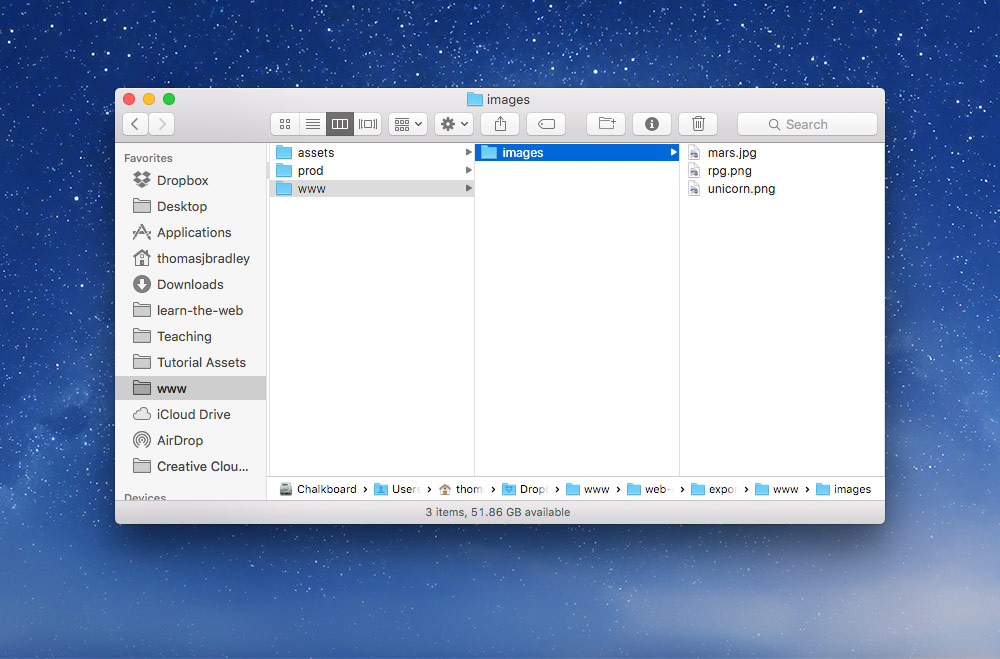
Press the “Save” button and put it into your images folder.
Also make sure to save the PSD—all the Save for Web settings are stored in the PSD so that if you have to re-export the graphic everything is remembered.
Never edit the JPG in Photoshop after you’ve exported it—always go back to your original PSD file.
We can use the PNG format for graphics that are too complex for SVGs—but try to use SVG first.
Always keep the PSD for graphics you’ve exported in case you want to edit them later—never edit from the PNG file.
Open up the unicorn.psd graphic—it’s already saved as a PSD for you; the dimensions are correct; and the resolution is set at 72.
So we’re ready to “Save for Web”. Choose PNG-24. The format supports millions of colours and 256 levels of transparency.
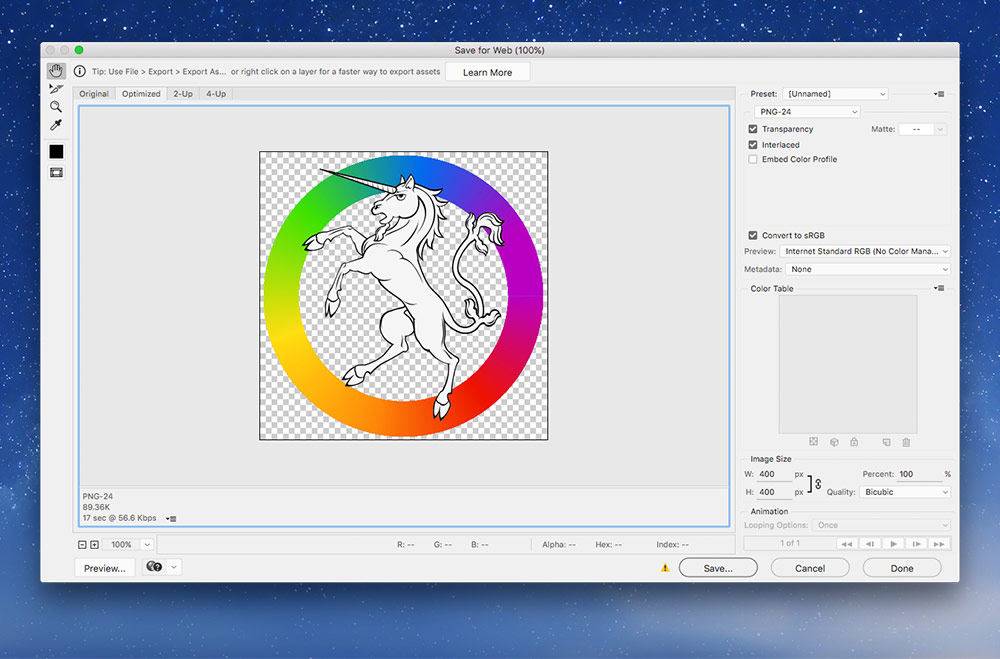
Notice these important settings:
Press the “Save” button and put it into your images folder.

Also make sure to save the PSD—all the Save for Web settings are stored in the PSD so that if you have to re-export the graphic everything is remembered.
Never edit the PNG in Photoshop after you’ve exported it—always go back to your original PSD file.
If the graphic has only a few colours and rasterization of the graphic is important, we can use a PNG-8.
The PNG-8 format only supports 256 different colours. Photoshop’s implementation is broken and only supports 1-bit transparency (like a GIF) but other applications, like ImageAlpha, can give us 8-bit transparency.
Always keep the PSD for graphics you’ve exported in case you want to edit them later—never edit from the PNG file.
Open up the rpg.png and immediately save it as a PSD.
The dimensions and resolution are good, so we’re ready to “Save for Web”.
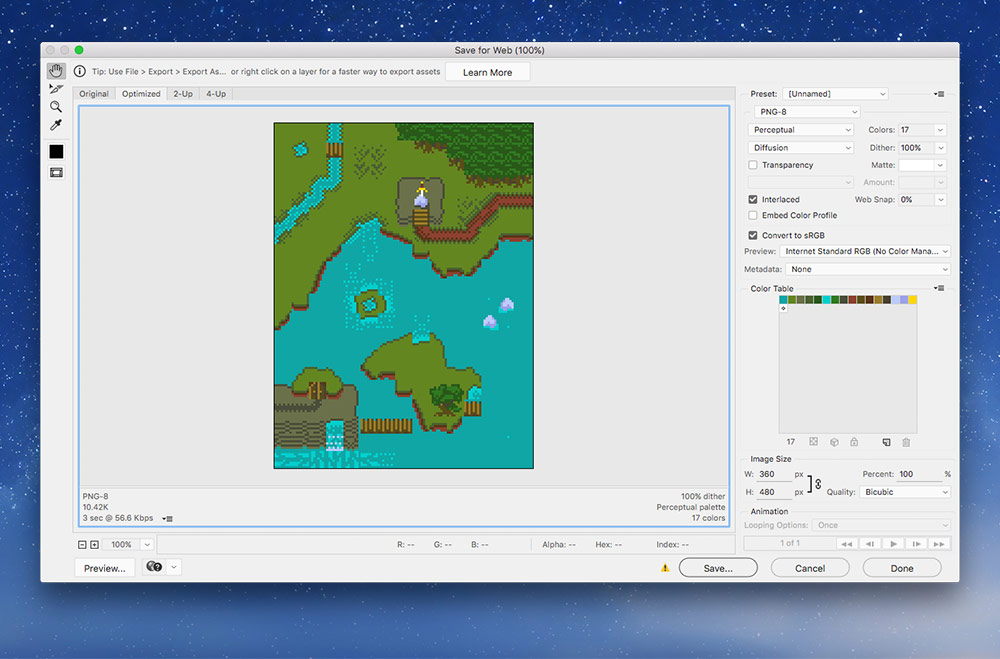
When saving as a PNG-8 we want to reduce the number of colours as small as possible without compromising the quality of the graphic. In this illustration, 17 colours seems to be perfect.
Notice these important settings:
Press the “Save” button and put it into your images folder.
Also make sure to save the PSD—all the Save for Web settings are stored in the PSD so that if you have to re-export the graphic everything is remembered.
Never edit the PNG in Photoshop after you’ve exported it—always go back to your original PSD file.
We want to make the images we use on the web as small as possible—Photoshop only does part of the job.
Next up we need to drop the images into ImageOptim to really reduce their file size—it won’t reduce the quality in any way.
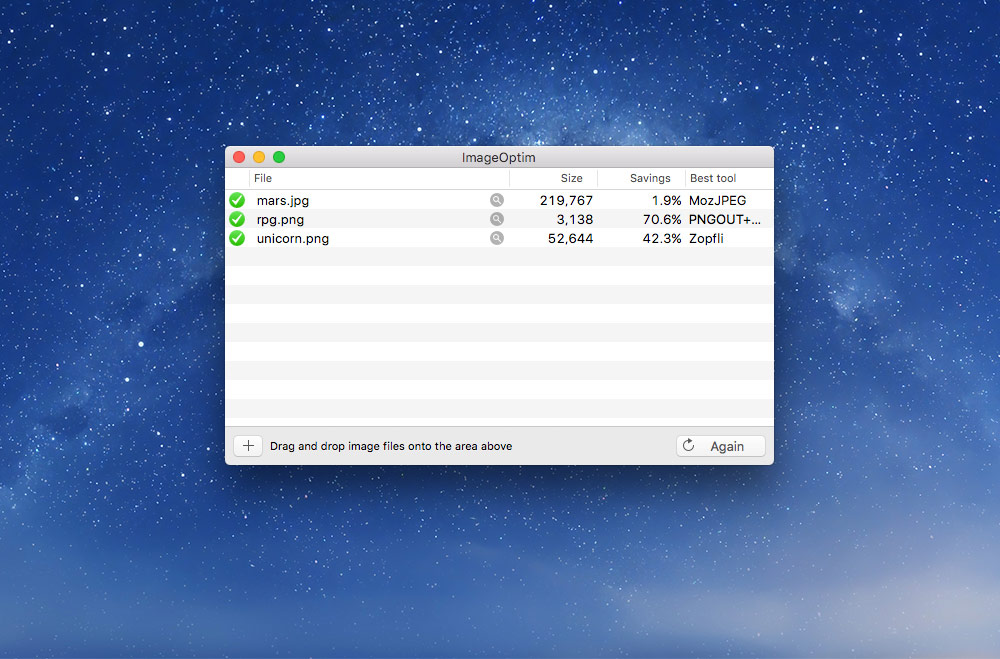
You don’t have to save the files or anything, ImageOptim will just overwrite your graphics with ones that are smaller size.
If you’re on Windows you can use FileOptimizer to perform the same task as ImageOptim.
Now we have super small, super optimized graphics for our website that will help it load quickly.
Drop the final, coded exercise into Markbot and fix all the errors until Markbot gives you all green (and maybe a little yellow).
After you’ve fixed all the problems, go ahead and submit the assignment. You’ll immediately get your grade.