We’re going to look at using objects inside an array to represent contact information. Then spit that information out to the page.
This is what it should look like when it’s done:
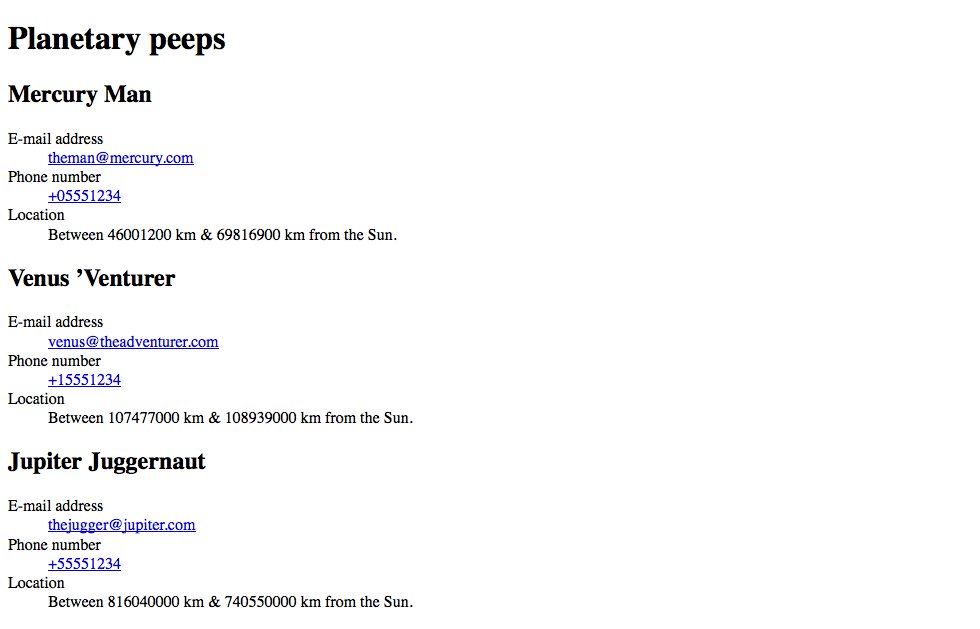
Use JavaScript to create a data structure representing contact information and display it on the page.
We’re going to look at using objects inside an array to represent contact information. Then spit that information out to the page.
This is what it should look like when it’s done:
Remember the purpose of this lesson is to type the code out yourself—build up that muscle memory in your fingers!
Start the lesson by forking and cloning the contact-list-generator repository.
Fork & clone the “contact-list-generator” repo.
The repository will have some starter files to get you on your way and include requirements for Markbot so you can be sure you’ve completed the lesson.
This includes some starter code that you can get by forking and cloning the repository. You’ll use Markbot to double check everything is done properly.
Before we get started, create some files and get ready.
index.html & add the boilerplate code.main.js in your js folder.contacts.js in your js folder.Don’t forget to follow the naming conventions.
Create the boilerplate with html5 & viewport
We can connect as many JavaScript files to our website as we want. But, just as CSS, the more there are the slower your website.
⋮
</head>
<body>

  <script src="js/contacts.js"></script>
  <script src="js/main.js"></script>
</body>
</html>
Create the <script> tag with jss
Everything we write in one JavaScript file is usable in the other file. The order is important.
Inside our contacts.js file I want to write out the data for all of the contacts.
var peeps = [
  {
    name: 'Mercury Man',
    email: 'theman@mercury.com',
    tel: '+05551234',
    loc: [46001200, 69816900]
  },
  {
    name: 'Venus ’Venturer',
    email: 'venus@theadventurer.com',
    tel: '+15551234',
    loc: [107477000, 108939000]
  },
  {
    name: 'Jupiter Juggernaut',
    email: 'thejugger@jupiter.com',
    tel: '+55551234',
    loc: [816040000, 740550000]
  }
];
Notice how we’re creating an array and every item inside the array is an object.
An array inside an object inside an array.
Don’t forget the commas between each object!
Let’s start writing the function that will take a list of peeps and output it to our HTML file.
var listContacts = function (contacts) {
  // We’ll write stuff in here later
};

listContacts(peeps);
Functions are just another thing you can put inside a variable. They’re reusable pieces of code.
In between the round brackets (contact) is an argument—you can call it whatever you want. An argument is a variable that’s only available inside the function. It can be set when executing the function.
Here we execute the function. To call a function you write its variable name followed by open and close round brackets. Like writeContacts() or document.write()
We can put information between the round brackets to set the function’s argument variables. The order you write it between the brackets is captured by the same order in the function.
In this line peeps refers to the name of the variable we created in contacts.js.
Let’s see if our function is working by outputting the name of the contacts and a page title.
⋮
var listContacts = function (contacts) {
  document.write('<h1>Planetary peeps</h1>');

  contacts.forEach(function (item) {
    document.write(`<h2>${item.name}</h2>`);
    // More stuff going in here later
  });
};

listContacts(peeps);
⋮
Check your browser and you should see all the contact names output.

We’ll use document.write() to create an <h1> tag in our website.
The forEach loop is a special kind of loop that will iterate over every single item in an array. With this loop we don’t need to know how many times to loop—JavaScript just does it.
Notice that we pass in a function() to the loop. This function will be executed on every item in the array. The current array item will be saved into the functions first argument—here it’s called it item
By writing code inside the forEach loop it will happen for every single item in the array.
Notice the item.name:
item refers to the function argument variable defined in the forEach loop on the line above. It’s a representation of one single item in the array..name refers to one of the object properties we defined in contacts.jsBe careful of all these brackets.
} closes the function inside the loop.) closes the forEach loop.} closes the listContacts function.Looking at the data in the peeps, I feel like much of the information should go into a <dl> tag.
⋮
  contacts.forEach(function (item) {
    document.write('<h2>' + item.name + '</h2>');
    document.write('<dl>');
    document.write('<dt>E-mail address</dt>');
    document.write(`<dd><a href="mailto:${item.email}">${item.email}</a></dd>`);
    document.write('<dt>Phone number</dt>');
    document.write(`<dd><a href="tel:${item.tel}">${item.tel}</a></dd>`);
    // More stuff to come here
    document.write('</dl>');
  });
};
⋮
Check your browser and you should be seeing more information from the contacts.

Start the <dl> tag by writing only the opening HTML tag.
Write out a <dt> tag to before we get to the actual data.
Write out <dd> and <a> tags by using the ` to concatenate a bunch of things together. Inside the interpolated string use ${} to surround variables.
Finally end the <dl> tag by writing the closing HTML tag.
Unlike the other pieces of data, the loc is an array, so we have to treat it slightly differently.
⋮
    document.write('<dt>Phone number</dt>');
    document.write(`<dd><a href="tel:${item.tel}">${item.tel}</a></dd>`);
    document.write('<dt>Location</dt>');
    document.write(`<dd>Between ${item.loc[0]} km & ${item.loc[1]} km from the Sun.</dd>`);
    document.write('</dl>');
  });
};
⋮
Check your browser and you lots of details now.

Notice the item.loc[0]:
item refers to the function argument variable defined in the forEach loop. It’s a representation of one single item in the array..loc refers to one of the object properties we defined in contacts.js[0] will get the first item out of the loc array.We’ve created a very basic templating system now where we don’t have to copy-and-paste a bunch of HTML code to write out similar information.
There’s a motto in programming: Keep things DRY. As in “Don’t Repeat Yourself”. If you have to copy and paste you’re doing something wrong.
Go into the contacts.js file and add a new contact at the bottom. When you refresh your HTML page a new entry should magically appear.
Drop the final, coded exercise into Markbot and fix all the errors until Markbot gives you all green (and maybe a little yellow).
After you’ve fixed all the problems, go ahead and submit the assignment. You’ll immediately get your grade.